Your one-stop ZimaOS installation and upgrade guide. Whether you are a novice or a seasoned user, you can find clear instructions here.
Quick Overview
-
What is ZimaOS?
-
Install ZimaOS
-
New x64 Device
-
Virtual Machine (VMware, etc.)
-
-
Upgrade ZimaOS
-
Automatic Upgrade
-
Beta Channel Upgrade
-
Command-Line Upgrade
-
-
Frequently Asked Questions (FAQ)
-
Resource Links
What is ZimaOS?
ZimaOS is an operating system designed for homes and studios, aiming to be the core of your digital life. It integrates functions like Network Attached Storage (NAS), smart home control, multimedia services, and a personal cloud into one simple, elegant, and easy-to-use interface. ZimaOS is positioned as a A Simplified, Focused and Open NAS OS, allowing everyone to easily manage their own data and enjoy the convenience of the digital world without complex configurations.
Install ZimaOS
Most Zima devices come with ZimaOS pre-installed from the factory. ZimaOS also provides compatibility with common x64 hardware. The installation methods listed below are common to both Zima devices and common x64 devices.
Method 1: Install ZimaOS on a New x64 Device
-
Prepare Tools:
-
A USB drive with a capacity of at least 8GB.
-
balenaEtcher flashing tool.
-
Download the latest ZimaOS
.imgimage file from the ZimaOS download page. -
A keyboard, mouse, and monitor.
-
Create Bootable Drive: Open balenaEtcher, select the downloaded ZimaOS
.imgfile and your USB drive, then click “Flash!” to start writing. -
Set BIOS/UEFI: Insert the USB drive into the target device, boot up and enter the BIOS/UEFI settings. Set the USB drive as the first boot option.
-
Start Installation: Save settings and restart. The device will boot from the USB drive and automatically enter the ZimaOS installer. Follow the on-screen prompts to complete the installation.
The detailed tutorial can be found at How-to-install-ZimaOS.
Method 2: Install on a Virtual Machine Platform
You can experience ZimaOS on virtualization platforms like VMware, Proxmox VE, VirtualBox, etc. Here the tips for VMware will be listed.
General Steps:
Download Image: Download the ZimaOS .iso format image file from ZimaOS Github release page.
Create Virtual Machine:
-
Create a new virtual machine in your virtualization platform.
-
Select the operating system type as “Linux” (General or Debian 64-bit).
-
Allocate at least 2GB of RAM and 32GB of storage space.
Mount ISO and Boot: In the virtual machine settings, load the downloaded .iso file as a virtual CD/DVD drive.
Complete Installation: Start the virtual machine. It will automatically boot from the ISO image and begin the installation. The process is fully automatic. After installation, the virtual machine will restart into ZimaOS.
Tips for VMware platform:
During the Add New VM wizard:
1.Choose the custom(advanced) option and choose Other Linux 6.x Kernel 64-bit
2.Over 4G RAM, 32G Storage, and 4 cores are suggested
3.Choose to use a SATA controller drive instead of the default SCSI one
Edit the VM settings after the wizard and before you first power on and boot into the installation process:
4.In the Options panel of the VM settings dialogue, modify it to UEFI from BIOS
There is also a tutorial about how to install ZimaOS on Proxmox VE platform. And a script for quick installation for Proxmox.
Upgrade ZimaOS
Method 1: Automatic Upgrade (Recommended)
This is the simplest and safest upgrade method.
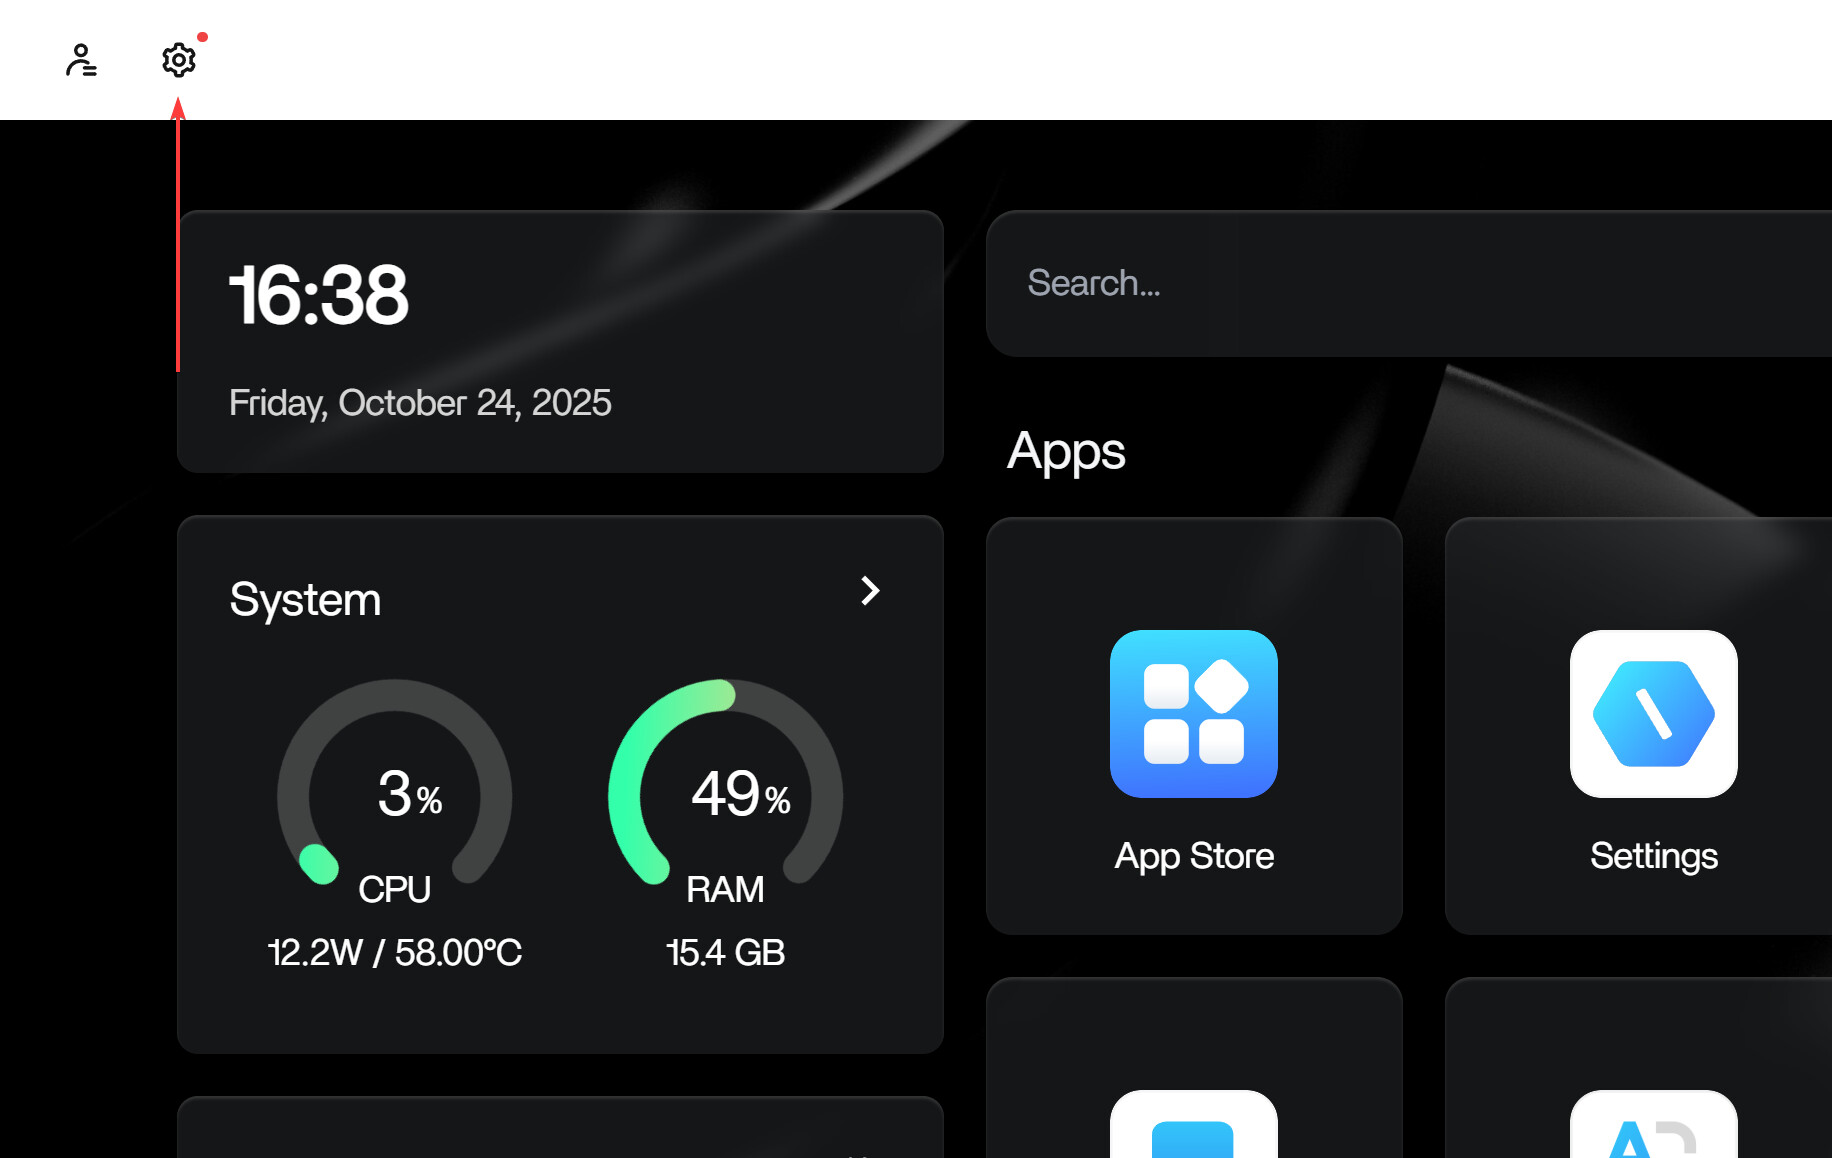
When a new version of ZimaOS is released, the system will automatically download the update package in the background. After the download is complete, a small red dot will appear on the settings icon in the upper left corner of the ZimaOS web interface to notify you. Click it and follow the instructions to complete the upgrade.
Note: Please ensure your device has a stable Internet connection to download the update package successfully.
Method 2: Switch to Beta Channel
If you want to experience the latest features, you can join the Beta testing program.
-
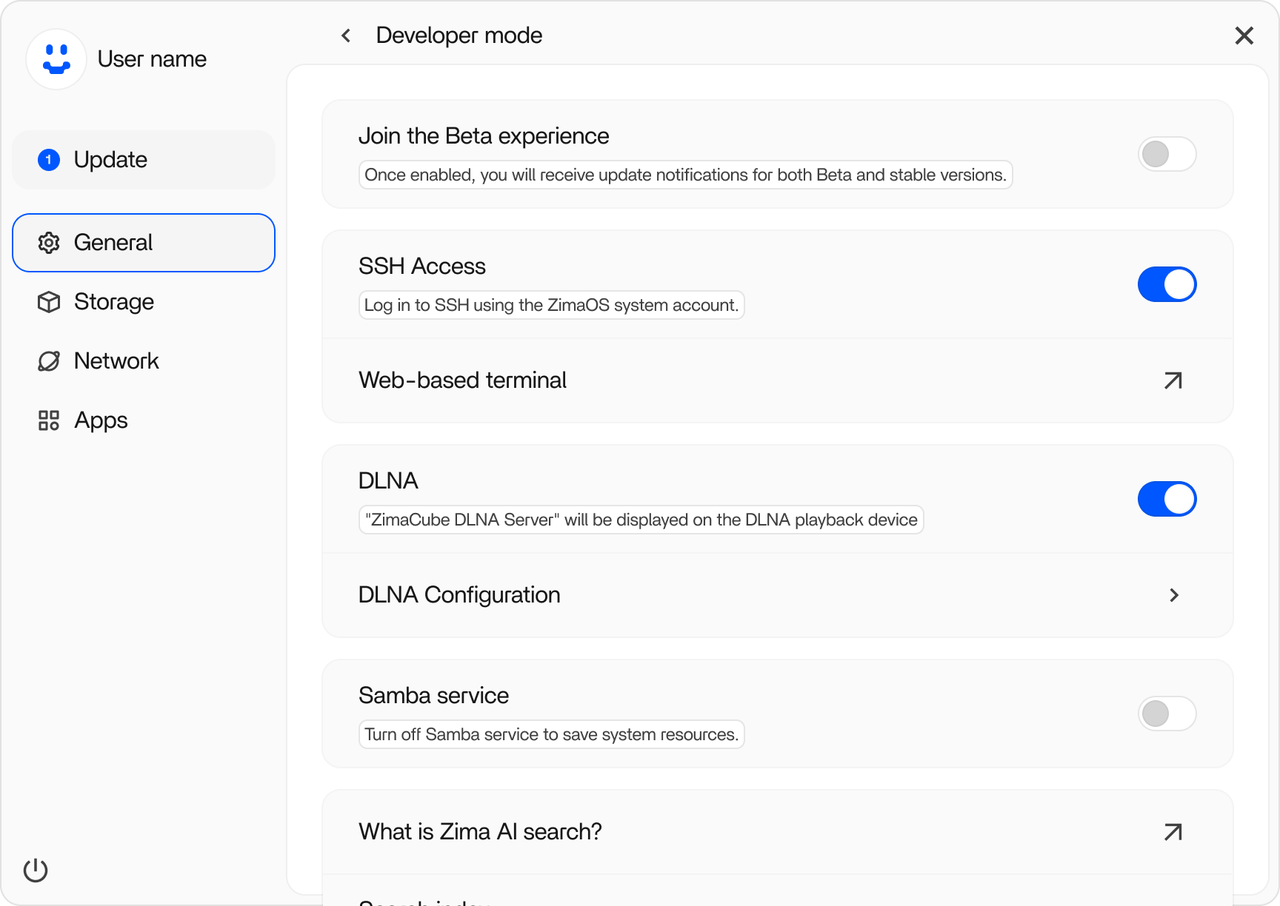
Enable “Developer Mode” in the settings of ZimaOS web interface.
-
In the developer options, find the update channel settings and switch to the “Beta” channel.
-
After switching, the system will automatically detect and prompt you to upgrade to the latest Beta version. The upgrade method is the same as the automatic upgrade.
Method 3: Force Upgrade via Command Line
Applicable for scenarios where automatic upgrade fails or an immediate update to the latest stable version is needed.
Connect to your ZimaOS device via SSH, or open the terminal directly on ZimaOS web interface, and execute the following command:
# Useful steps for entering the CLI
#     Settings-> General-> Developer mode view
#         -> SSH Access enable -> Web-based terminal

# You must first run sudo -i to switch to the root account.
sudo -i

# If a version is specified, it will upgrade or downgrade to the specified version.
# If not specified, it will select the latest version based on whether it is in the beta channel.

# e.g.
# To install 1.5.0:
curl -fsSL 'https://ota.zimaos.com/1.5.0' | sh

# To update to the latest version:
curl -fsSL 'https://ota.zimaos.com/' | sh
Important Note: If your ZimaOS version is 1.2.4 or earlier, this upgrade script will first update your system to version 1.2.5 as a transition before you can proceed to the latest version. The script has this logic built-in; you just need to follow the prompts.
Frequently Asked Questions (FAQ)
Q: Will installing ZimaOS erase all the data on my hard drive?
A: Yes. The ZimaOS installation process will format the target hard drive. Please be sure to back up all important data on the hard drive before installation.
Q: What should I do if the upgrade fails?
A: If the automatic upgrade fails, please first check your network connection. If the network is normal, it is recommended to try the “Command Line Upgrade” method to force the update. If the problem persists, you are welcome to seek help on our community forums.
Q: Can I use a Wi-Fi connection for setup?
A: Not recommended. It is strongly recommended that you use a wired network connection during initial setup.
Resource Links
Here are some helpful links for ZimaOS users:
-
Official Website : Explorer design and features of ZimaOS.
-
Image Downloads : Find the
.imgand.isofiles for installation. -
Community Forum / Discord Server : Get help and discuss with community members.
-
Social Media: Follow us on X and **Facebook **to get the latest news.