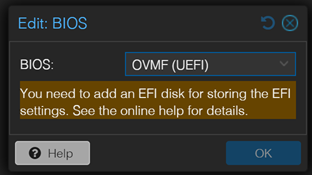
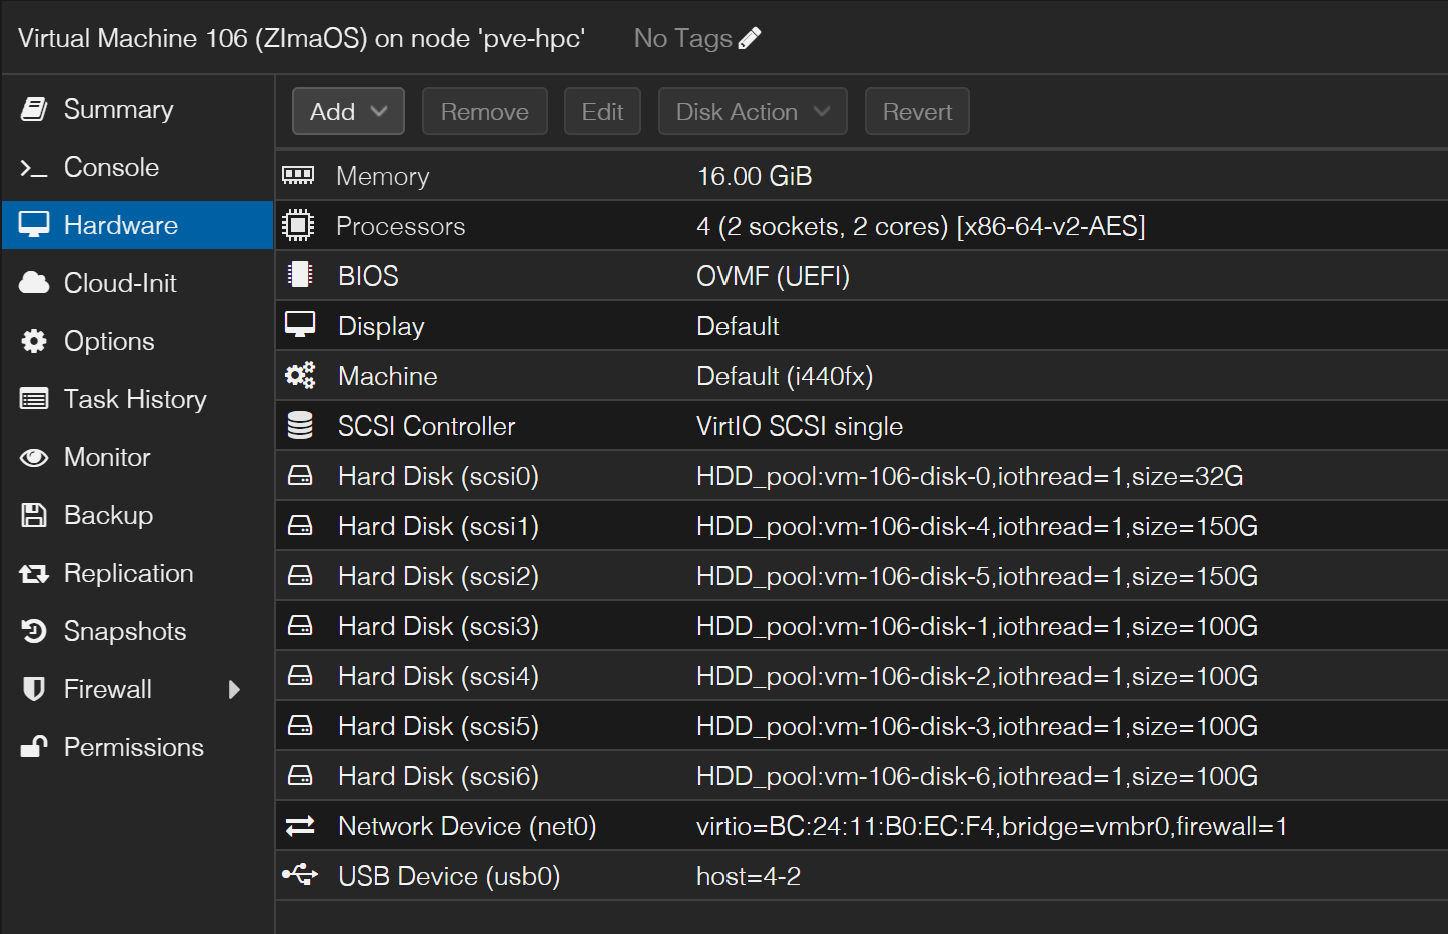
If you forgot to set UEFI on VM setup you can change it by going to the VM “Hardware” window and double click on the BIOS option and then in the dropdown option select the OVMF (UEFI) option.
You can forget about the warning to install an EFI disk, it is not needed.
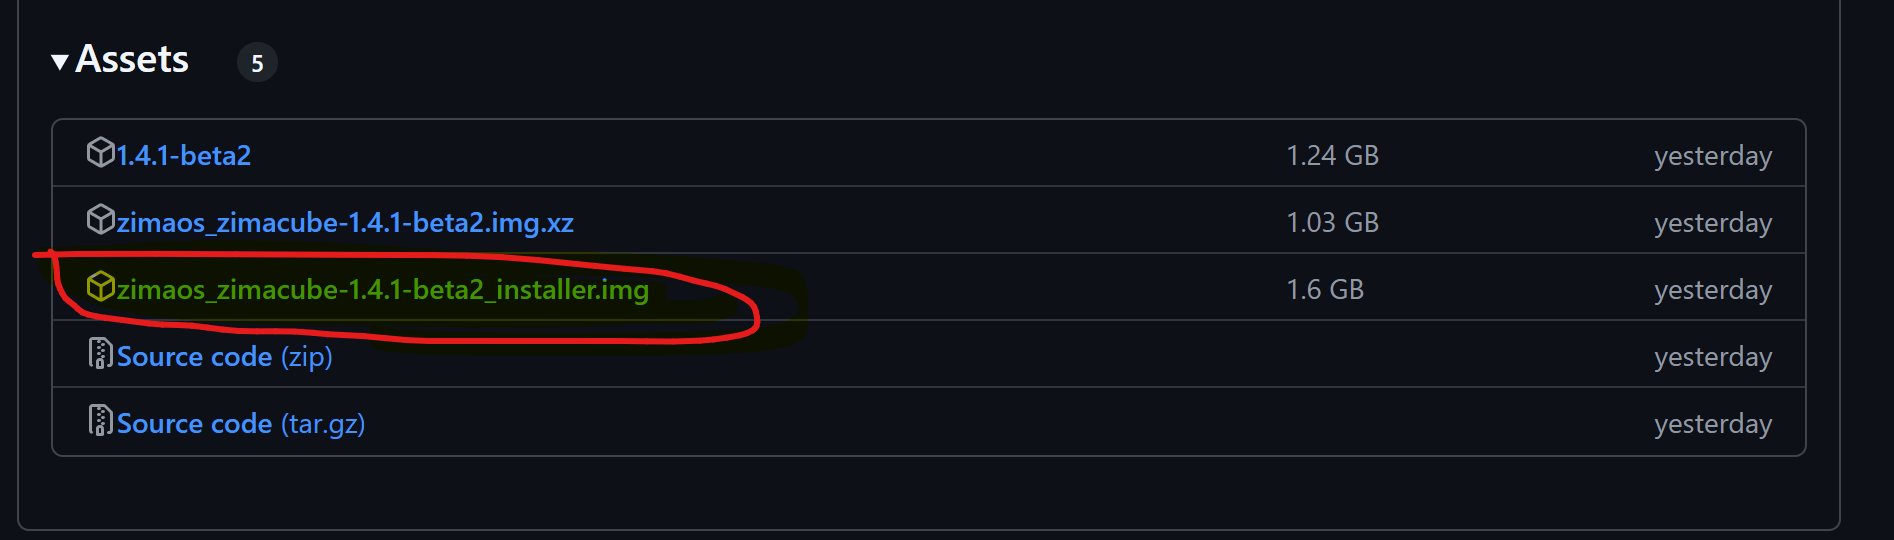
Burn it to a USB drive. I used Balena Etcher for that.
Plug the USB into the machine running the Proxmox hypervisor.
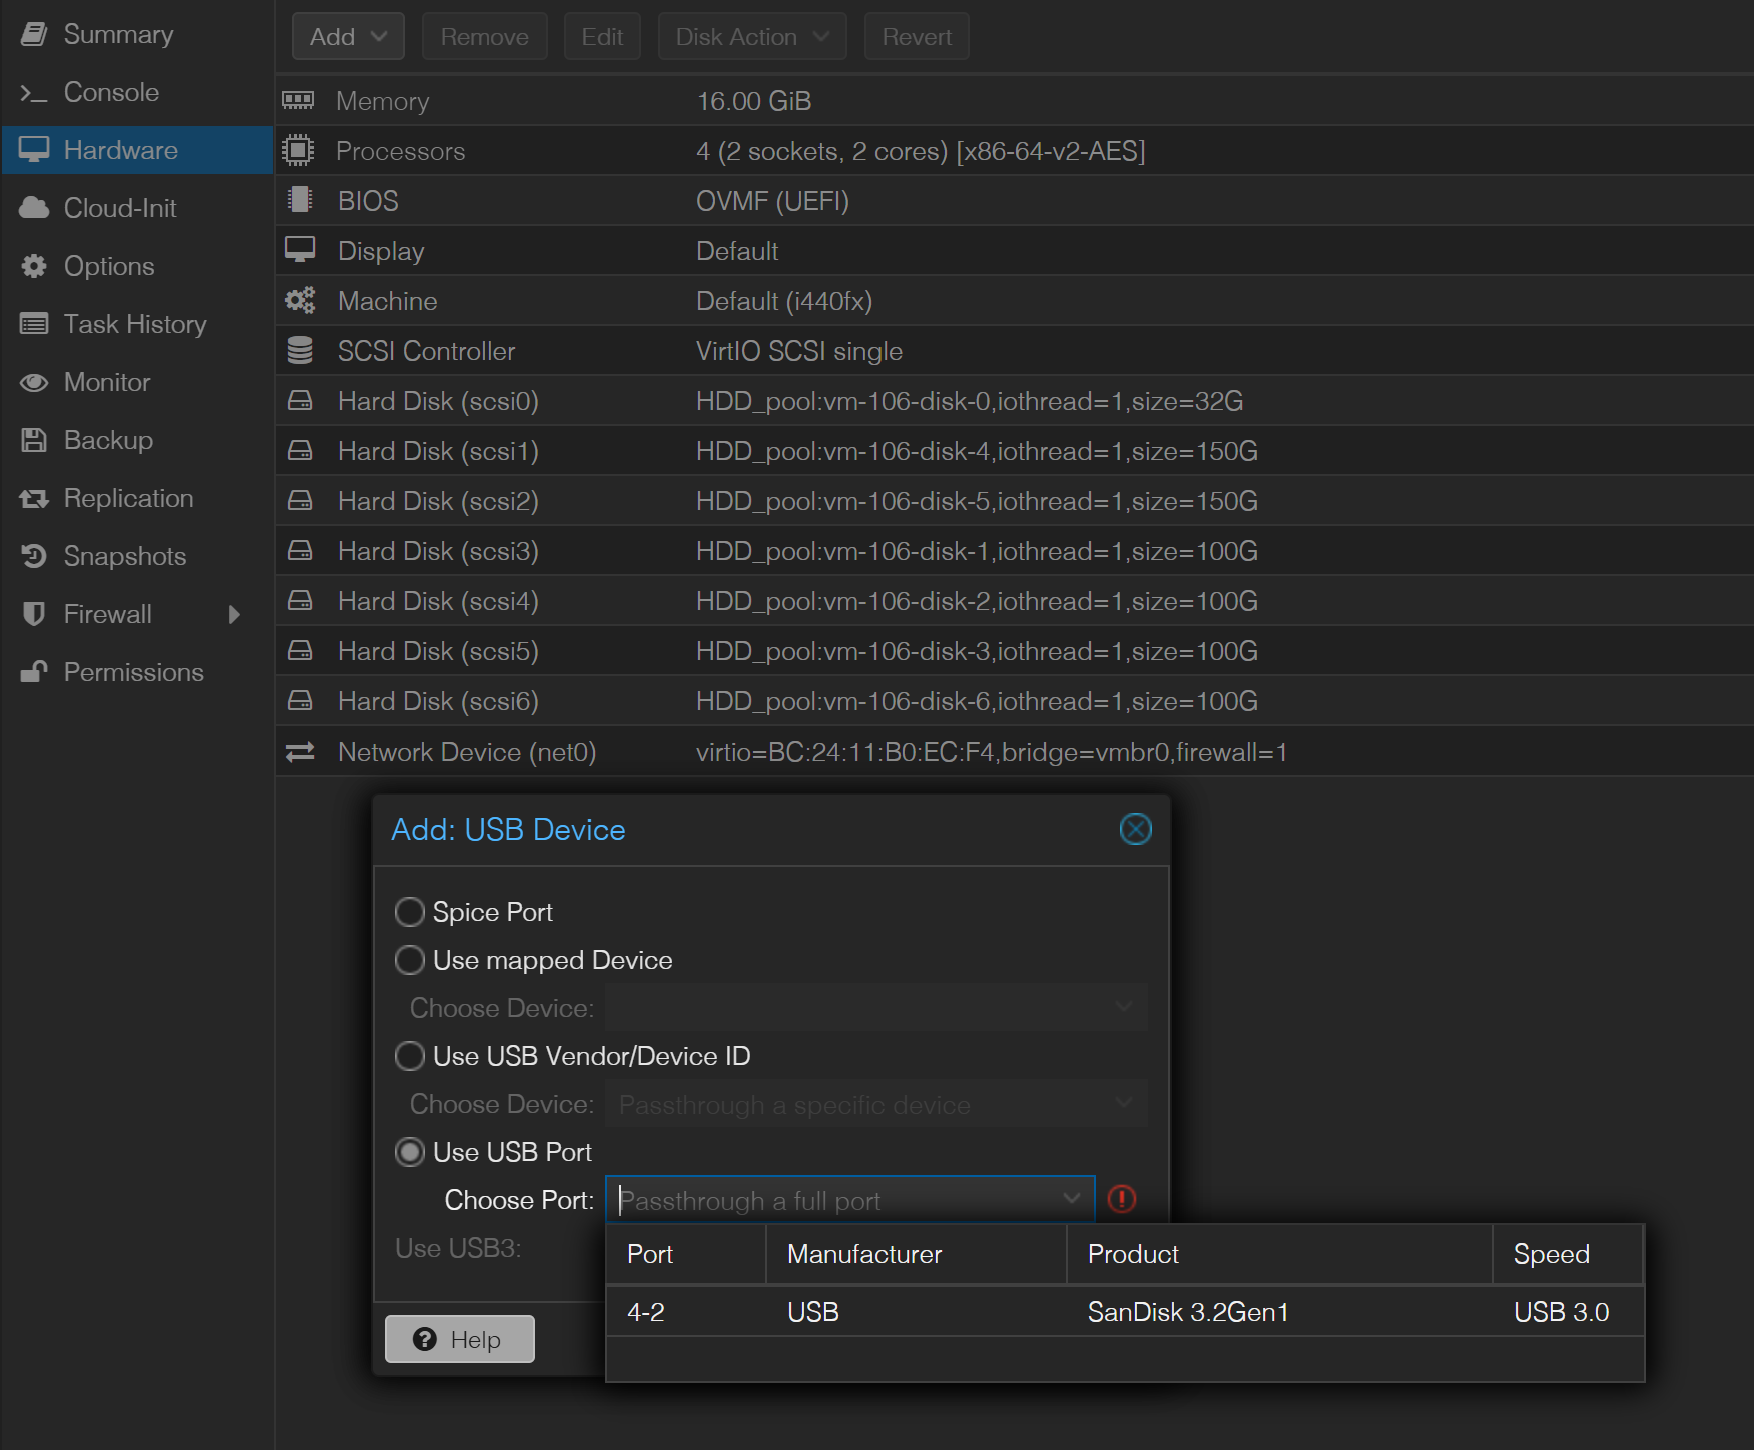
Assign the USB as a passthrough device to the VM you defined in step 1) above
In the VM view select “Hardware” then choose “Add” and select USB device , then on the popup window (Add: USB Device) select “Use USB Port” and on “Choose Port” hit the down arrow, in the selection window, select the USB you just plugged in.
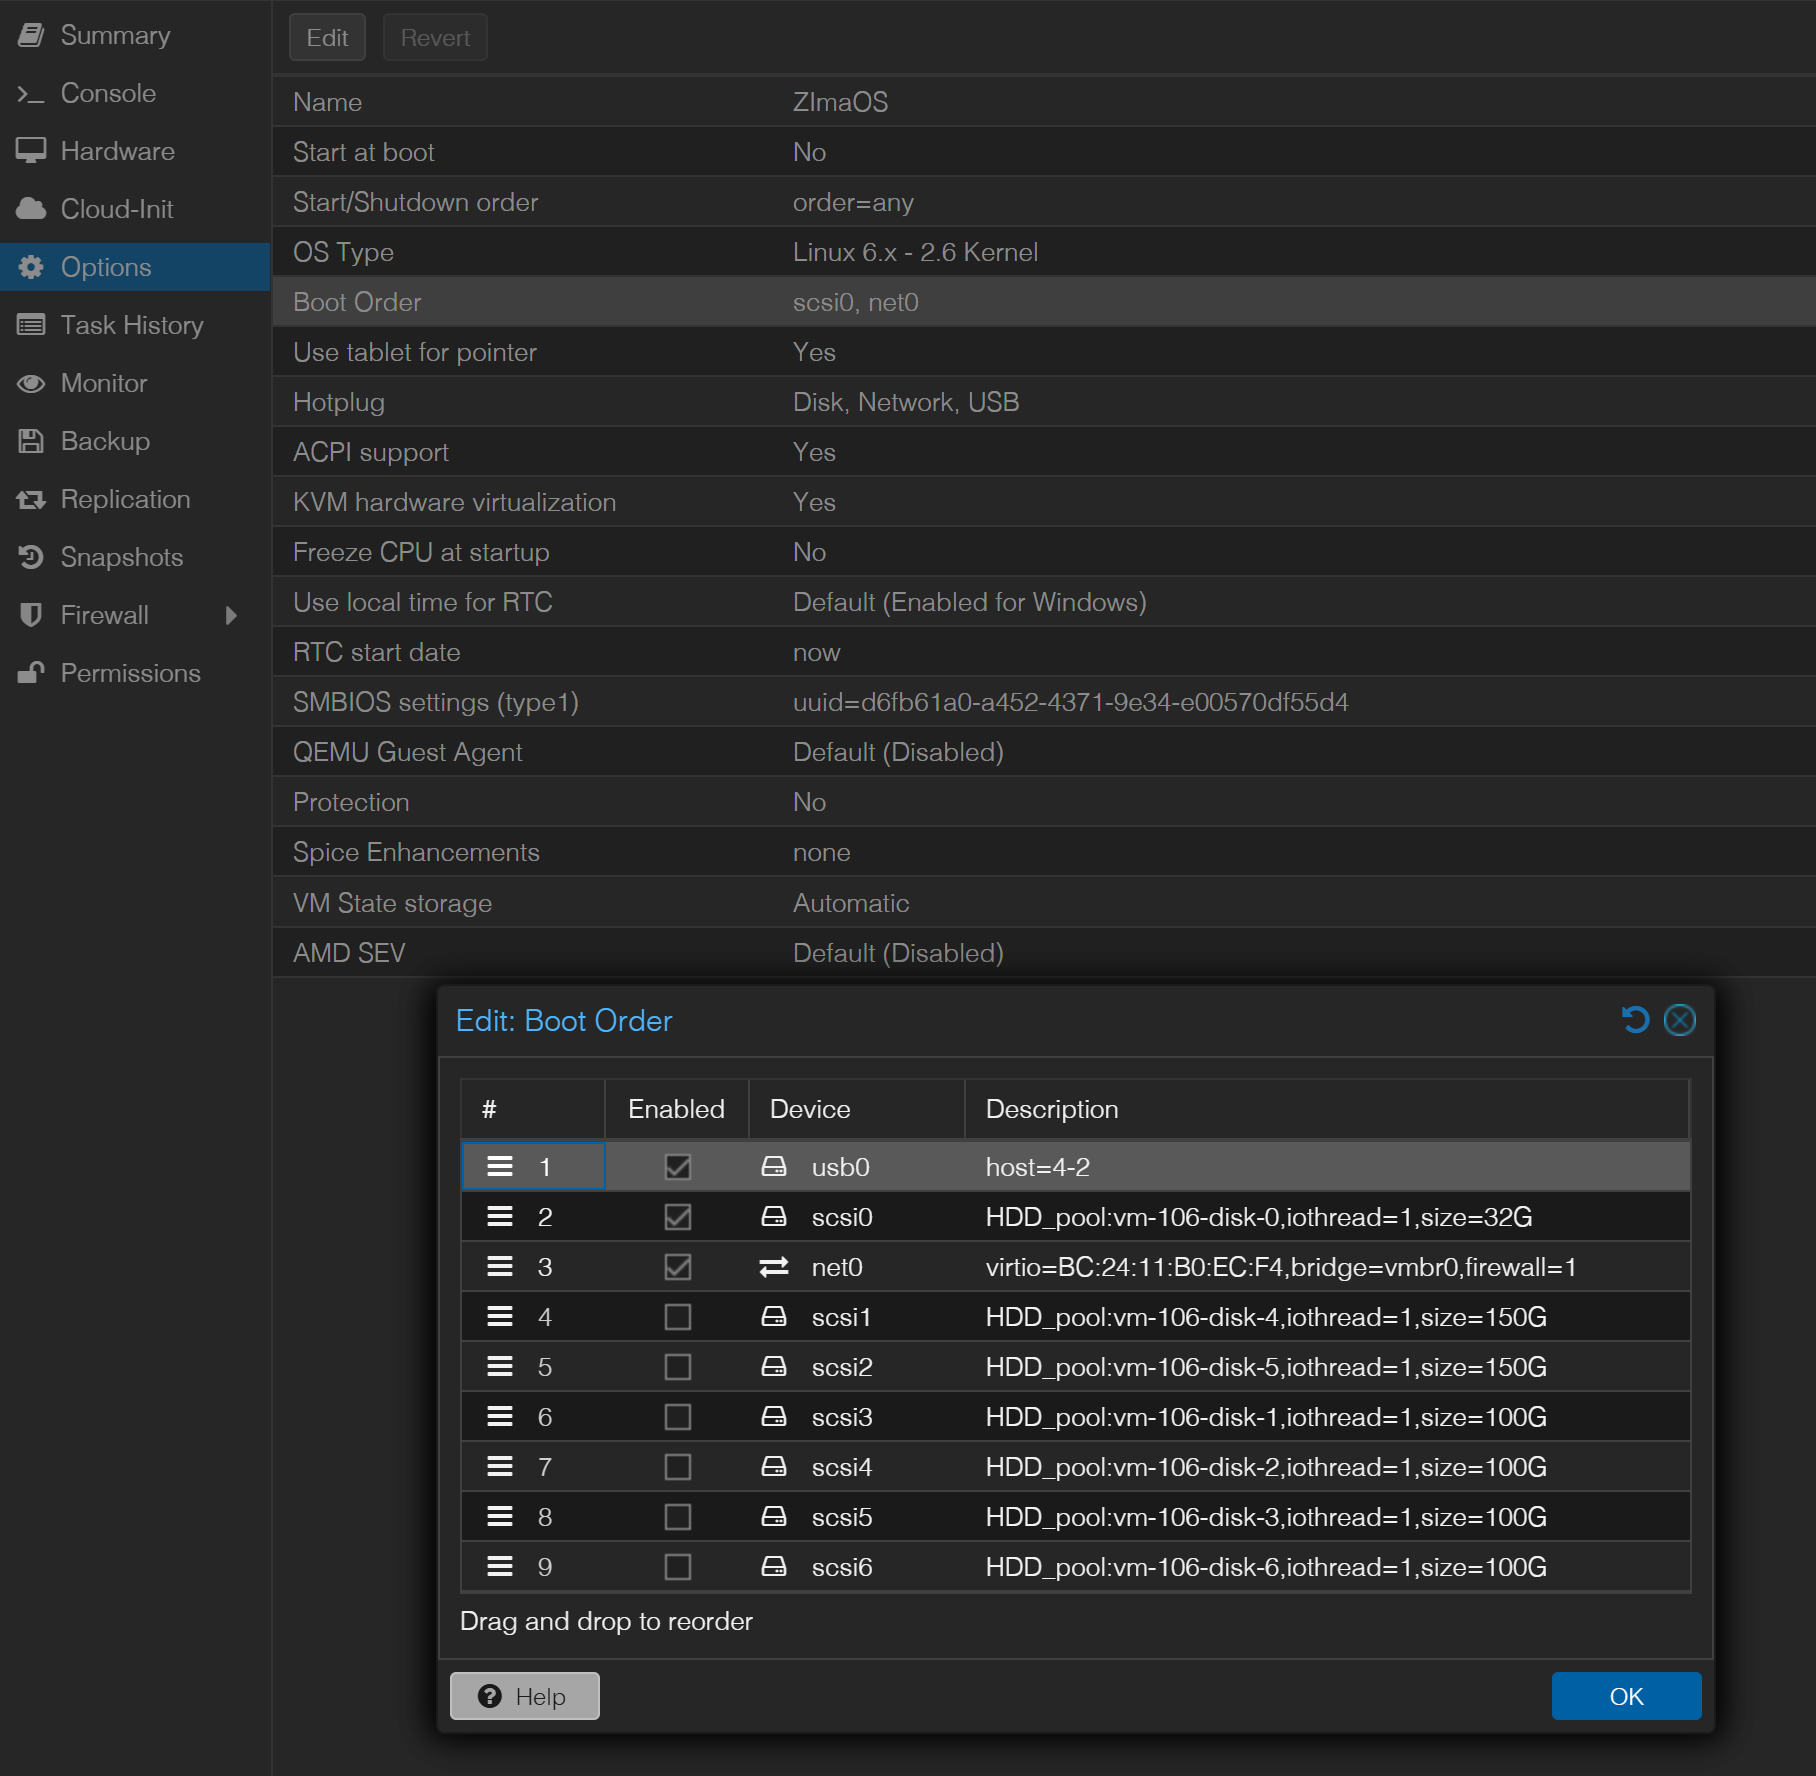
Now enable the USB in the boot order window and move it to the top of the list to make it the first boot device.
To do this select the VM “Options”, double click “Boot Order” and in the popup window (Edit: Boot Order) look for the USB device (at first it will appear at the bottom of the window), click the Enabled option for the USB device and then drag the entry to the top of the list. Below is an example of the Boot Order window once you have completed this.
Now select the VM “Console” and click Start Now … and voila the ZimaOS installer should run.
Note: I could not get the 1.4.1-beta1 image to boot. The 1.4.0 image boots as does the 1.4.1-beta2 image.
However doing an OTA update from 1.4.0 to 1.4.1-beta1 worked.
For those who had trouble accessing the NAS in Windows 10 (Win 11 and Linux Mint worked immediately for me)
The NAS has to be manually added in Windows 10 like this:
Explorer->this PC->map network drive->now the important one “connect using different credentials”->Finish
Then just type your credentials and you have access to the NAS via SMB
I’ve tried to get the QEMU Guest Agent working inside ZimaOS and it’s basically not doable with the stock system. ZimaOS is a locked-down Debian variant, the package manager is stripped out and you can’t install qemu-guest-agent directly.
I even built a custom Docker image with the agent, but the virtio channel that Proxmox uses (/dev/virtio-ports/org.qemu.guest_agent.0) doesn’t pass through properly into containers, so the agent just sits there getting EOF messages.
Proxmox expects the guest agent to run on the host OS itself, not in a container. On a normal Debian or Ubuntu VM you can just apt install qemu-guest-agent and it works instantly, but ZimaOS isn’t designed for that.
Gotcha, thanks for sharing that. I guess we’d really need to wait for icewhale’s team to come up with either that being pre-built as a feature that can be updated or some way to install safe installation tools such as QEMU agent and lm-sensors.
This with the script is the easiest way, which I also used after trying for a long time to install it manually (not following @jwag59’s guide but from somewhere else), and it’s the simplest and safest method for people who don’t have much experience with VMs. If v1.4.1 gets installed for you as well, don’t panic—just update to the latest version after starting ZimaOS. Happy testing, and @Shark thank you for sharing the link!
I’ve been struggling with installing it on 161 and once I have done it, but this process has been lost, and now I’ve tried for the second time and then there is no success. I cannot reach to the installer of Zima OS, and I give up.unless there is someone who can tell me exactly how it is done at the moment with Proxmox and Zima OS.