Hello everyone, I’m Sorwin.
Ever since I started tinkering with a few small servers dedicated to running Docker a year ago, I came across CasaOS and joined its Chinese community. I have since provided numerous, albeit immature, suggestions for CasaOS and the subsequent ZimaOS.
Perhaps due to my long-term active participation in the community, I caught the attention of the IceWhale team and was fortunate enough to receive a ZimaCube Pro for testing. The following content is a static hardware teardown. Future articles will cover system, application, and third-party system support reviews, so stay tuned.
P.S. The ZimaCube Pro sent by IceWhale is a β version public test. Any issues found will be reported to the IceWhale team for adjustments. In other words, this series of reviews only applies to the current version of ZimaCube Pro and does not represent the final product state.
1. Overall Introduction
The package I received weighed 8.3 kilograms. Inside the outer kraft paper box was a black and orange paper box.
The packaging contents are quite rich. In addition to the device itself and a 19V×11.58A European standard power adapter, IceWhale also thoughtfully included a CAT6 network cable, four sets of fixing screws, and one each of a Phillips and an Allen screwdriver.
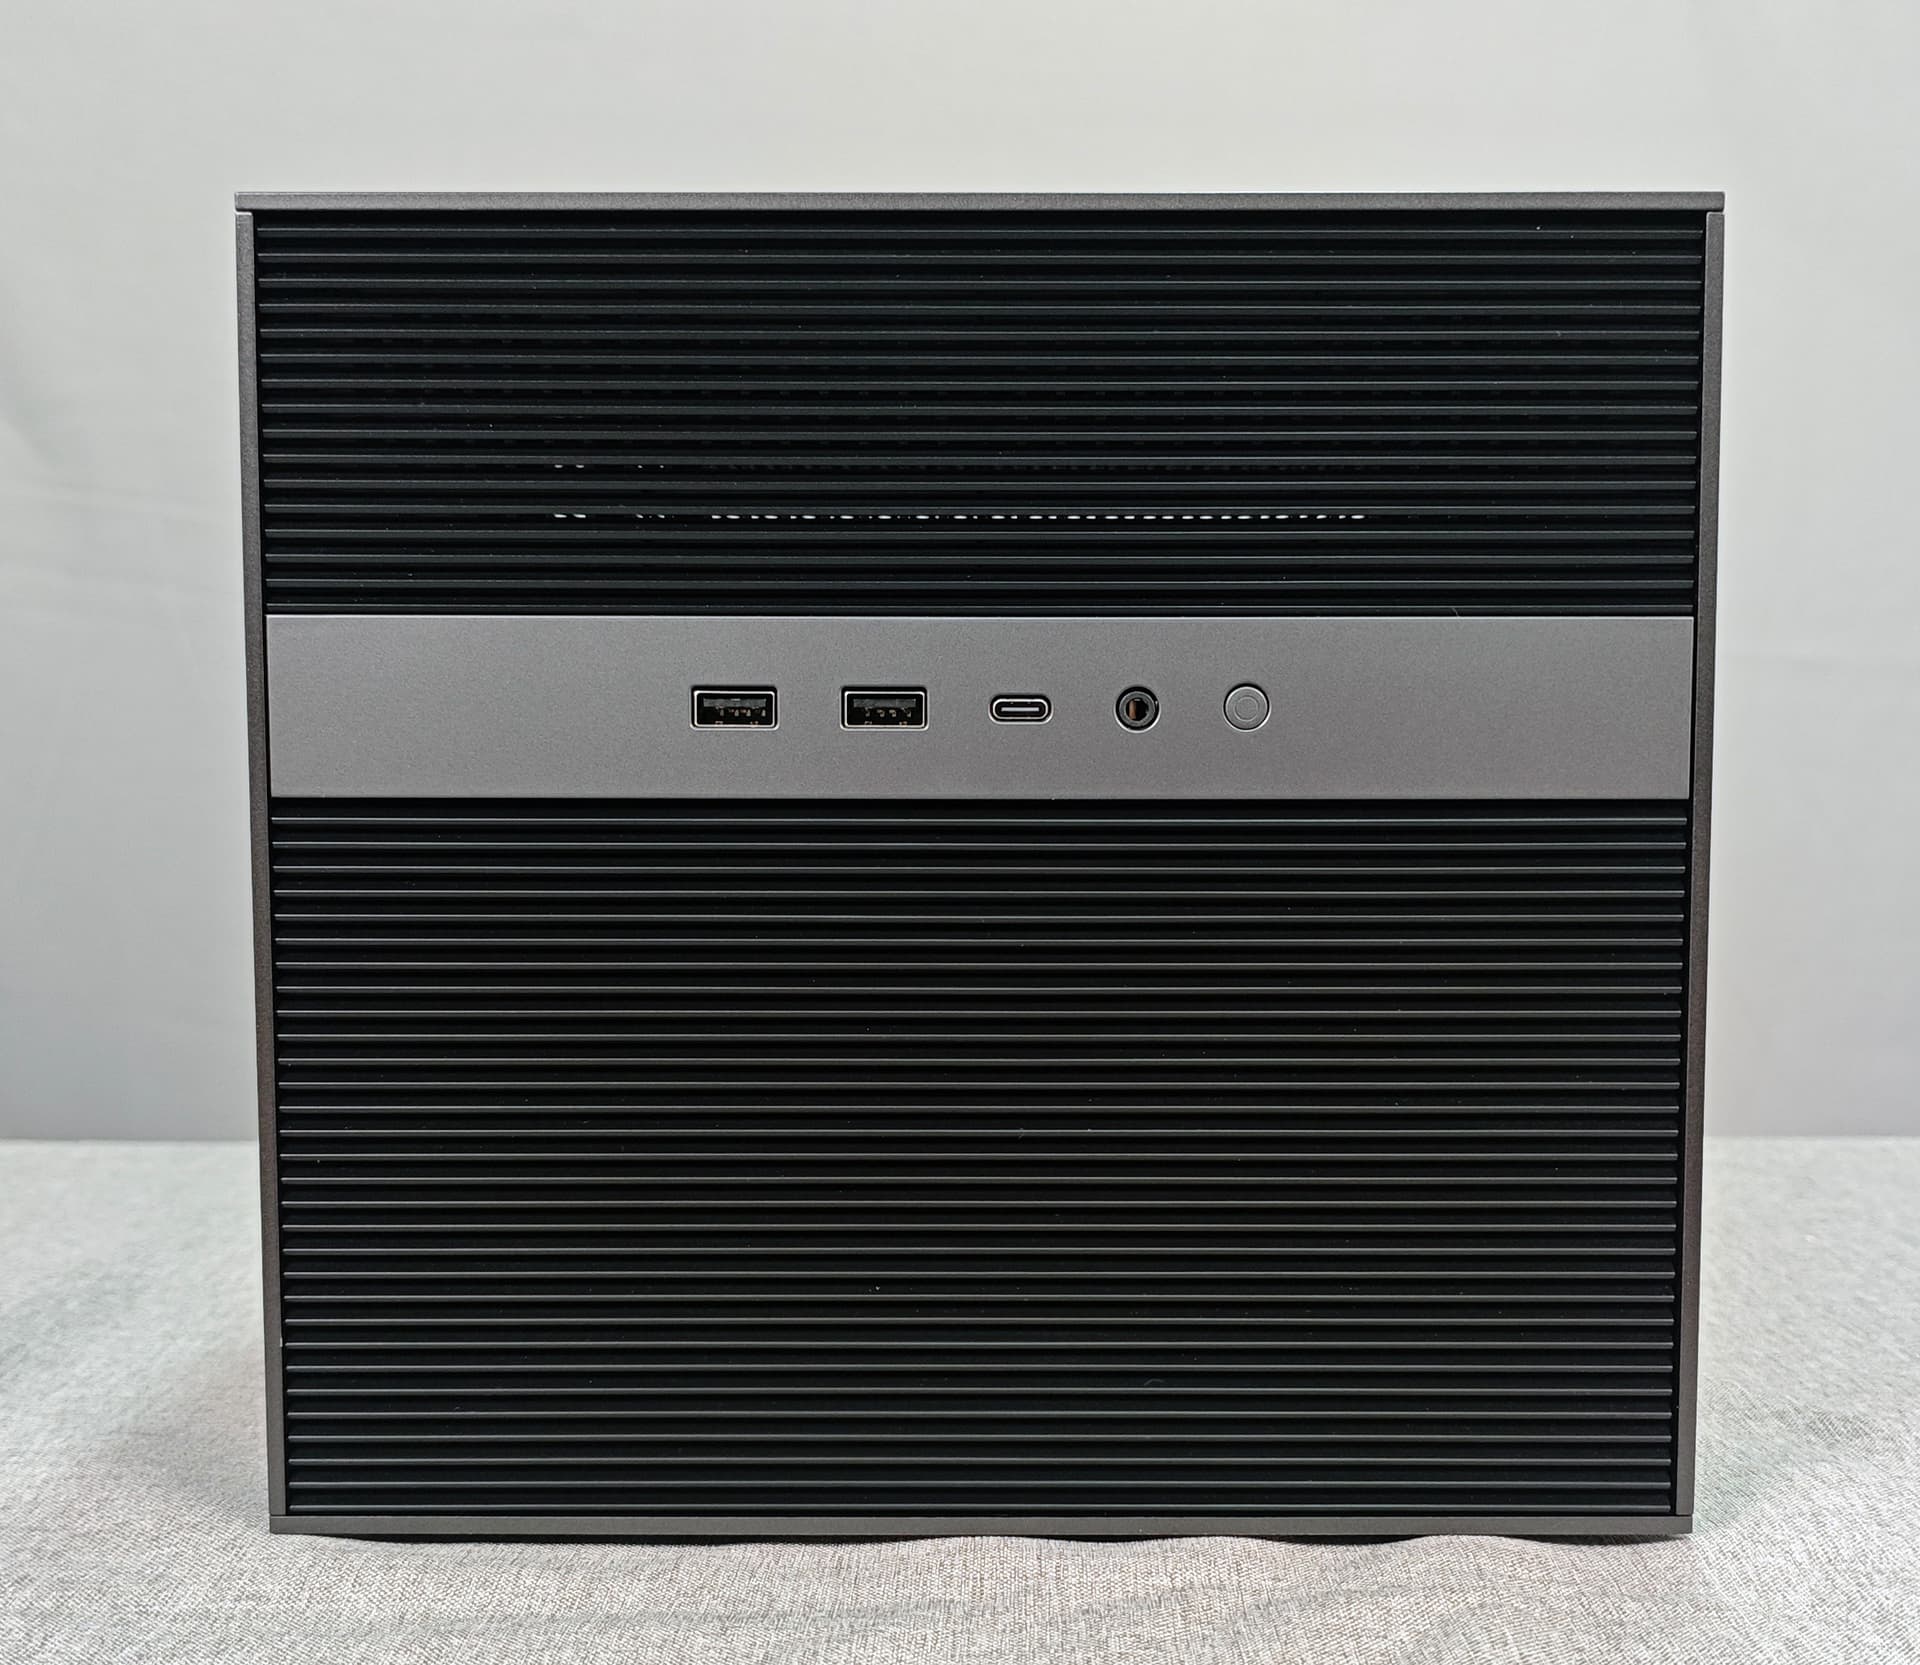
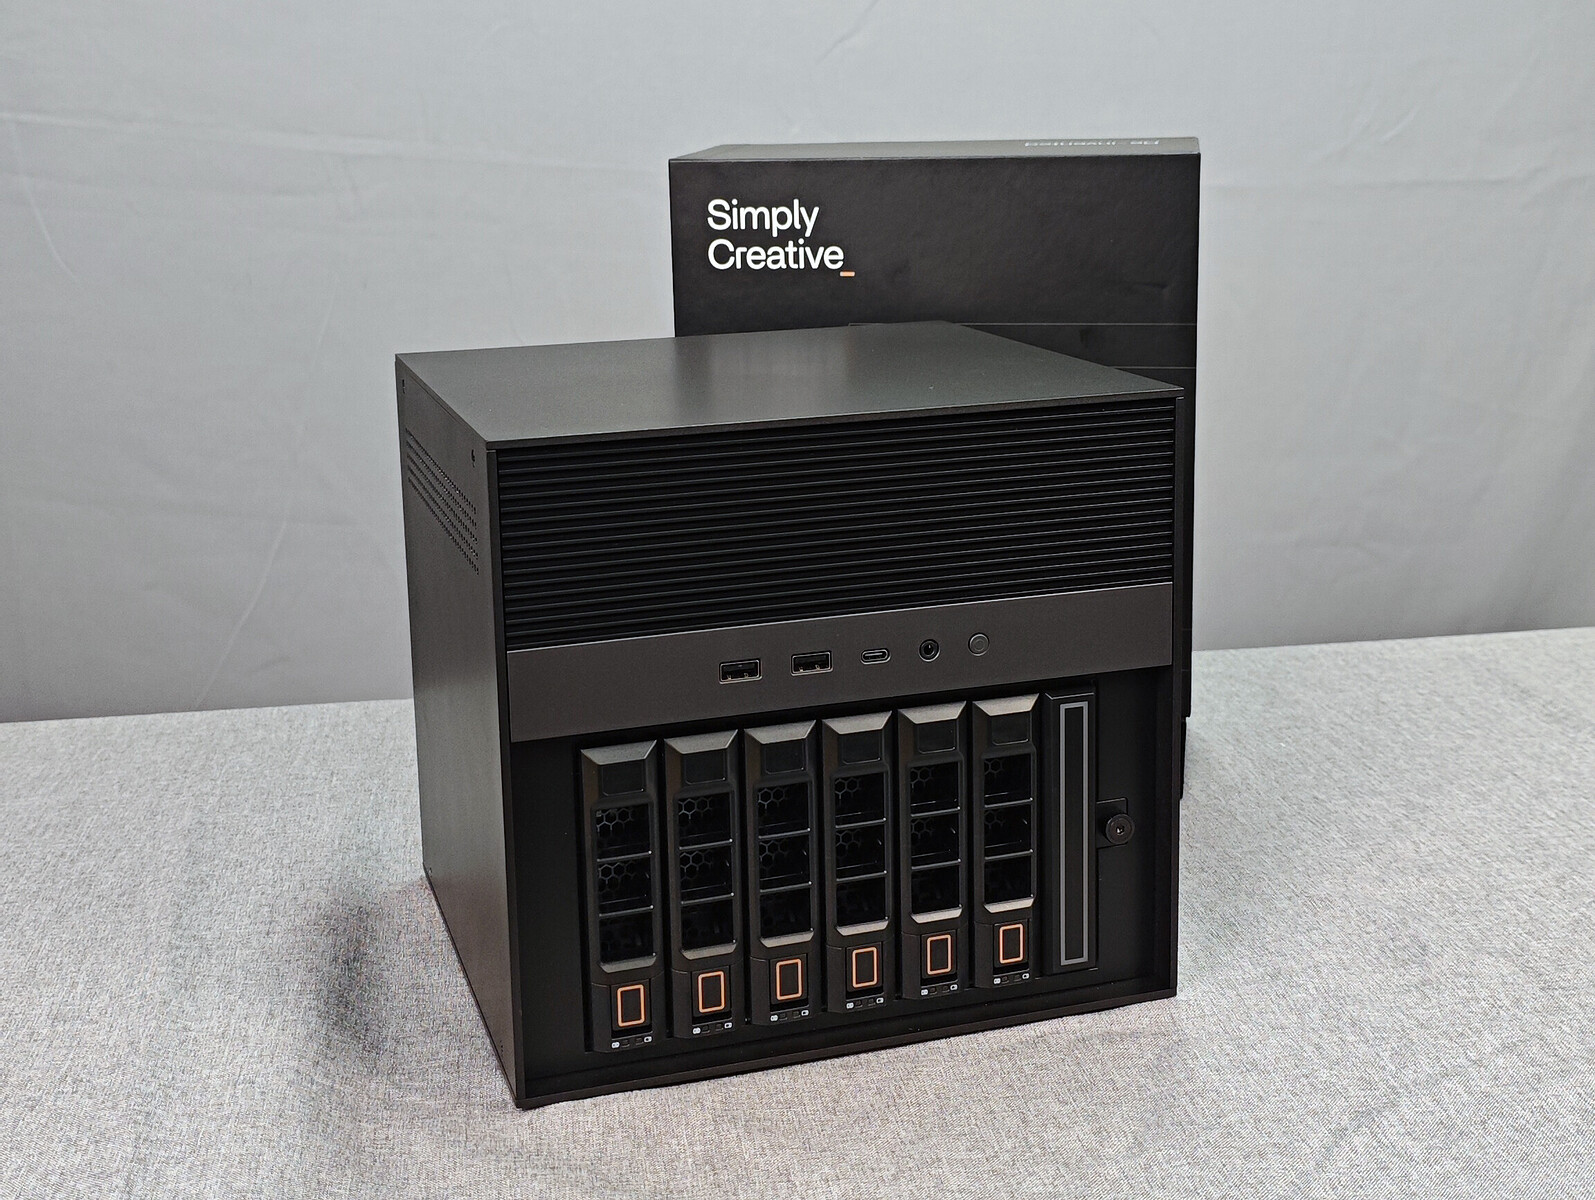
The device itself is a boxy cube, hence the name. The front, apart from the central I/O area, is made of plastic grille, and the body is made of fully aluminum CNC material, which feels heavy and gives a sense of security.
In terms of layout, the ZimaCube series adopts a similar upper and lower layered structure like treasure boxes and Jonsbo N2 NAS cases. The advantage is that the data processing area and storage area are clearly partitioned, providing ample space for heat dissipation design. However, the downside is that the case structure may be somewhat large.
For their first NAS product, the IceWhale team has clearly put a lot of thought into it. Innovations such as the seventh disk and backplane connection methods effectively save both internal and external space. However, the team lacks experience in heat dissipation and airflow design, resulting in slightly noisy β version public test ZimaCube. Detailed analysis will follow in the subsequent sections.
2. Upper Motherboard Compartment Introduction
As mentioned earlier, the ZimaCube uses an upper and lower layered structure. First, let’s uncover the “upstairs” motherboard compartment, which is the core of the entire device.
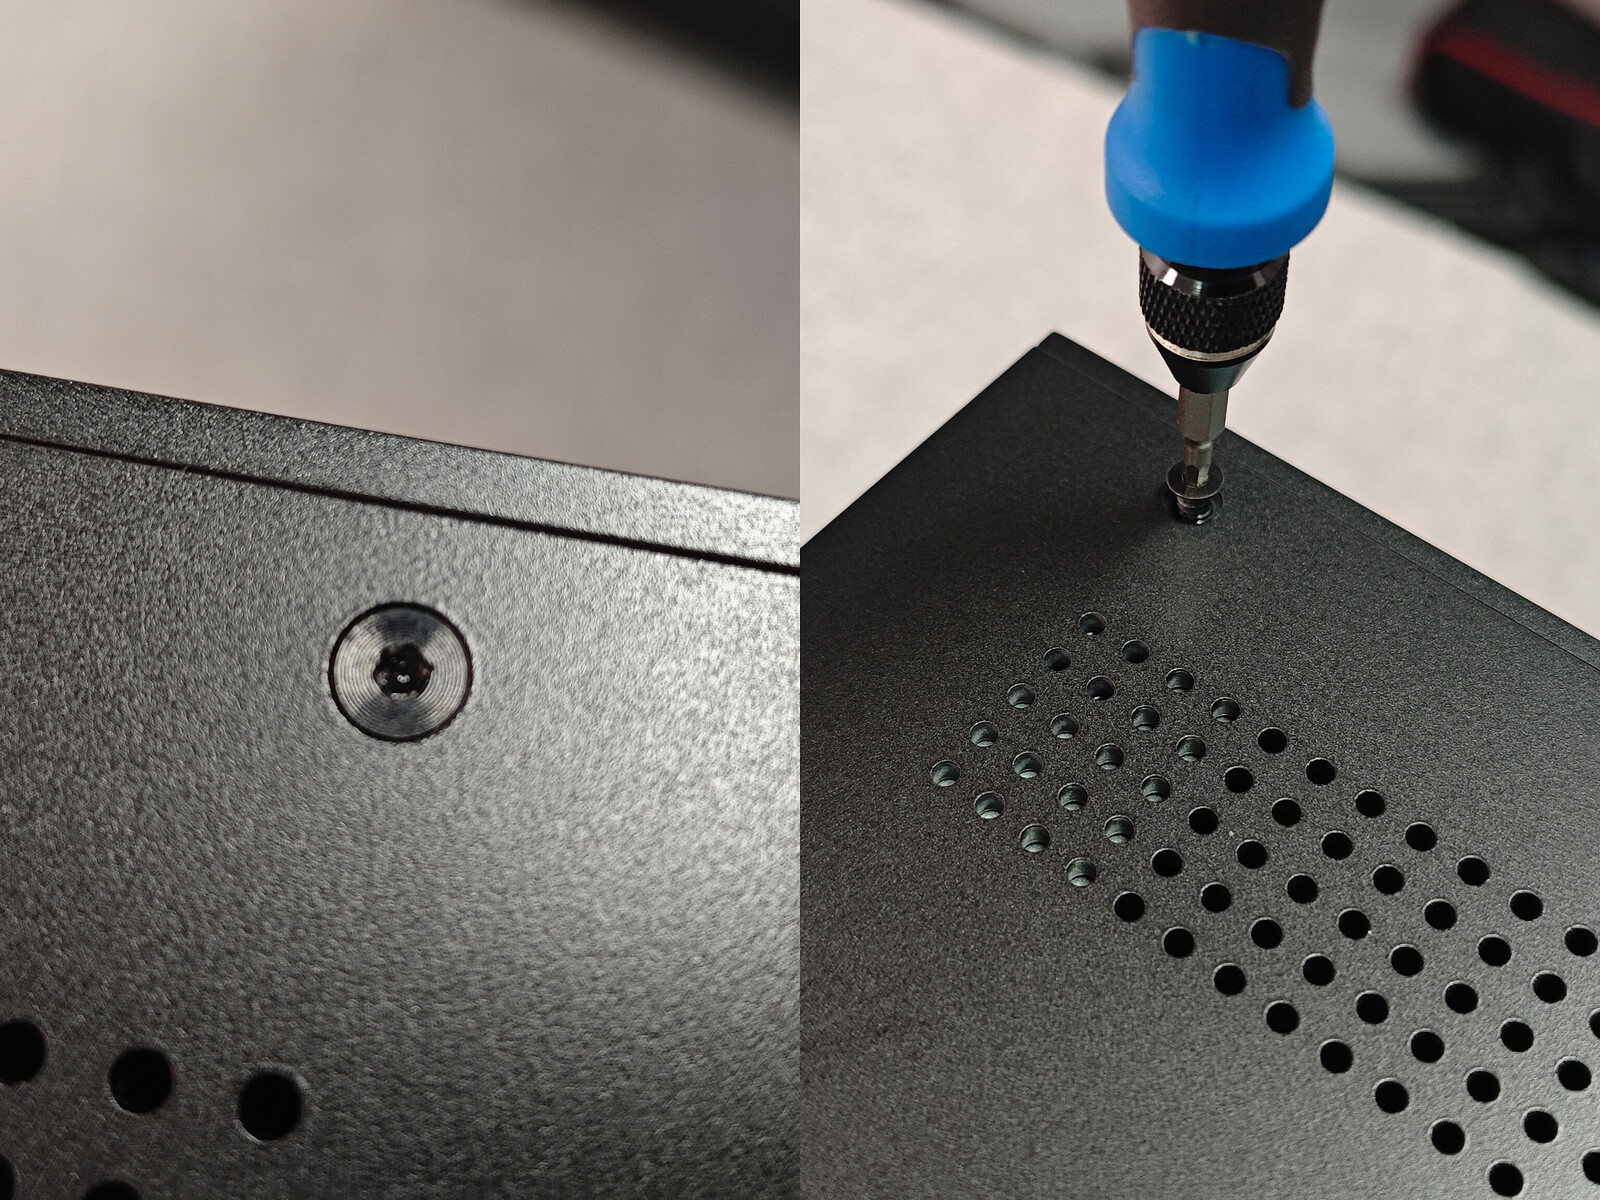
Using the included or a personal Allen screwdriver, unscrew the four screws on both sides, and then gently pry it open with a fingernail or card to open the ZimaCube top cover.
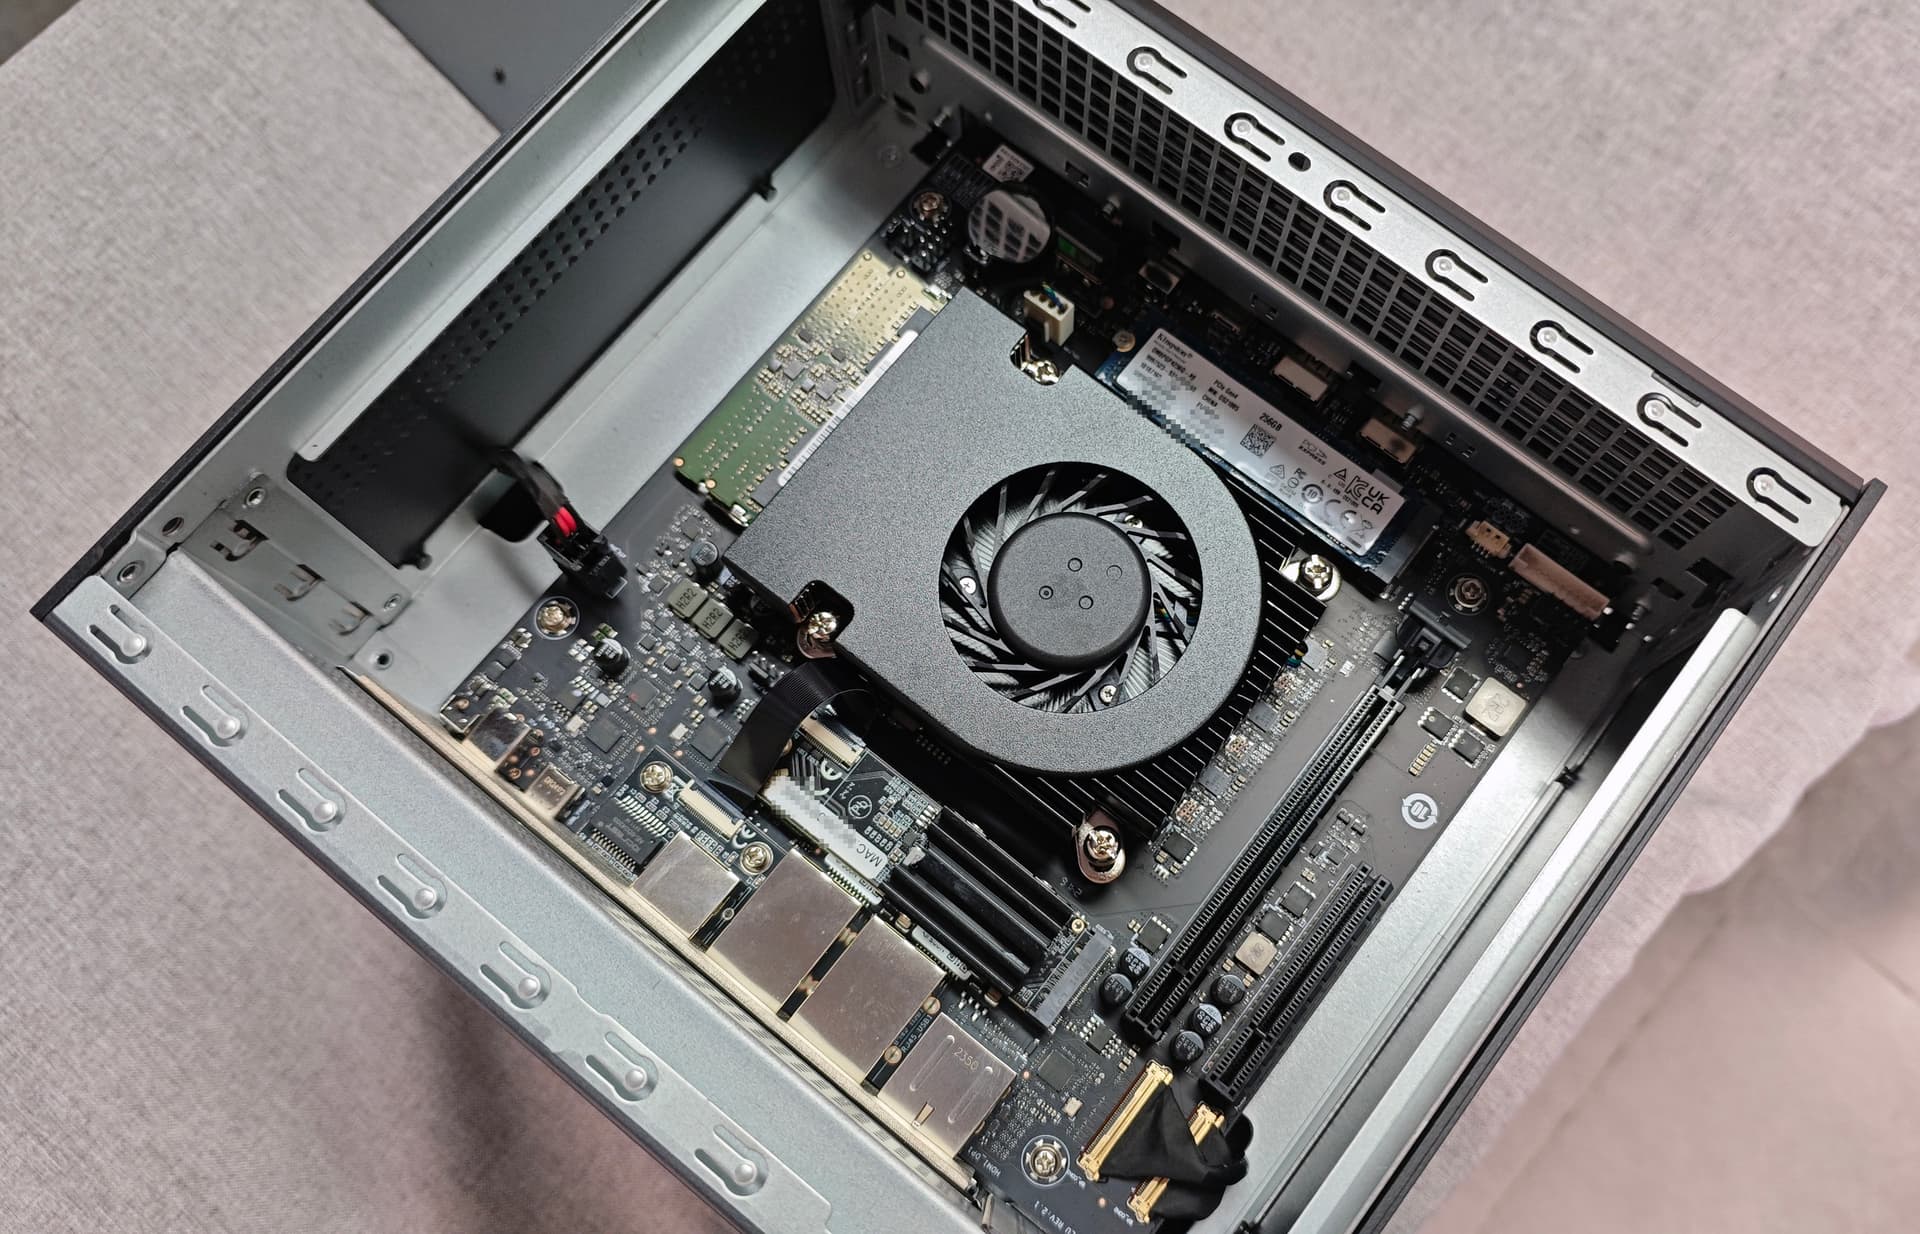
In the center of the motherboard is a 25mm high dual copper tube turbo cooler. We will introduce its performance and effectiveness in the thermal section below.
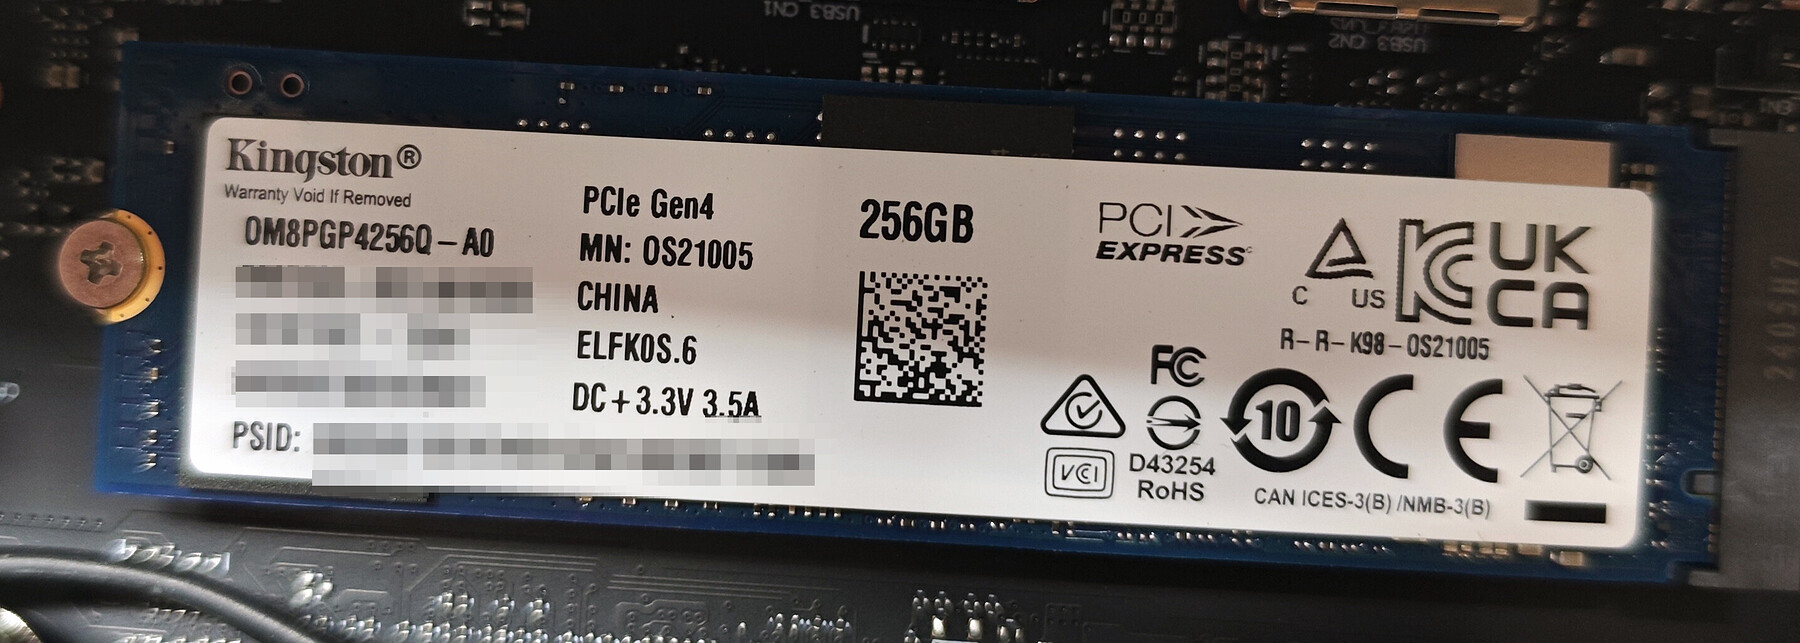
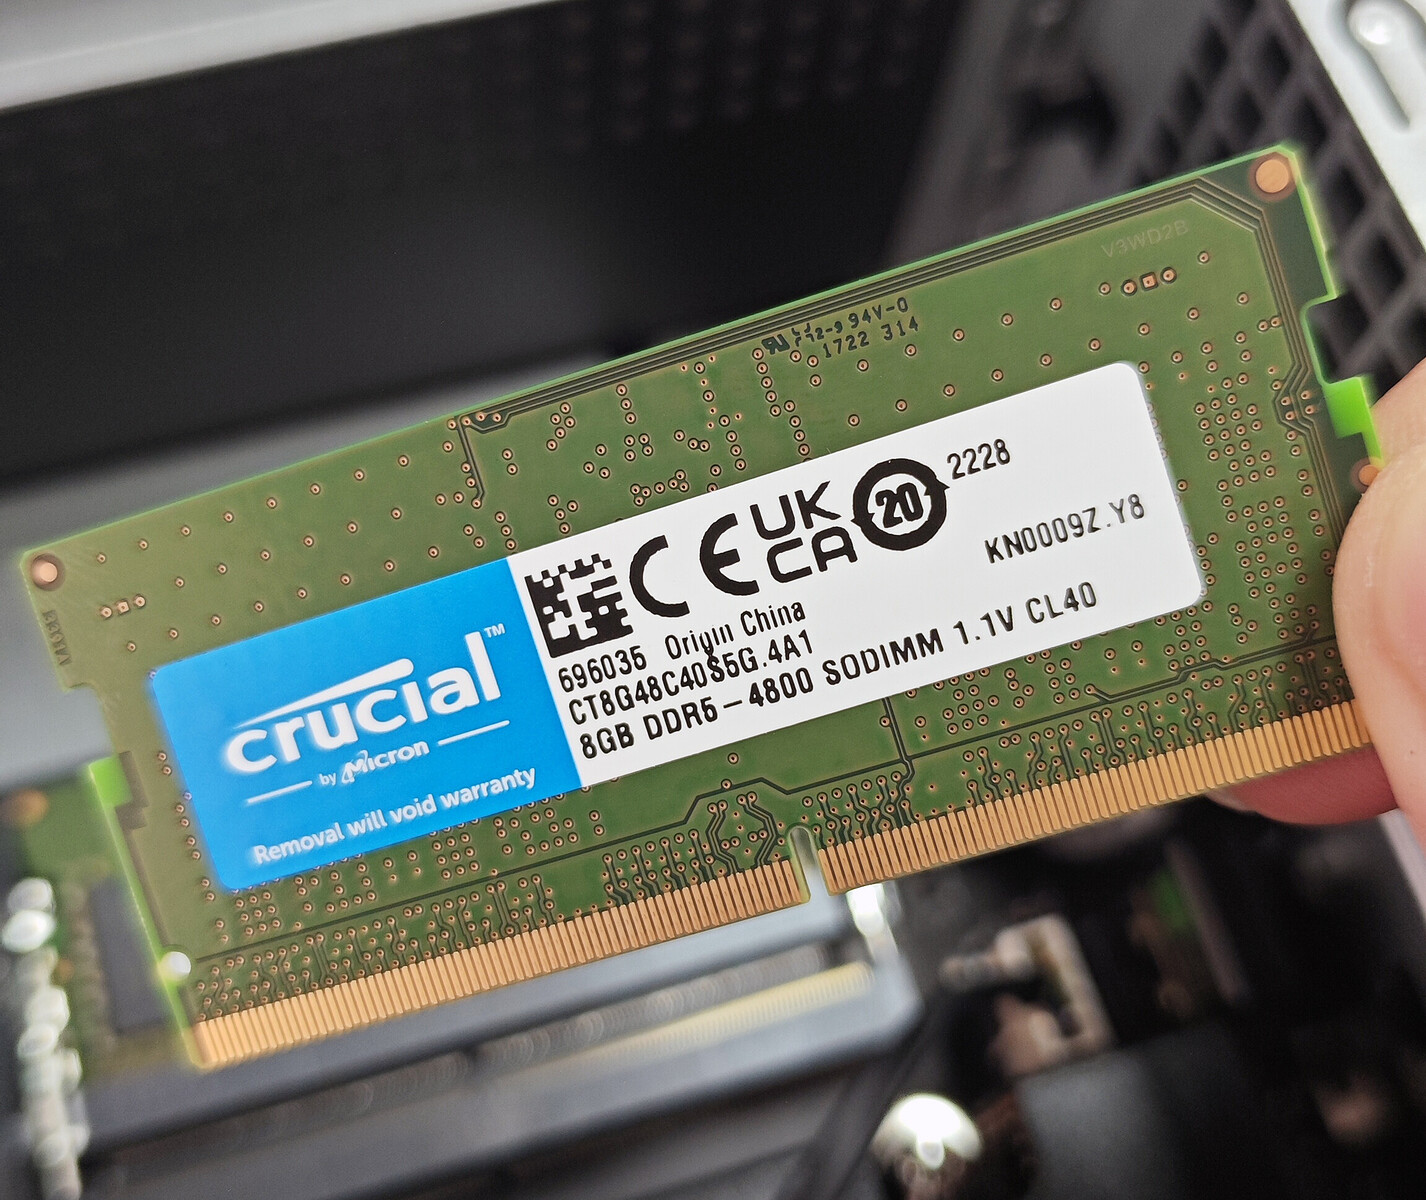
The ZimaCube Pro comes pre-installed with a Kingston OM8PGP4256Q-A0 256GB PCIe 4.0 NVMe SSD, containing the pre-installed ZimaOS operating system. The memory consists of two 8GB DDR5 Crucial CT8G48C40S5G modules, which are of solid quality.
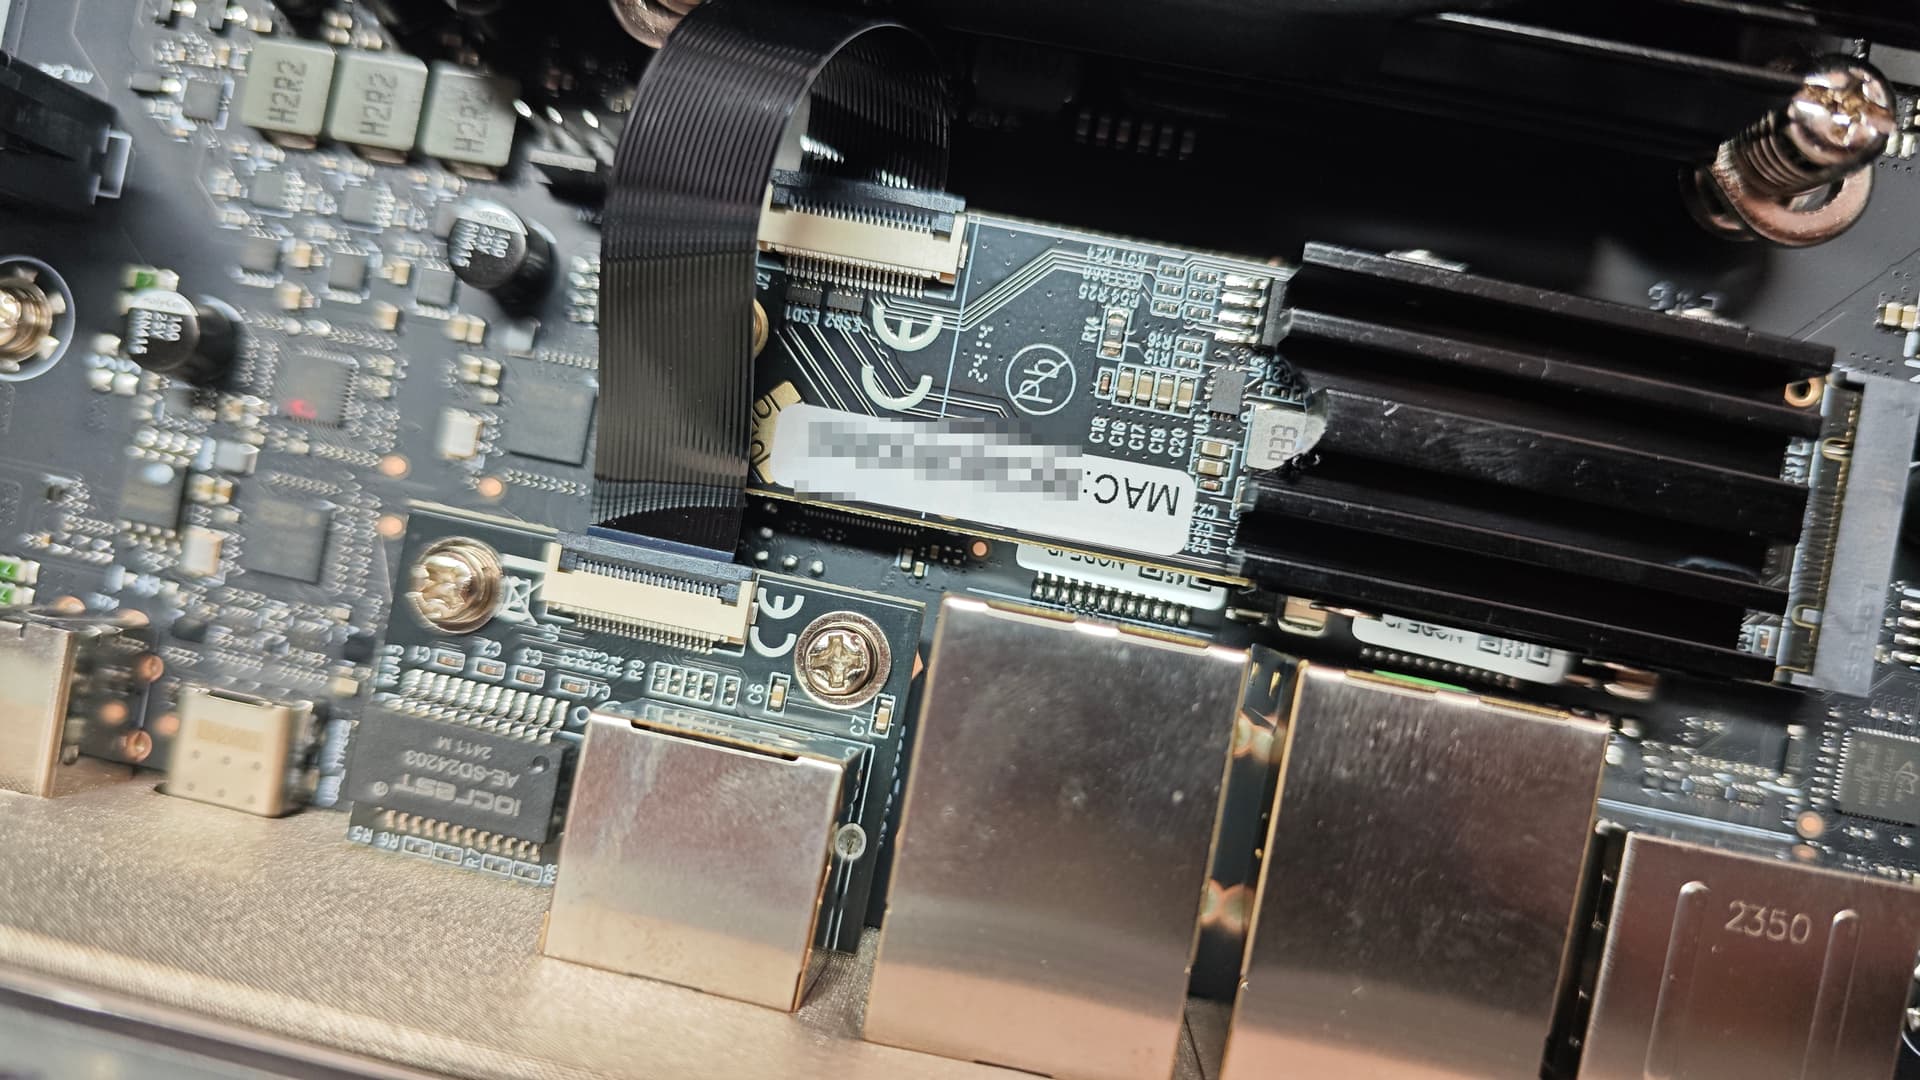
In terms of networking, besides the two onboard Intel i226 network cards, the ZimaCube also features a Marvell AQC113 10Gb Ethernet card installed via an onboard M.2 slot and adapter cable. This is why the Pro version of the ZimaCube has one less onboard M.2 slot compared to the standard version.
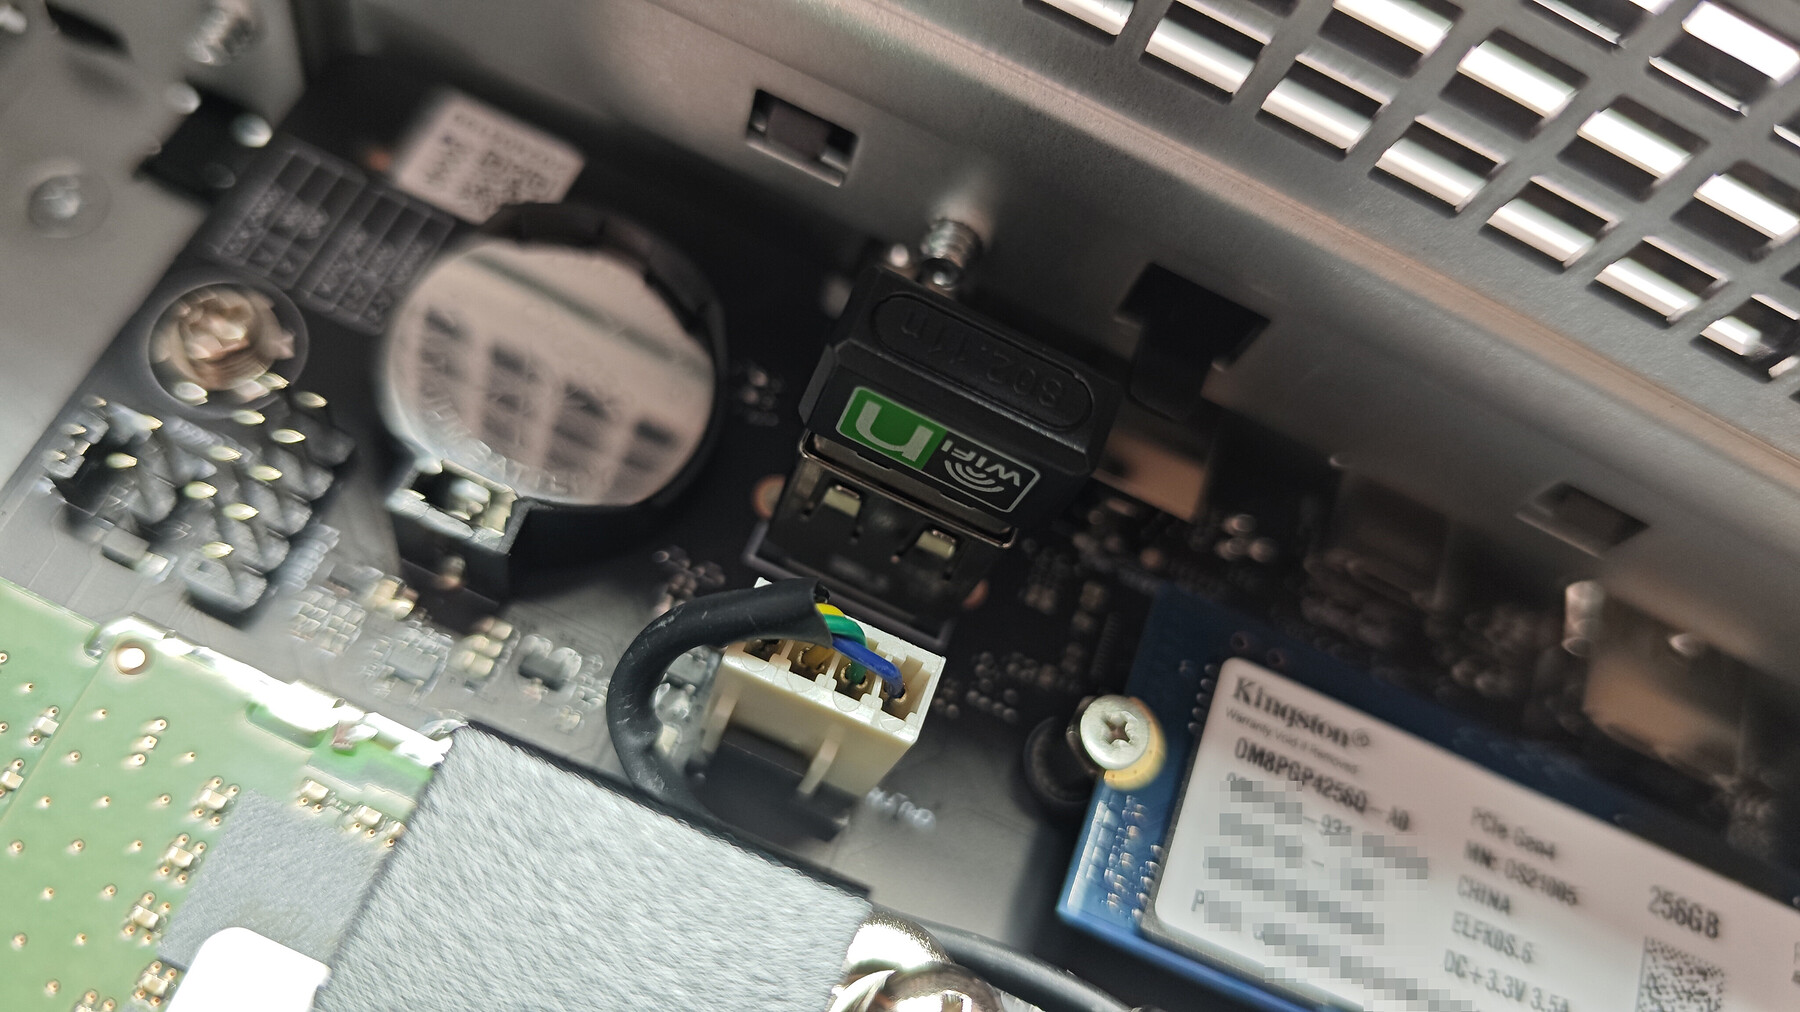
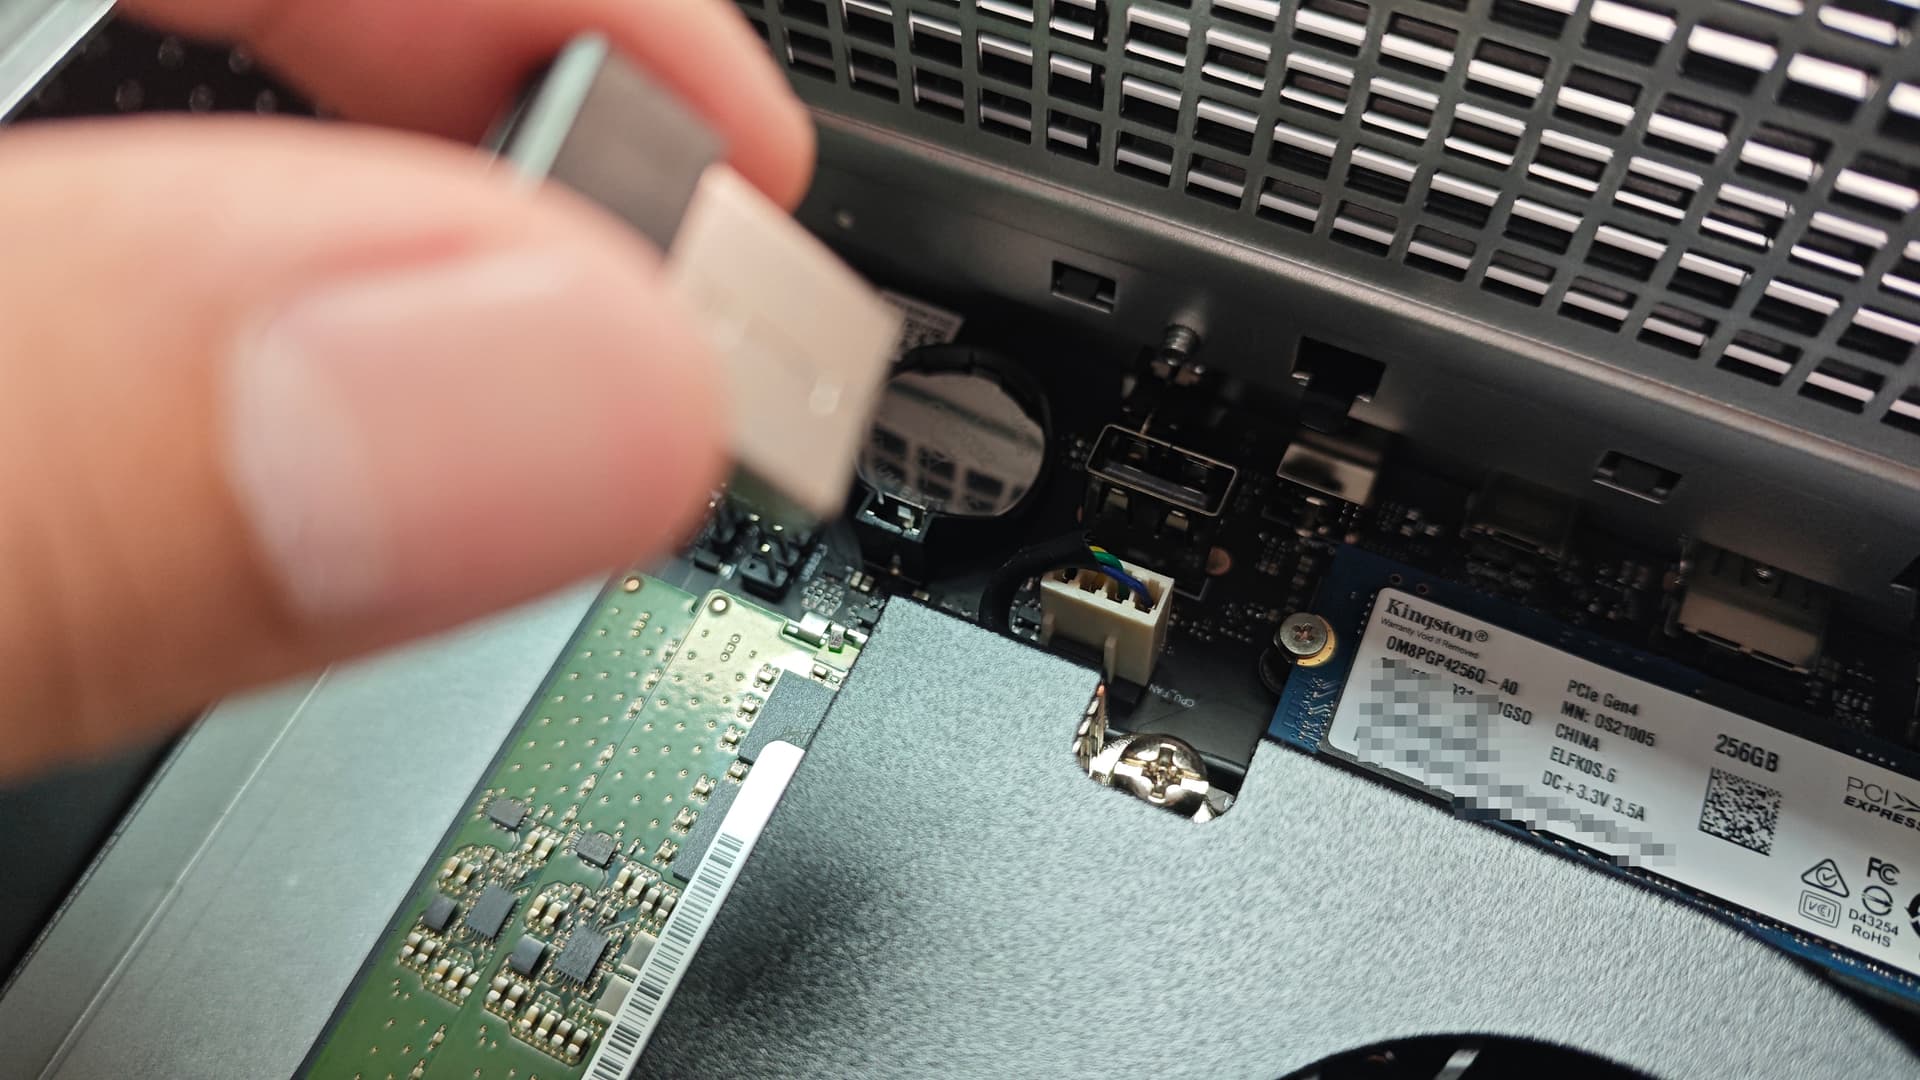
Worth noting is the reserved onboard USB interface on the ZimaCube motherboard, currently occupied by a USB wireless network card controlling the seventh disk lighting effect.
However, if you, like me, dislike light pollution and are an UnRaid user, then:
Okay, that concludes the introduction to the upstairs motherboard compartment. Now let’s explore the downstairs hard drive compartment.
3. Lower Hard Drive Compartment Introduction
As an NAS product, the design of the hard drive compartment is crucial, and most of IceWhale team’s ingenuity is reflected here.
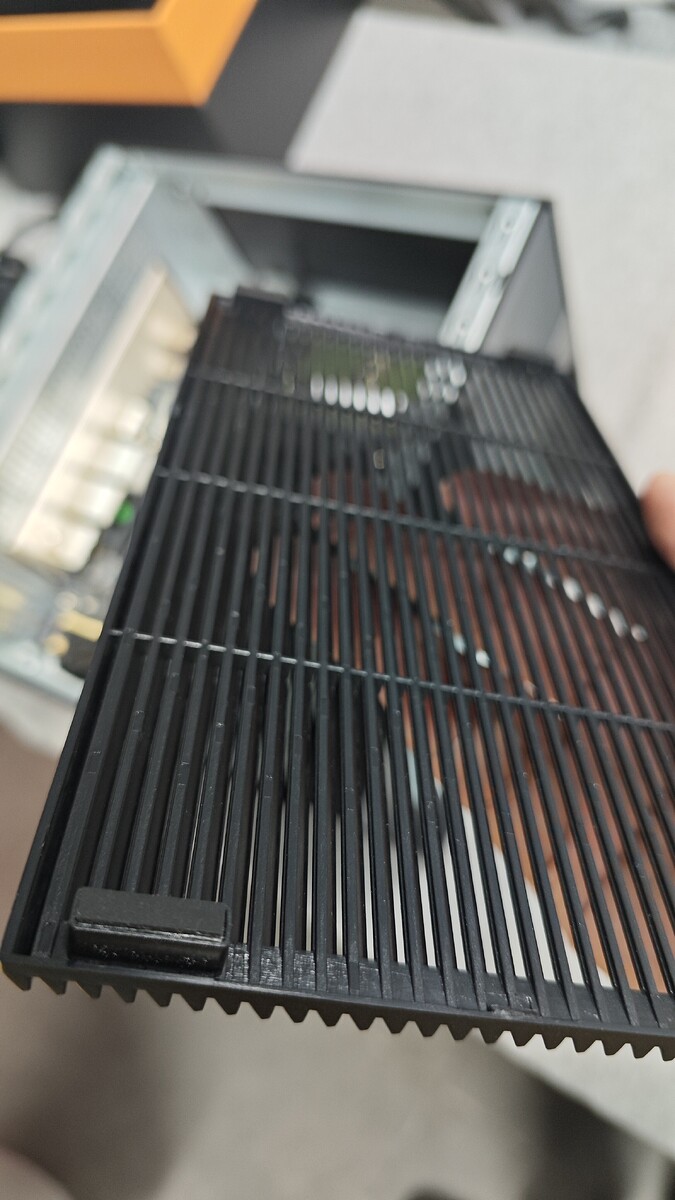
The front grille of the hard drive compartment uses a four-corner magnetic connection. Gently pulling it off reveals six plus one drive bays inside.
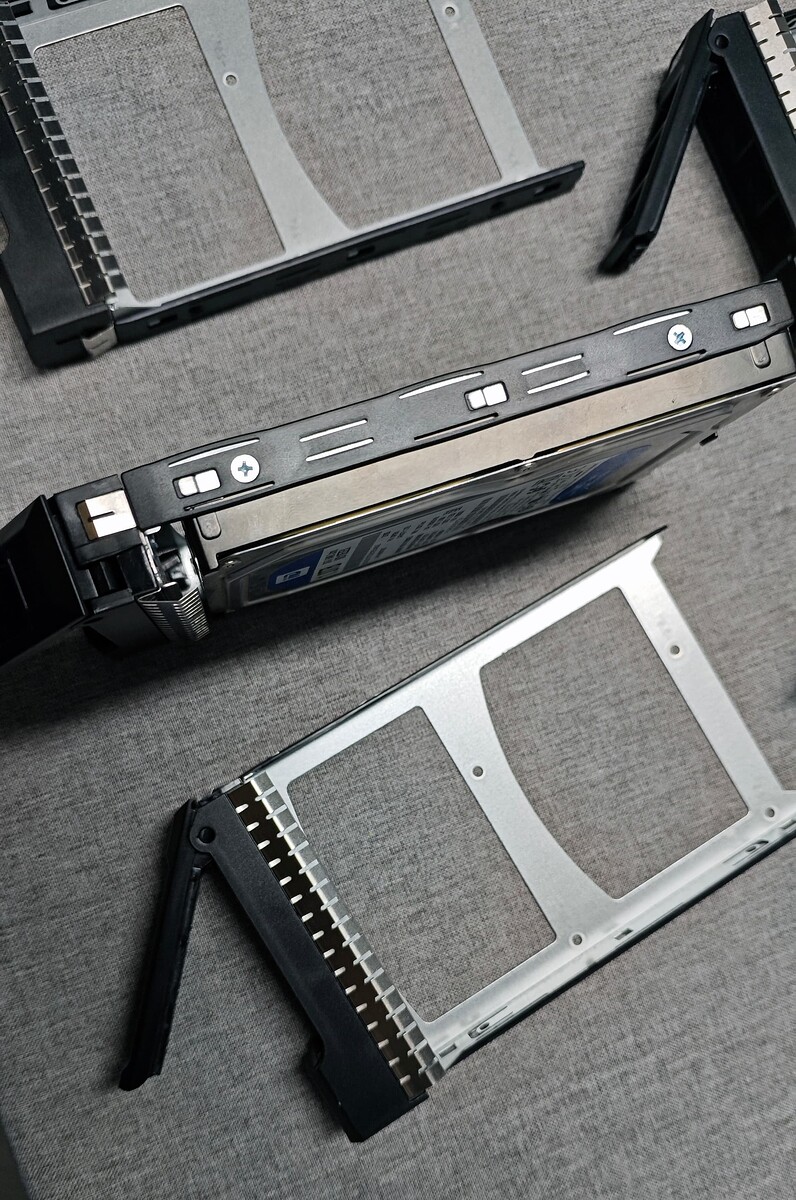
The ZimaCube series provides six drive bays using regular screw-fixed extraction boxes with indicator lights for mechanical hard drives. While the screw fixation is not very convenient, it is stable. The extraction/installation process is smooth, but some force is required to push the drive into the backplane and then press down the handle to install it.
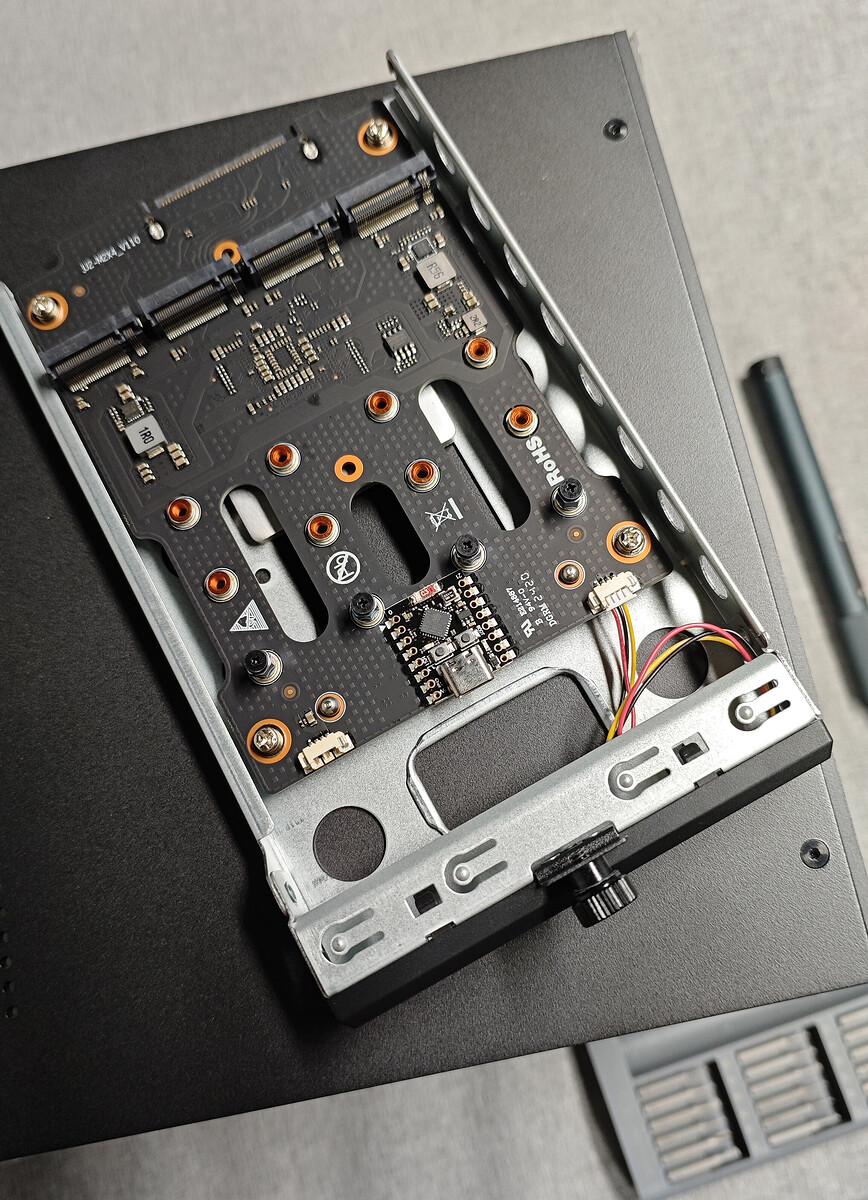
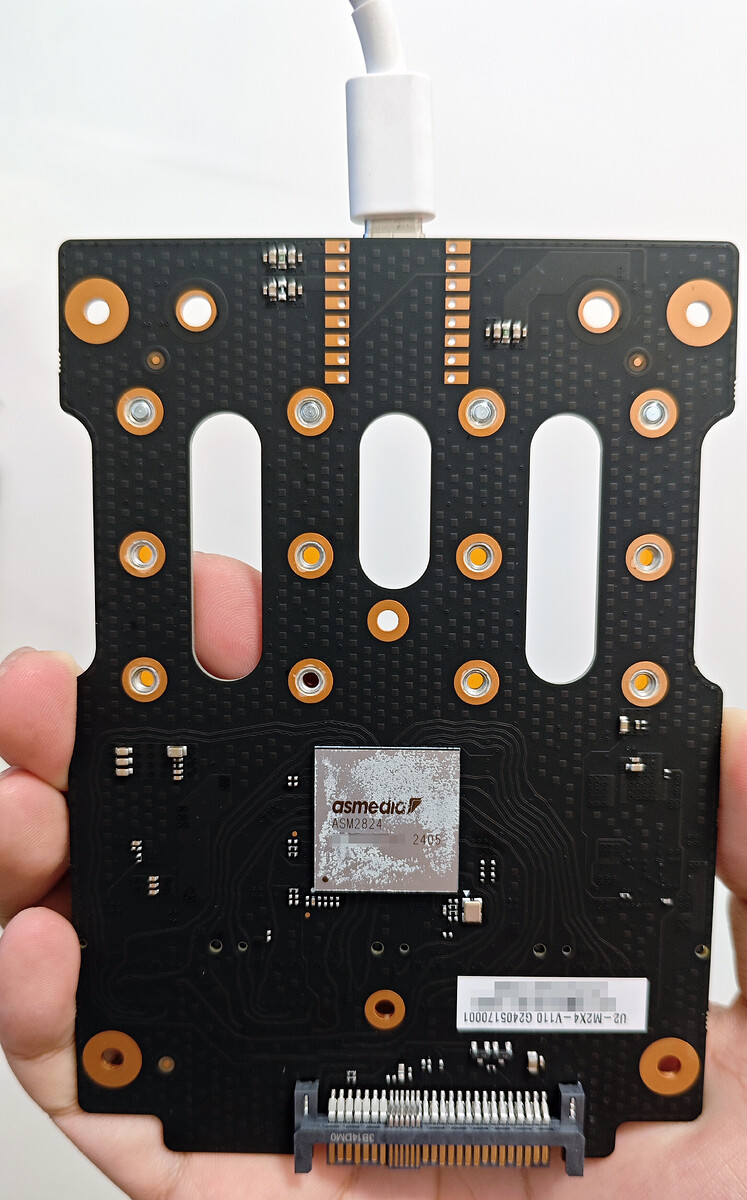
The highlight of the drive bays is the seventh disk located on the far right, featuring a programmable RGB LED module on the front. Pulling it out reveals four M.2 slots with a maximum speed of 3200MB/s (Pro version).
Removing the board shows that the seventh disk is supported by an ASMedia ASM2824 chip, allowing it to expand four M.2 slots without the need for motherboard PCIe splitting support. This is the same IC used in Synology’s 10Gb + M.2 combo module.
Particularly noteworthy is the ESP32C3 SuperMini microcontroller pre-installed on the seventh disk, with current leads used to control the LED module. It also supports future secondary development, offering more DIY possibilities for users.
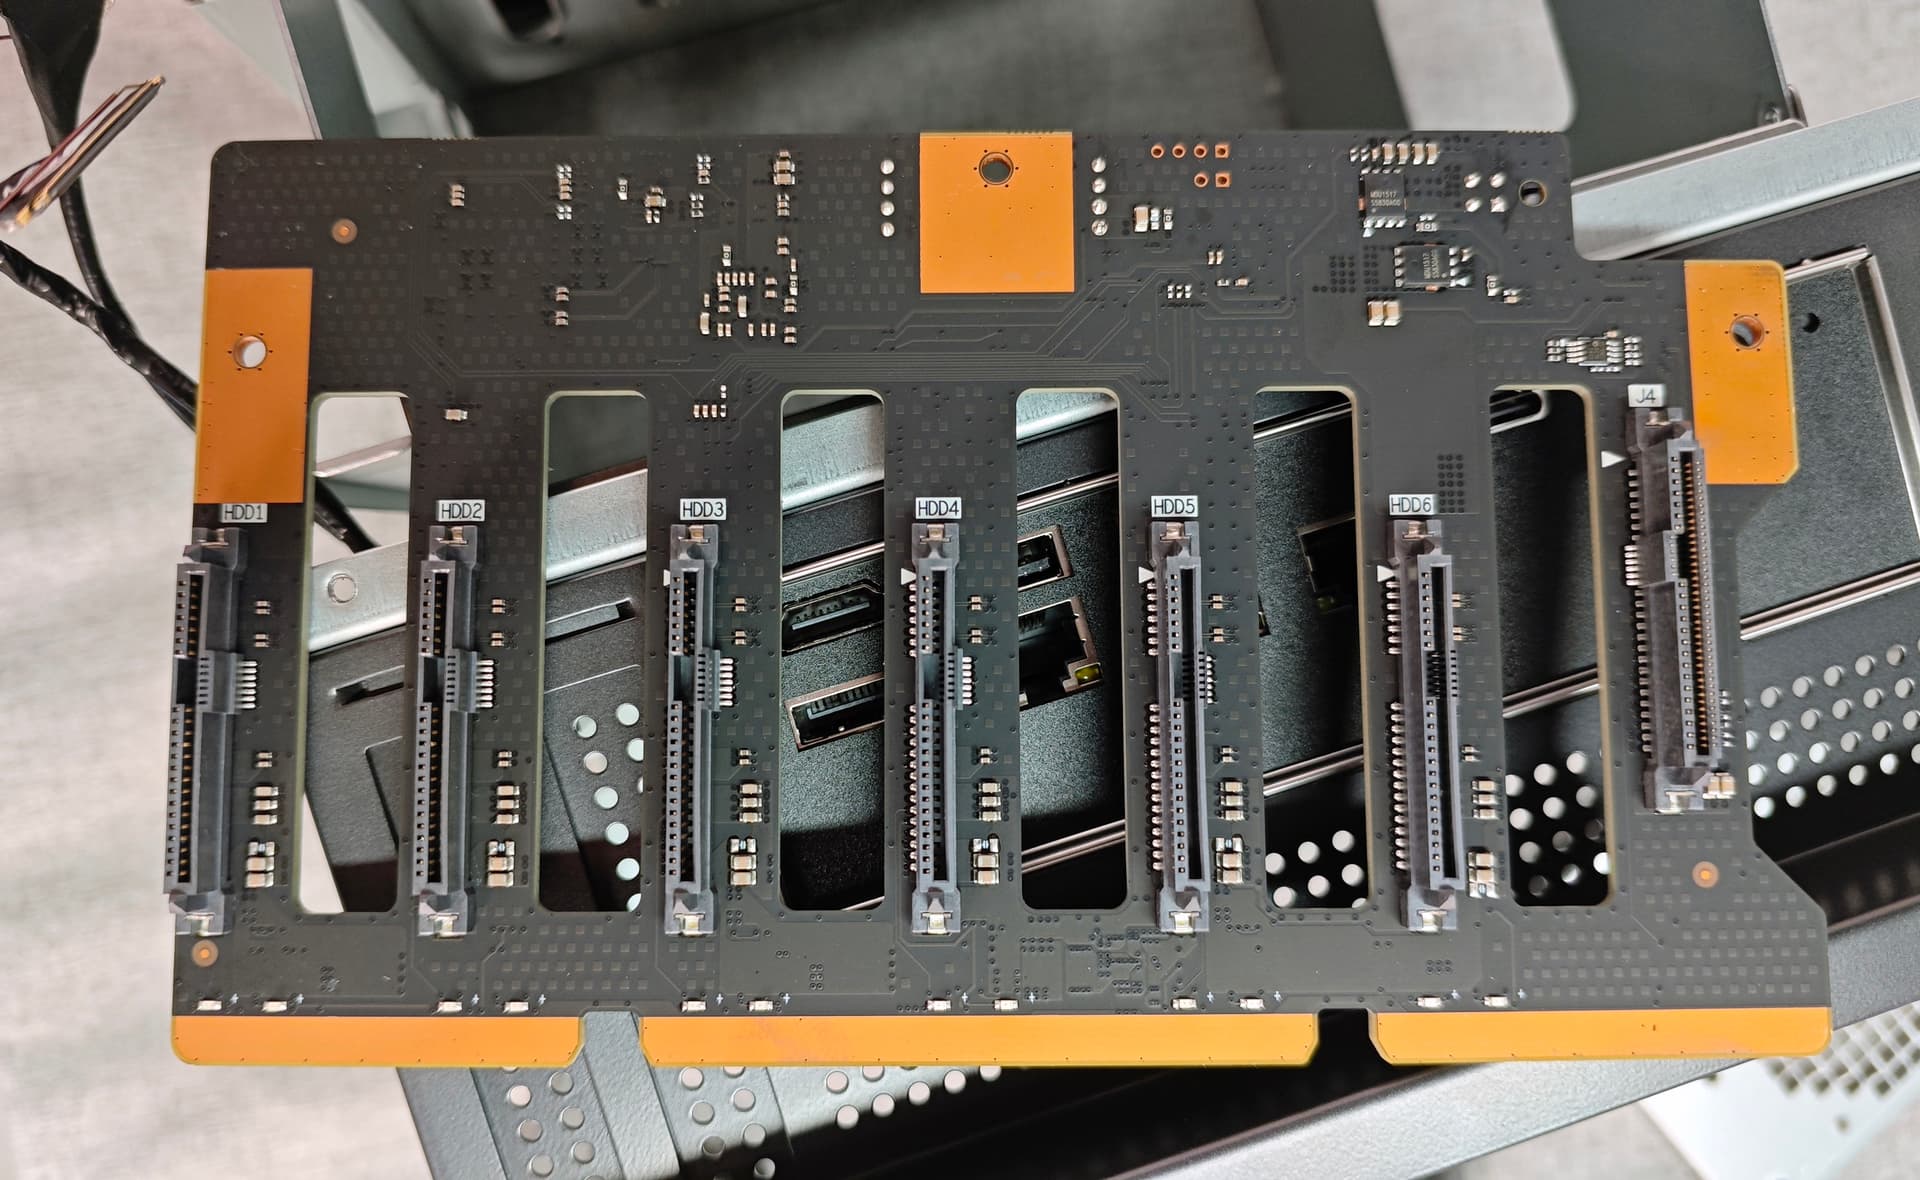
Besides the seventh disk, the backplane design of the ZimaCube is also unique. Its interfaces use SATA/SAS compatible connectors, supporting SATA hard drives or SAS drives running in SATA mode (controller chip limitation). The double-sided welding process provides better interface strength.
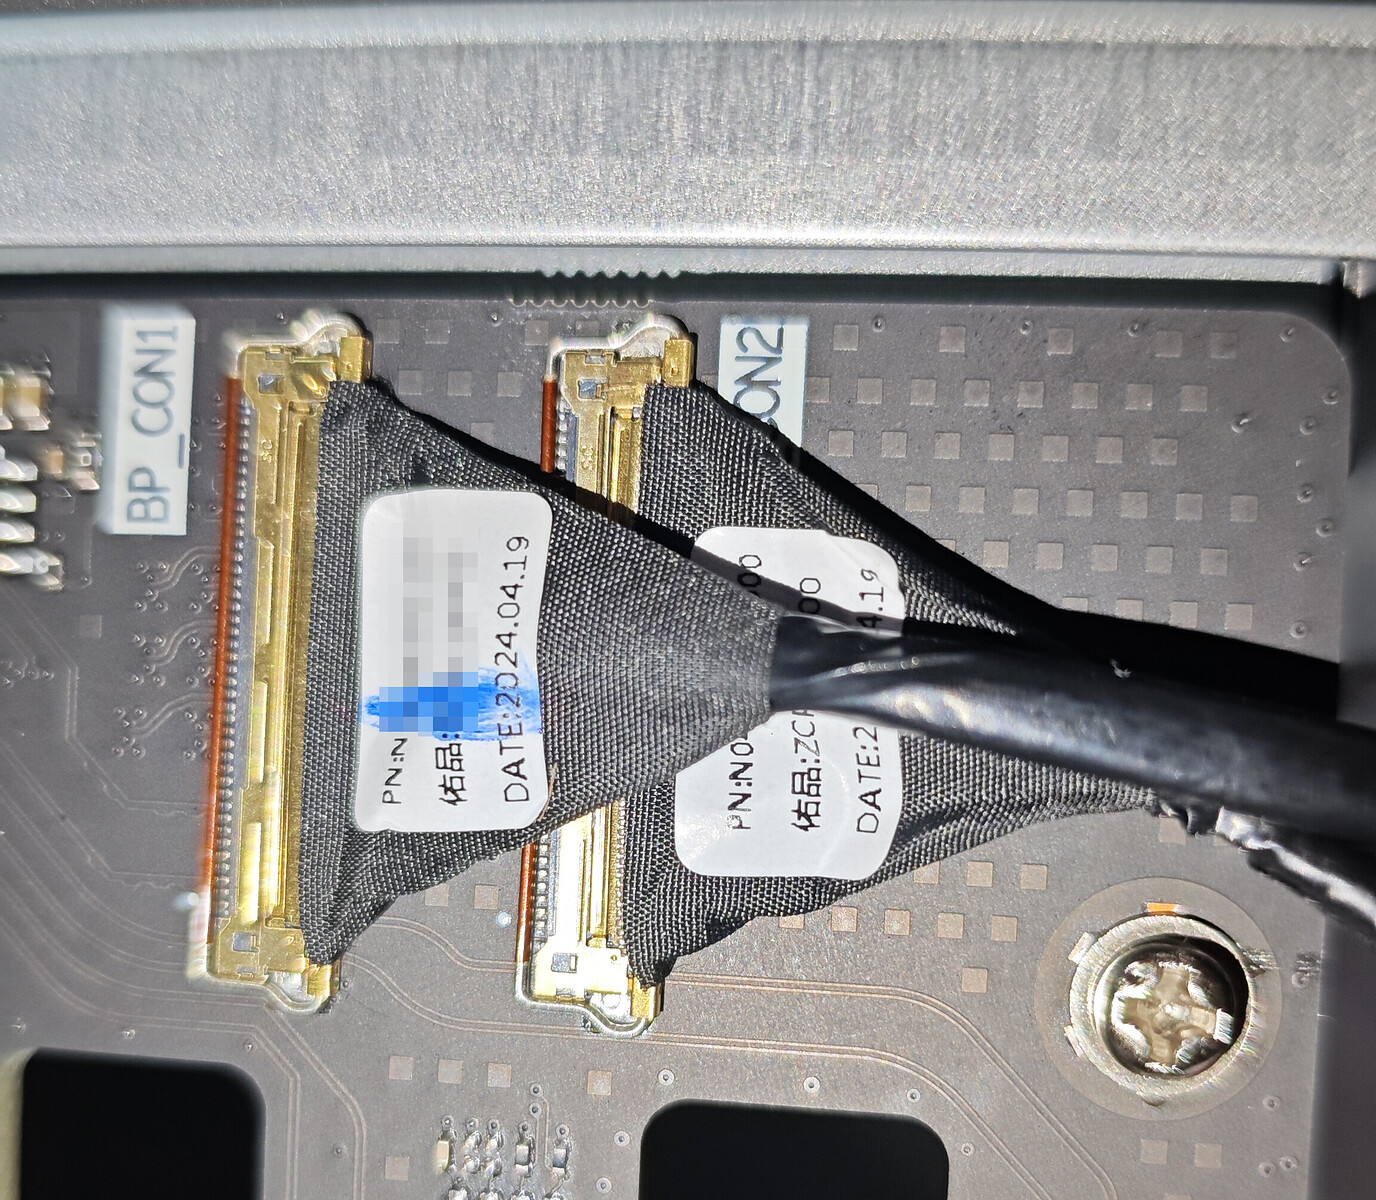
For power supply, the backplane connects to the motherboard via a 4-pin cable. Data connection does not follow the usual SATA cable path but uses two thin flexible cables resembling laptop screen cables. Upon confirmation, these are actually ultra-thin modified coaxial cables. Based on the backplane specifications, they should be two sets of PCIe cables extending to SATA×6 and M.2×4.
The advantages are obvious. Firstly, the fixed buckle pins ensure stable connections. Secondly, it significantly reduces the number of internal cables, saving space and making the interior neater. Additionally, the multi-layer composite structure of the coaxial cables provides excellent electromagnetic shielding, ensuring good anti-interference performance.
The backplane also has two 4-pin fan headers at the rear. However, as the current version of the backplane is not connected to the motherboard’s fan control interface, these headers only provide power without PWM speed regulation capability. This will be detailed in the next section on thermal analysis and modifications.
4. Thermal Analysis and Modification Preview
For devices like NAS where internal space is extremely valuable, thermal management is crucial. After all, no one wants their “lady” to suffer heatstroke or worse, suffer hardware damage from overheating. Just two months ago, a competitor’s product, rushed to market, was heavily criticized for persistent high temperatures due to poor design and BIOS tuning.
Back to ZimaCube, as mentioned earlier, it uses an upper and lower layered structure. The upper CPU features a 25mm high dual copper tube turbo cooler, with the pre-installed exhaust blowing towards the device’s side with only three rows of ventilation holes. Therefore, when I received the device, I also received a fan direction modification guide from the IceWhale team.
According to tests by CasaOS ecosystem developer @CP0204, the CPU fan is fairly quiet at idle but becomes quite loud under higher loads, such as installing applications or starting programs. The reason is likely that the small turbo fan has to spin furiously to dissipate heat. Additionally, the motherboard compartment lacks case fans, preventing airflow from connecting to the outside, causing heat to accumulate and further increasing the fan’s load, creating a vicious cycle.
In the lower hard drive compartment, IceWhale has installed two 8010 fans at the rear, providing ample airflow. However, although the fans themselves are not very noisy, their installation is too close together, blowing directly onto the backplane and grille, causing significant noise. Furthermore, as the current version of the backplane can only provide power and not PWM speed control, the fans cannot be slowed down to reduce noise.
Fortunately, the ZimaCube Pro’s design fully accommodates DIY modifications. To address the deficiencies in thermal design, I have already ordered a series of modification parts, which are being delivered. I plan to modify the ZimaCube Pro’s thermal setup this weekend and will report the results to the IceWhale team.
Additionally, I plan to conduct in-depth hardware testing to fully analyze the ZimaCube Pro’s performance. Stay tuned!
Until next time, see you~

