Hello, fellow ZimaOS and Zimaboard enthusiasts!
Although the ZimaOS community and the Ice‑Whale team provide excellent support, finding clear and detailed installation guides can sometimes be challenging. If you prefer a simple, step‑by‑step approach—especially for navigating the small but frustrating technical hurdles—this guide is designed for you.
This is the third article in my ongoing series about ZimaOS and Zimaboard. I hope it makes your setup process much easier and saves you time.
This guide covers how to install Paperless‑AI with all the essential features needed for home use, accessible from your local network or through Tailscale. If you plan to access Paperless‑AI from the public internet, you may need to adjust some configurations. Paperless‑NGX must already be installed on the same machine, as Paperless‑AI depends on it. (If you haven’t set that up yet, I recommend reading my Paperless‑NGX installation guide first.)
I performed this installation on a Zimaboard 2 with the following hardware and software:
• CPU: Intel(R) N150, 4 Cores, 2.90 GHz, 4 Threads
• RAM: 16 GB 6400 MHz LPDDR5
• GPU: Intel Alder Lake‑N Graphics
• Operating System: ZimaOS v1.5.3 Plus
Let’s get started
Section 01: Preparing the Modified Docker Compose File
I used the official Paperless‑AI GitHub page as a reference and made several adjustments to the original Docker Compose file to make it more convenient for ZimaOS. Once imported into ZimaOS as a Custom App, you will need to make a few modifications before installing.
Here is the modified Docker Compose file you will use:
name: paperless-ai
services:
  paperless-ai:
    cap_drop:
      - ALL
    cpu_shares: 90
    command: []
    container_name: paperless-ai
    deploy:
      resources:
        limits:
          memory: 16508313600
        reservations:
          devices: []
    environment:
      - PAPERLESS_AI_PORT=3000
      - PGID=1000
      - PUID=999
      - RAG_SERVICE_ENABLED=true
      - RAG_SERVICE_URL=http://192.168.68.81:8005
    image: clusterzx/paperless-ai:latest
    labels:
      icon: https://i.imgur.com/LGVPJ8g.png
    ports:
      - target: 3000
        published: "3009"
        protocol: tcp
    restart: unless-stopped
    security_opt:
      - no-new-privileges=true
    volumes:
      - type: bind
        source: /media/Storage/AppData/paperless-ai/app/data
        target: /app/data
      - type: bind
        source: /media/Storage/AppData/paperless-ai/var/lib/paperless-ai
        target: /var/lib/paperless-ai
    devices: []
    cap_add: []
    network_mode: bridge
    privileged: false
x-casaos:
  author: self
  category: self
  hostname: ""
  icon: https://i.imgur.com/LGVPJ8g.png
  index: /
  is_uncontrolled: false
  port_map: "3009"
  scheme: http
  store_app_id: paperless-ai
  title:
    custom: paperless-ai
    en_us: paperless-ai
Section 02: Importing the Custom App into ZimaOS
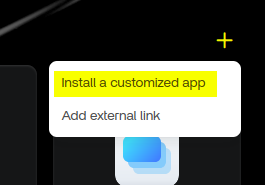
- Sign in to ZimaOS and click the plus icon in the top‑right corner of the dashboard.
- Select “Install a customized app.”
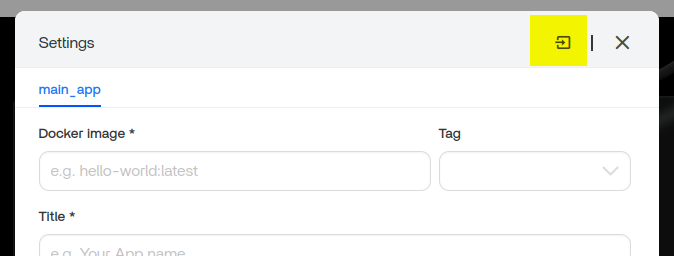
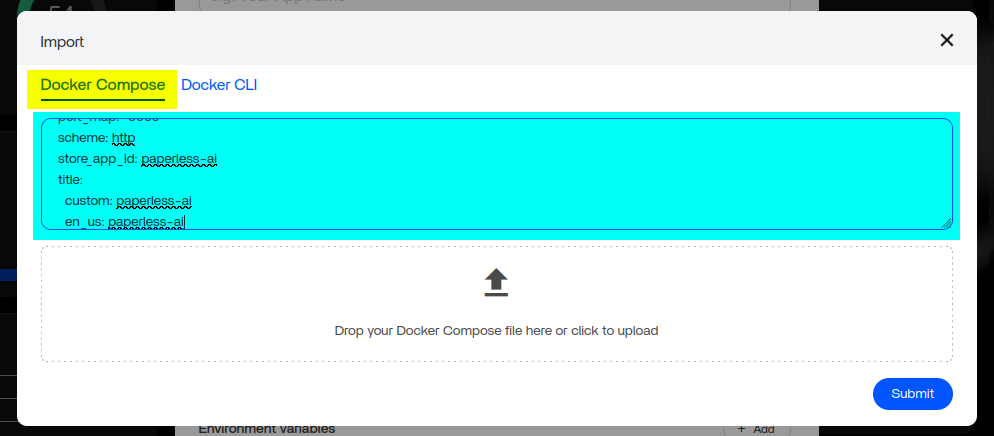
- In the pop‑up window, click “Import” in the top‑right corner.
- A new window will appear. Navigate to the “Docker Compose” tab, paste the YAML file into the text area, and click “Submit.”
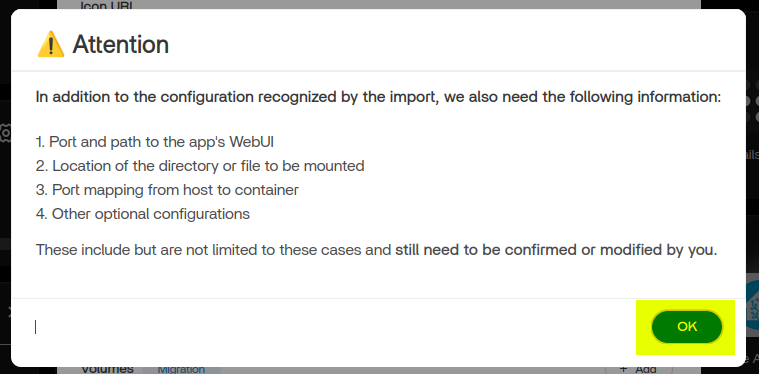
- When another pop‑up appears with instructions or warnings, click “OK.”
Section 03: Editing the Necessary Settings Before Installing
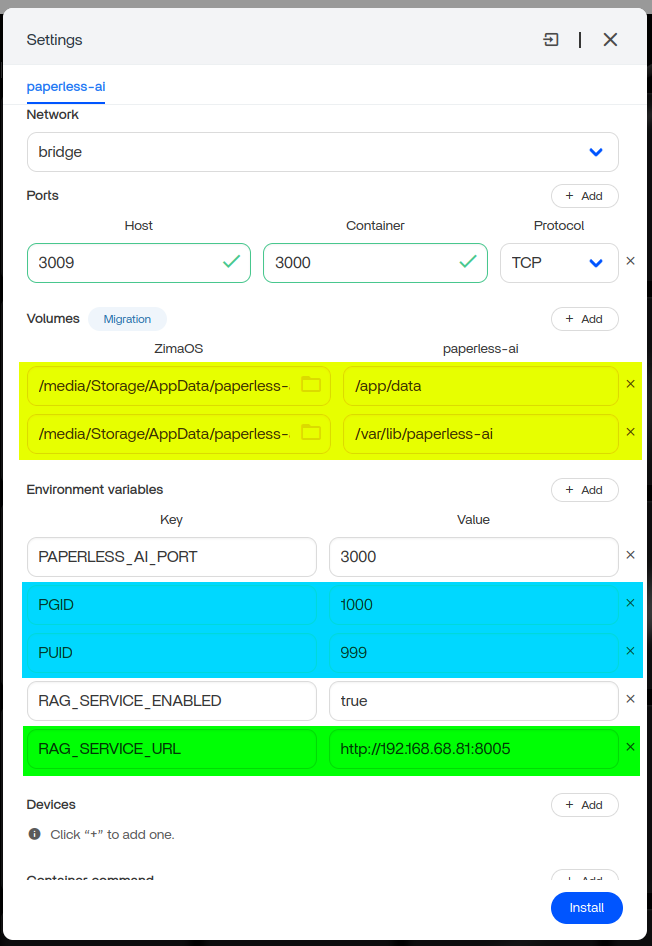
Volumes
Set appropriate folder paths for the following directories:
/app/data
/var/lib/paperless-ai
Environment Variables: Setting PUID and PGID
These values determine the system permissions Paperless‑AI will use. If they are incorrect, you may experience issues with tagging, renaming, or file management that require a full reinstall to fix.
To find your correct PUID and PGID:
- Open ZimaOS Settings.
- Go to General and enable Developer Mode.
- Open the View menu and enable SSH Access.
- Launch the Web-Based Terminal and sign in using your ZimaOS username and password.
- Run the following commands, replacing “username” with your actual username:
id -u username
id -g username - Note the output. These numbers are your PUID (user ID) and PGID (group ID). Enter them into the corresponding fields under Environment Variables.
(For example, my PGID was 1000 and my PUID was 999.)
RAG Service URL
Update RAG_SERVICE_URL to match the URL of your existing Paperless‑NGX installation.
Once everything is configured correctly, click Install.
Section 04: Post‑Installation Configuration
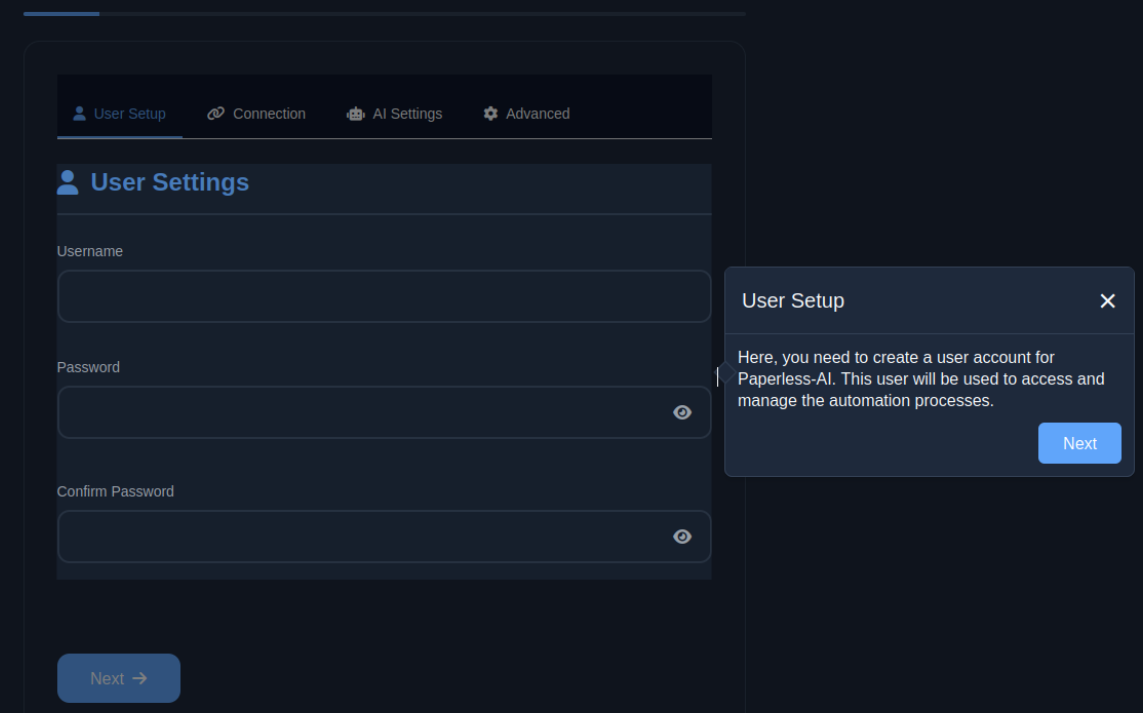
Initial Setup
Paperless‑AI includes a helpful built‑in setup guide. Here are the essential steps:
- Launch Paperless‑AI and create an admin account.
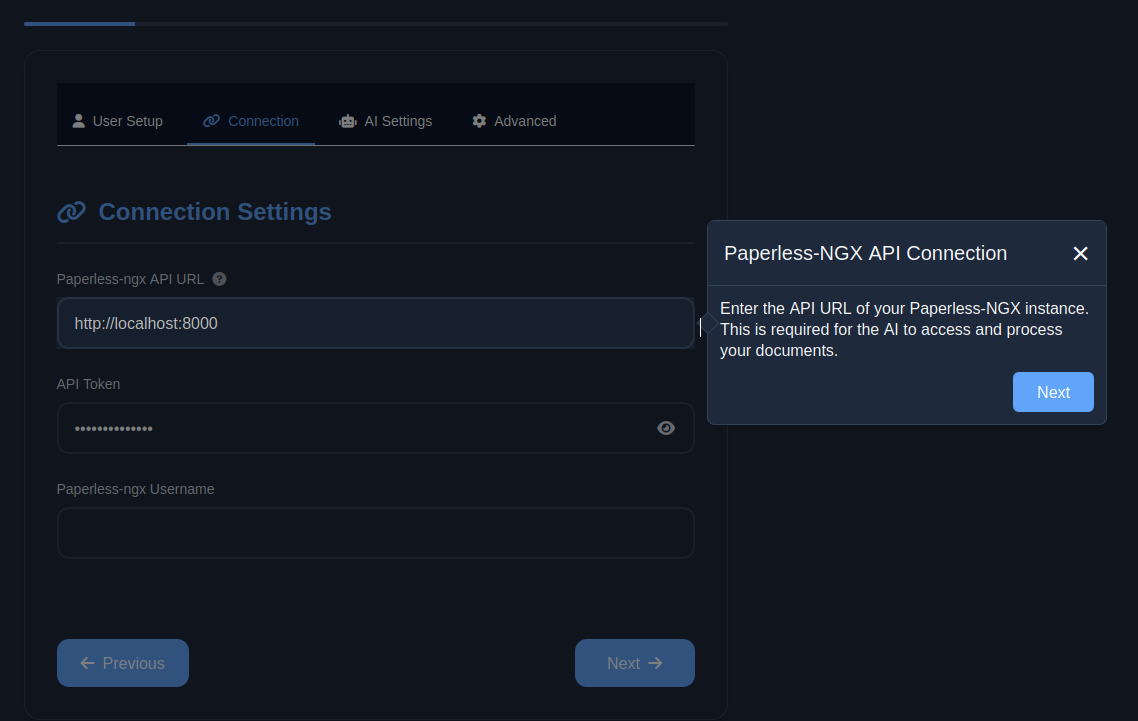
- Log in and configure the connection settings.
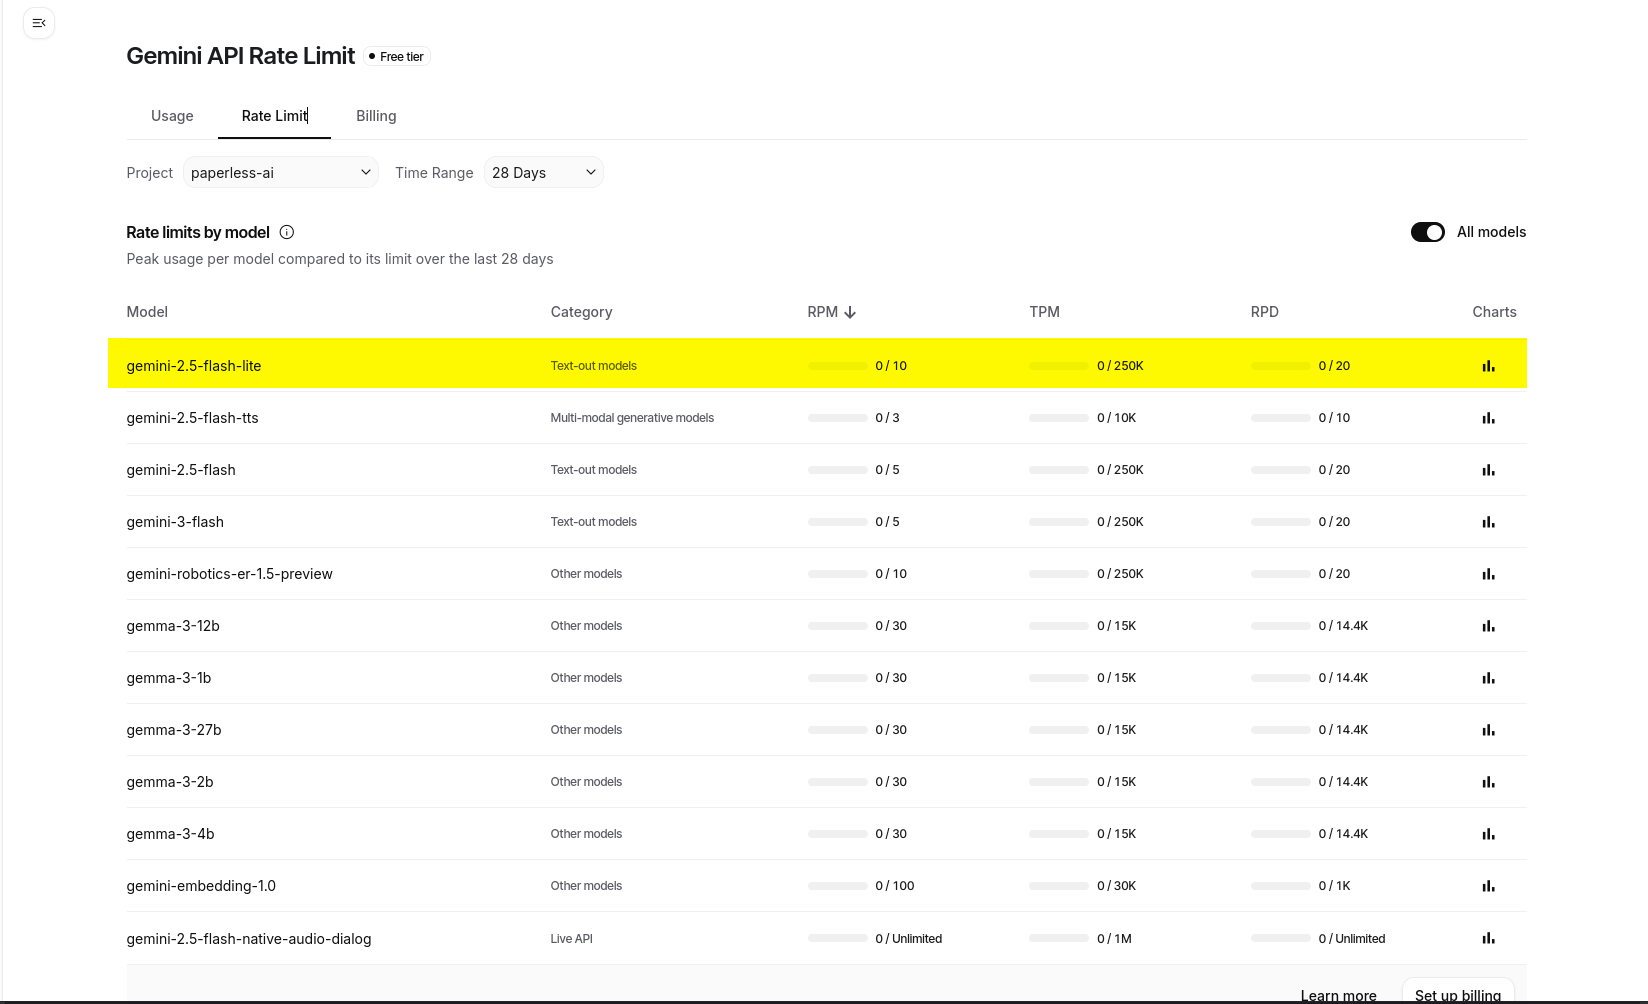
- Open AI Configurations and choose your preferred AI provider. Enter your API key.
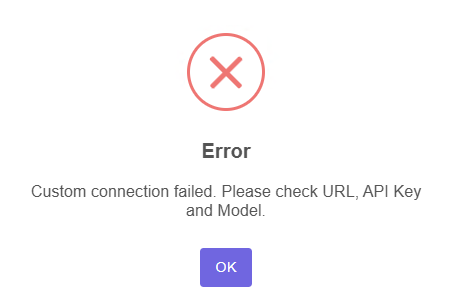
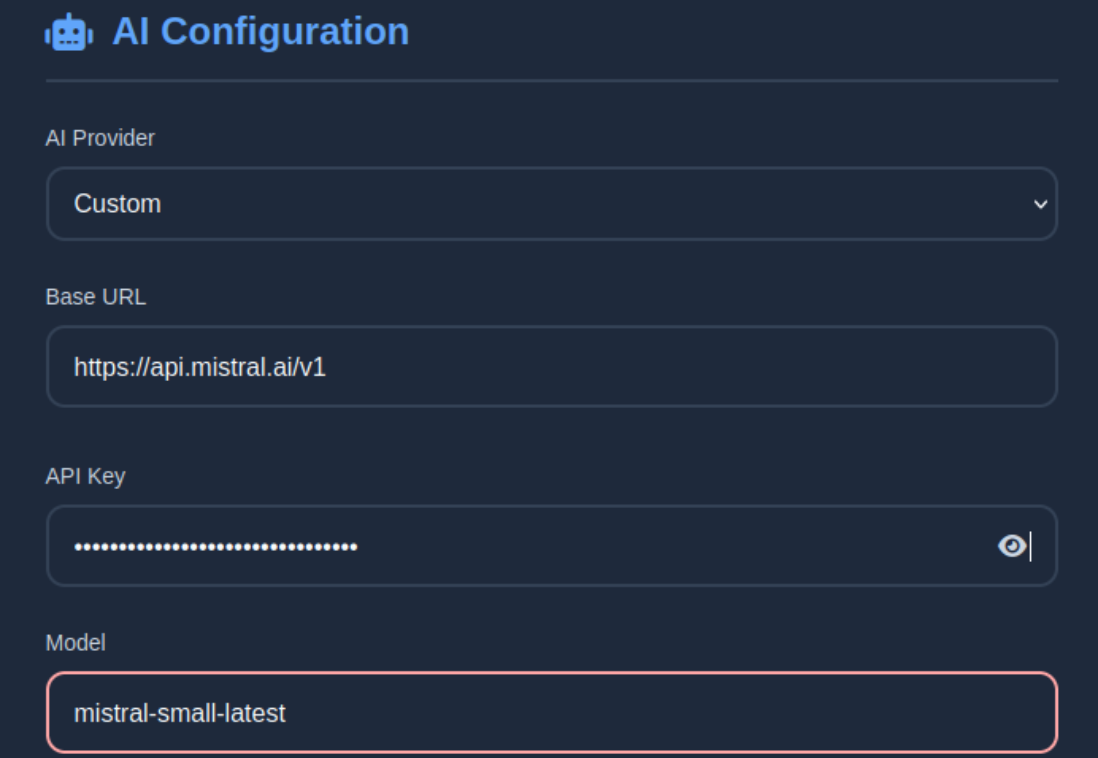
- For best results, choose Custom as the AI Provider and manually set both the Base URL and Model.
I tested OpenAI, Mistral AI, and Google Gemini; all worked flawlessly. - Configure the Advanced Settings and Prompt Description.
- Click Save. If prompted about automatic document processing, click “Yes, Continue.”
Paperless‑AI will restart and begin analyzing documents from Paperless‑NGX.
Section 05: Document Processing Performance
If you have many documents in Paperless‑NGX, the initial processing stage may take some time.
For reference:
- I processed nearly 9,000 documents on my Zimaboard 2. The full process took around 3 days. Despite the long duration, the system remained light on CPU and RAM, running smoothly in the background.
Conclusion
With this setup, you will have a powerful, private AI‑enhanced document system running seamlessly on your Zimaboard. Once Paperless‑AI is fully configured, it dramatically improves searchability, tagging, and document insights—all running securely in your own environment.
If you found this guide helpful just give a little feedback.
Cheers!