Preparation
Download the official ZimaBlade CasaOS image:drive.google.com
Create an Image Using A USB stick
Prepare in advance
-
Download and install BalenaEtcher on your computer
-
Download the official ZimaBlade CasaOS image
ZimaBlade related preparation.
-
ZimaBlade and power adapter
-
A USB drive (8GB+, The data in it will be cleared)
-
A miniDP to DP/HDMI Adapter (Used to connect to a monitor)
-
A monitor
-
A keyboard
-
A USB hub (Optional, if the USB port is not enough)
Install Using a USB Drive
Open BalenaEtcher
Select the system image
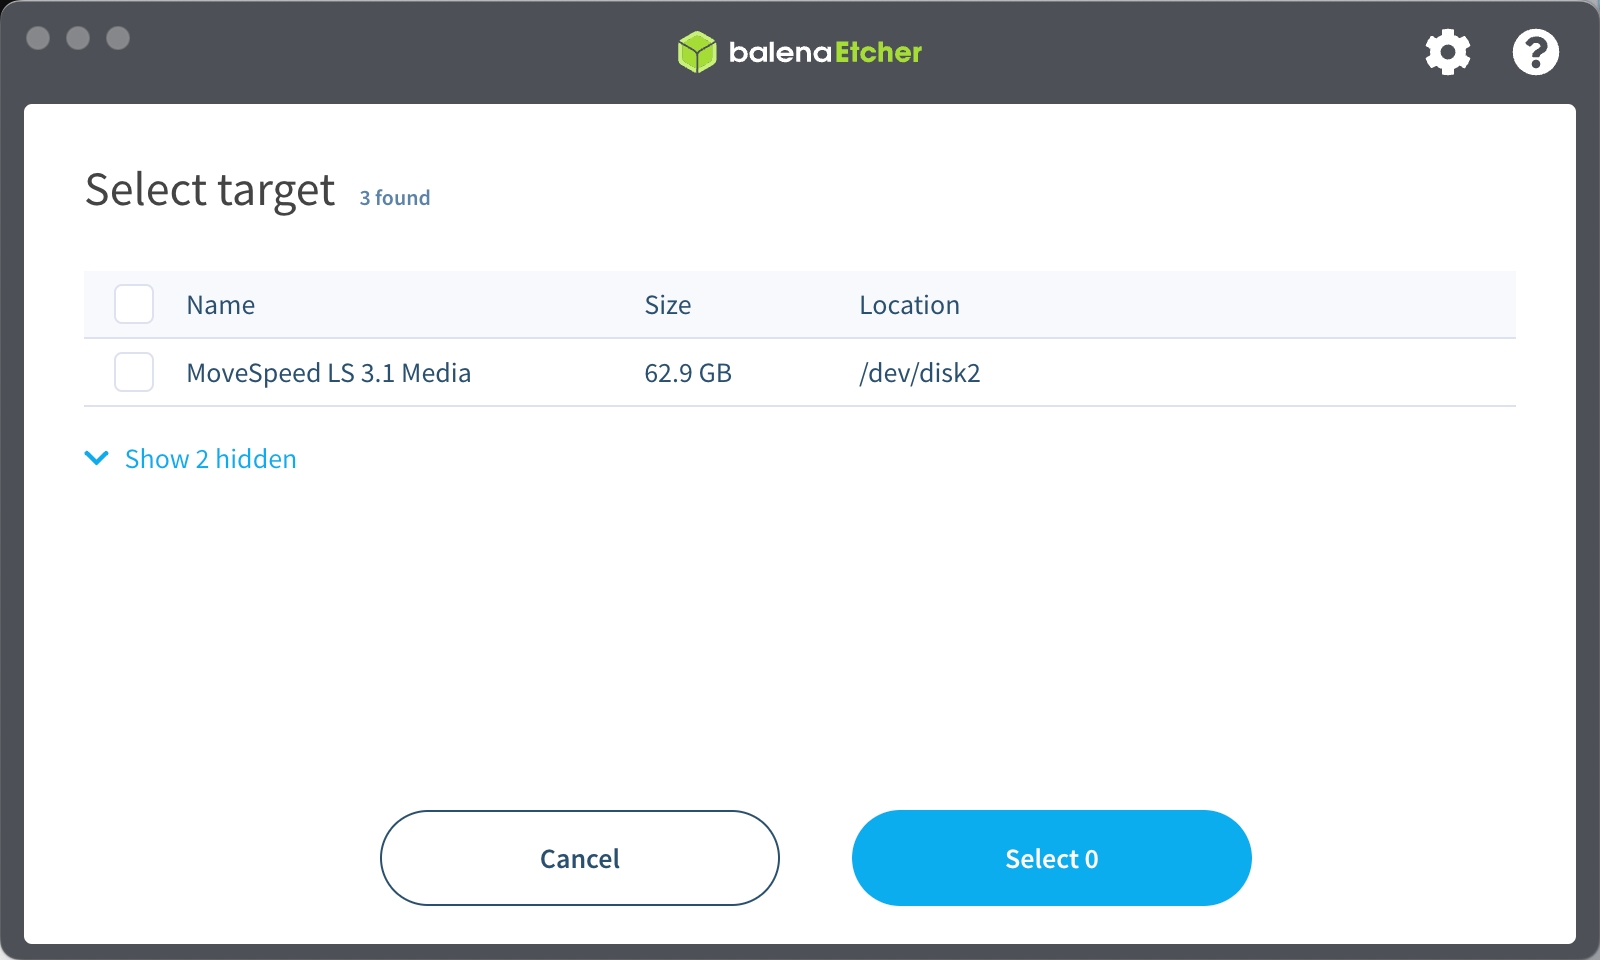
Select your inserted USB drive
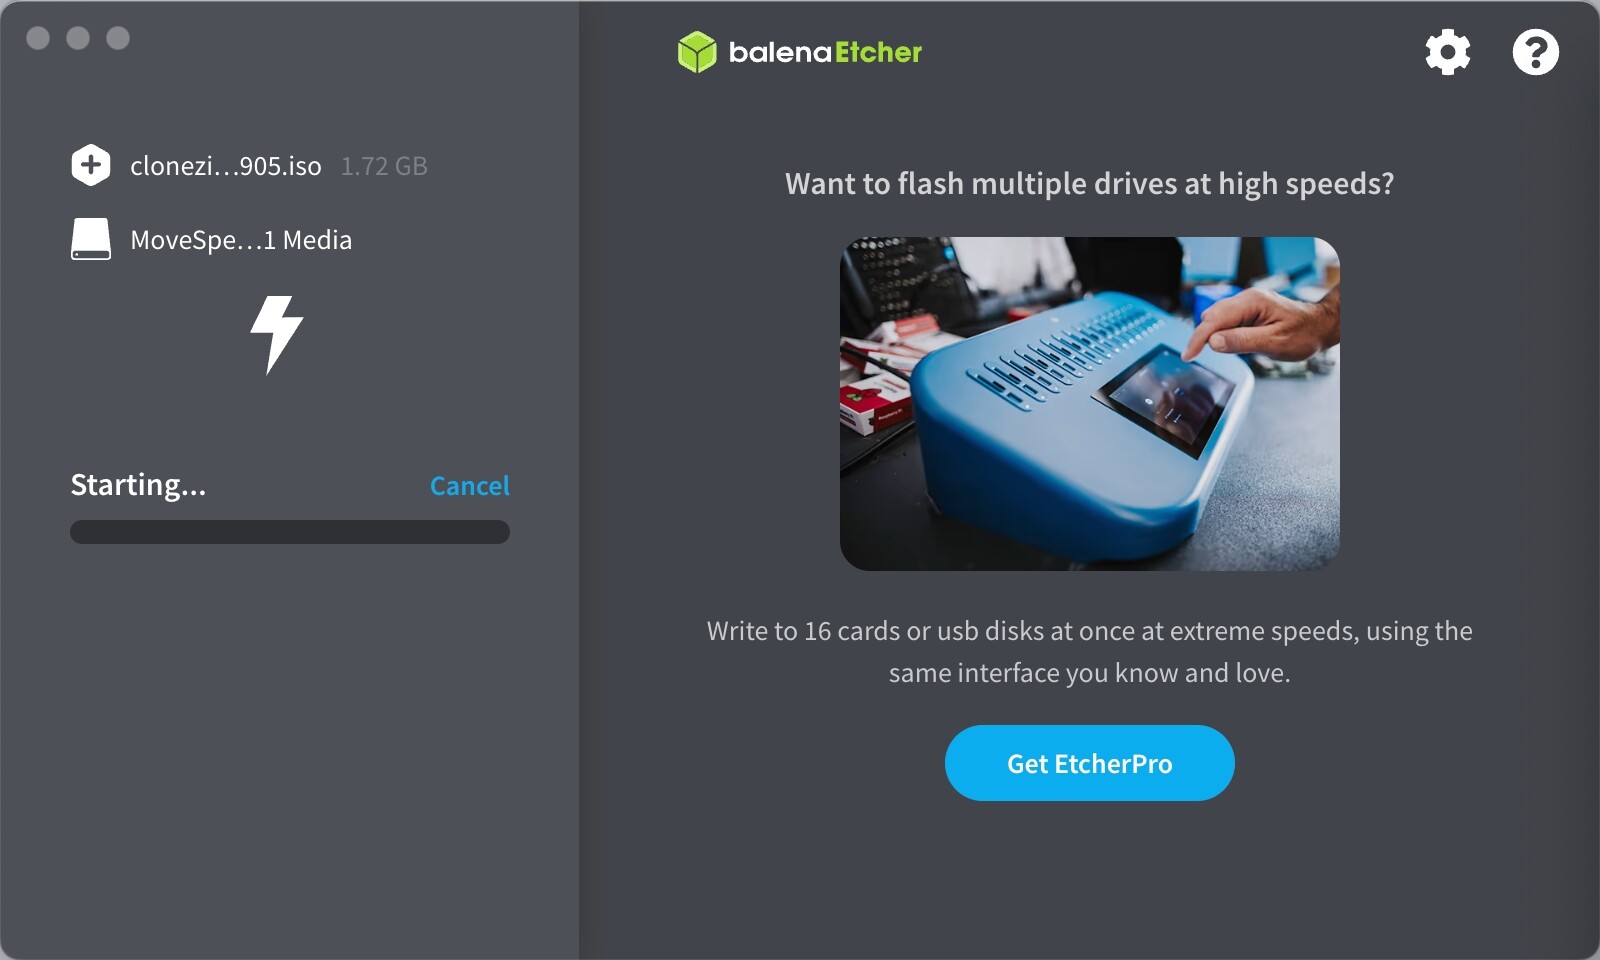
Click “Flash!”
You may be asked to enter your system password during the process, just enter it and click OK.
The whole process will take a few minutes, depending on the size of your system image and your USB drive’s read/write speed.
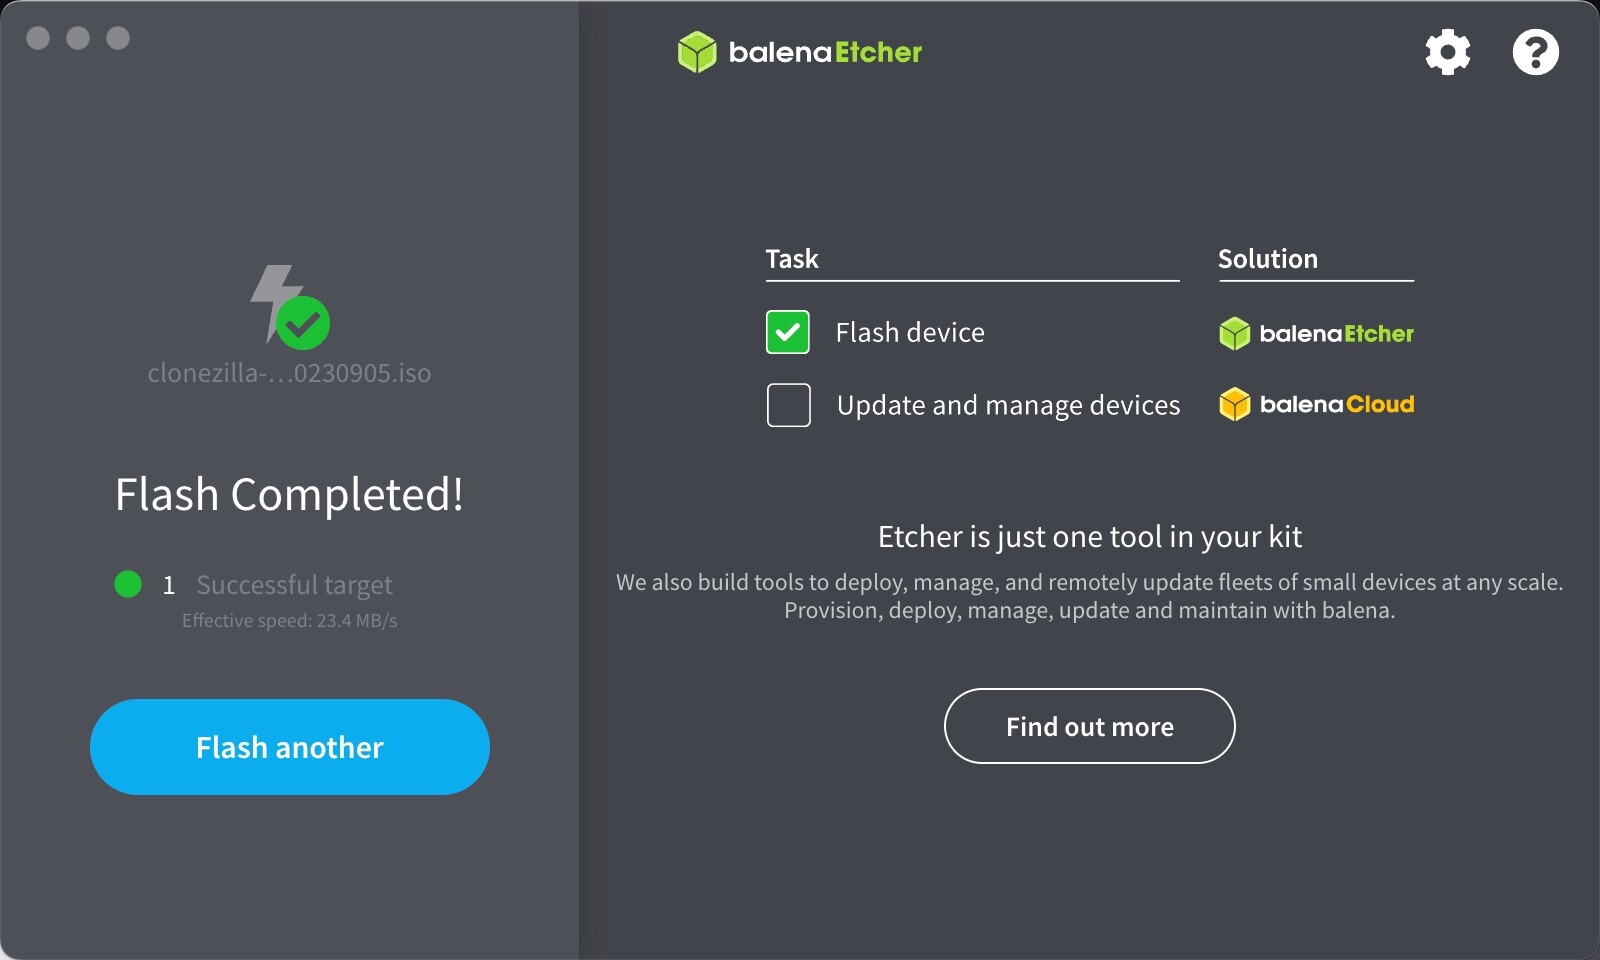
Complete!
Remove the USB drive, and you’re ready to go!
Boot from the Installation USB Drive
Connecting the Accessories to ZimaBlade
Connect your USB drive, monitor, keyboard,USB hub (Optional), mouse (Optional), network cable (Recommended) to ZimaBlade.
Turn the Power On and Select the Boot Device
Connect power and press F11 continuously.
Start Installation
- Select your USB drive starting with UEFI in the boot device menu.
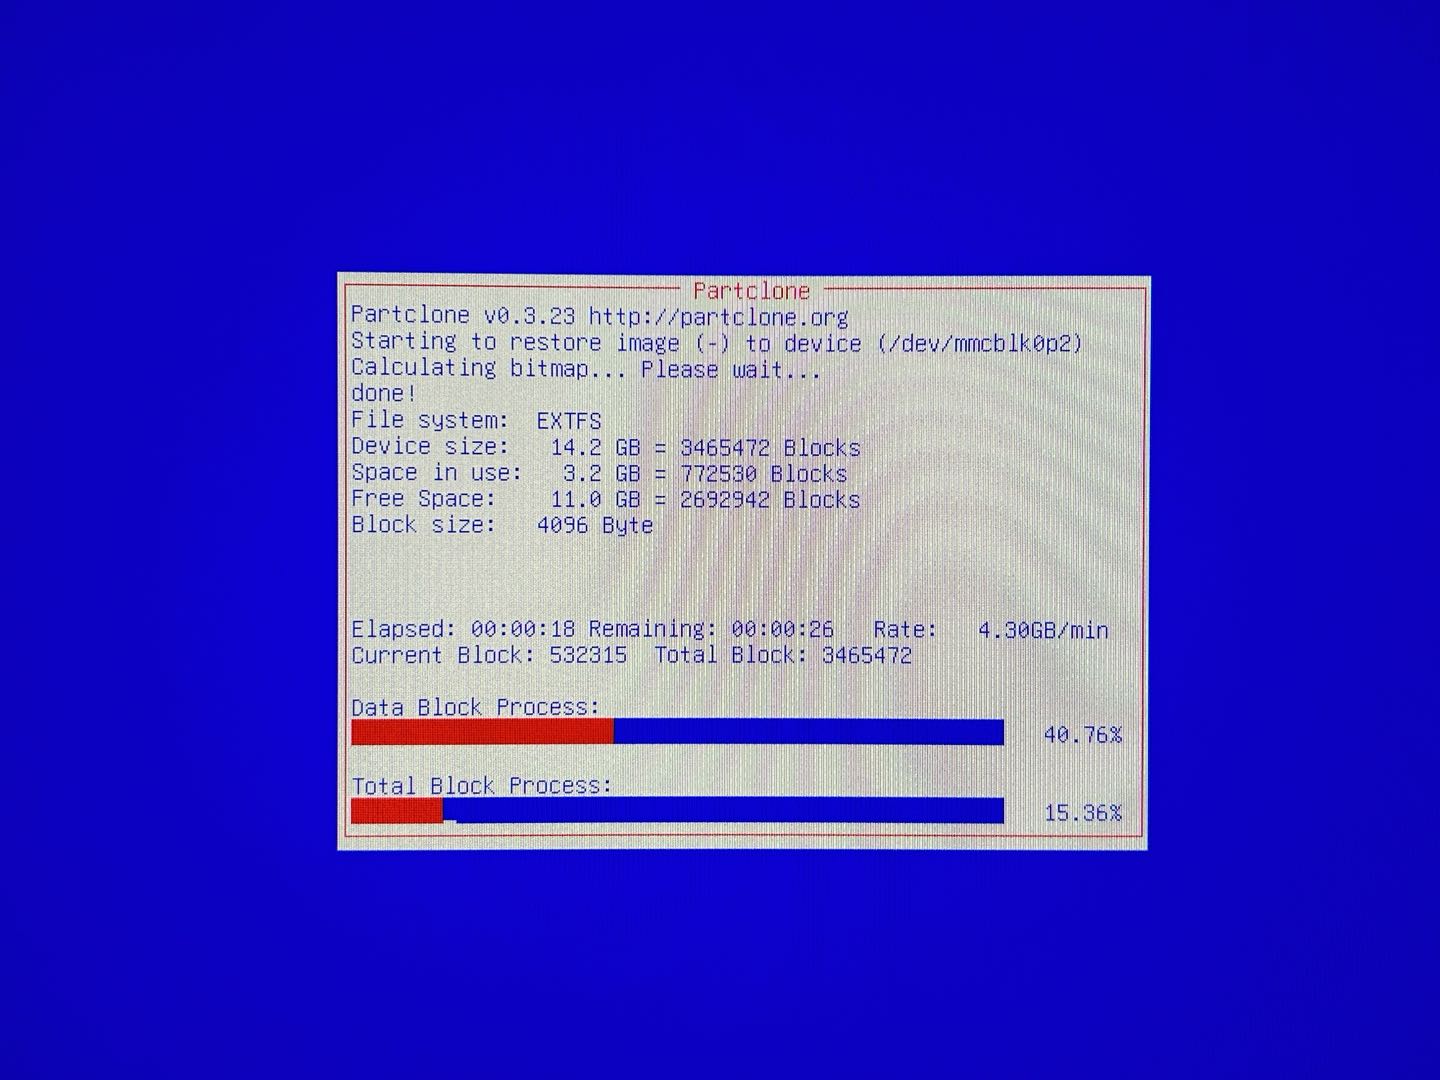
- Wait a few minutes
- Select the first one
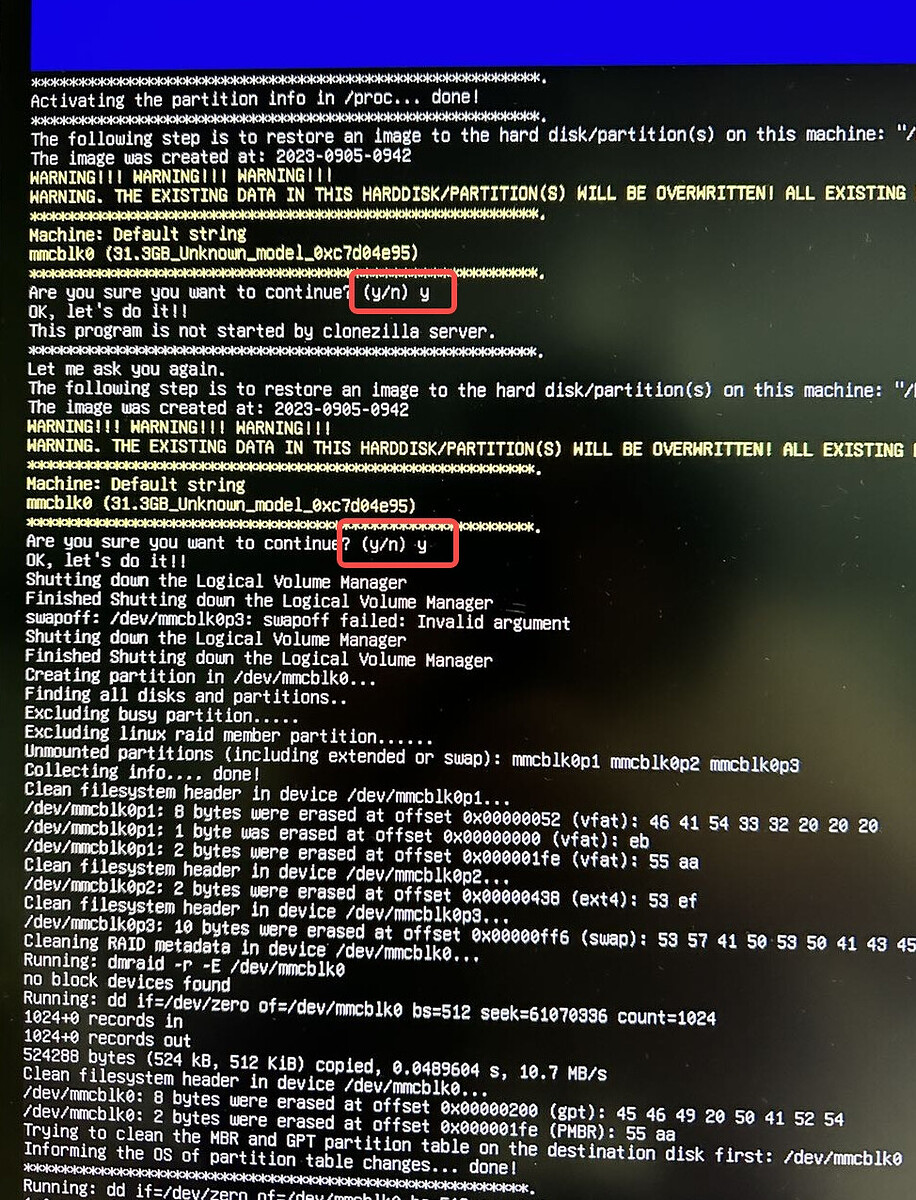
- Enter
y
- Wait a few minutes
- Select the first one
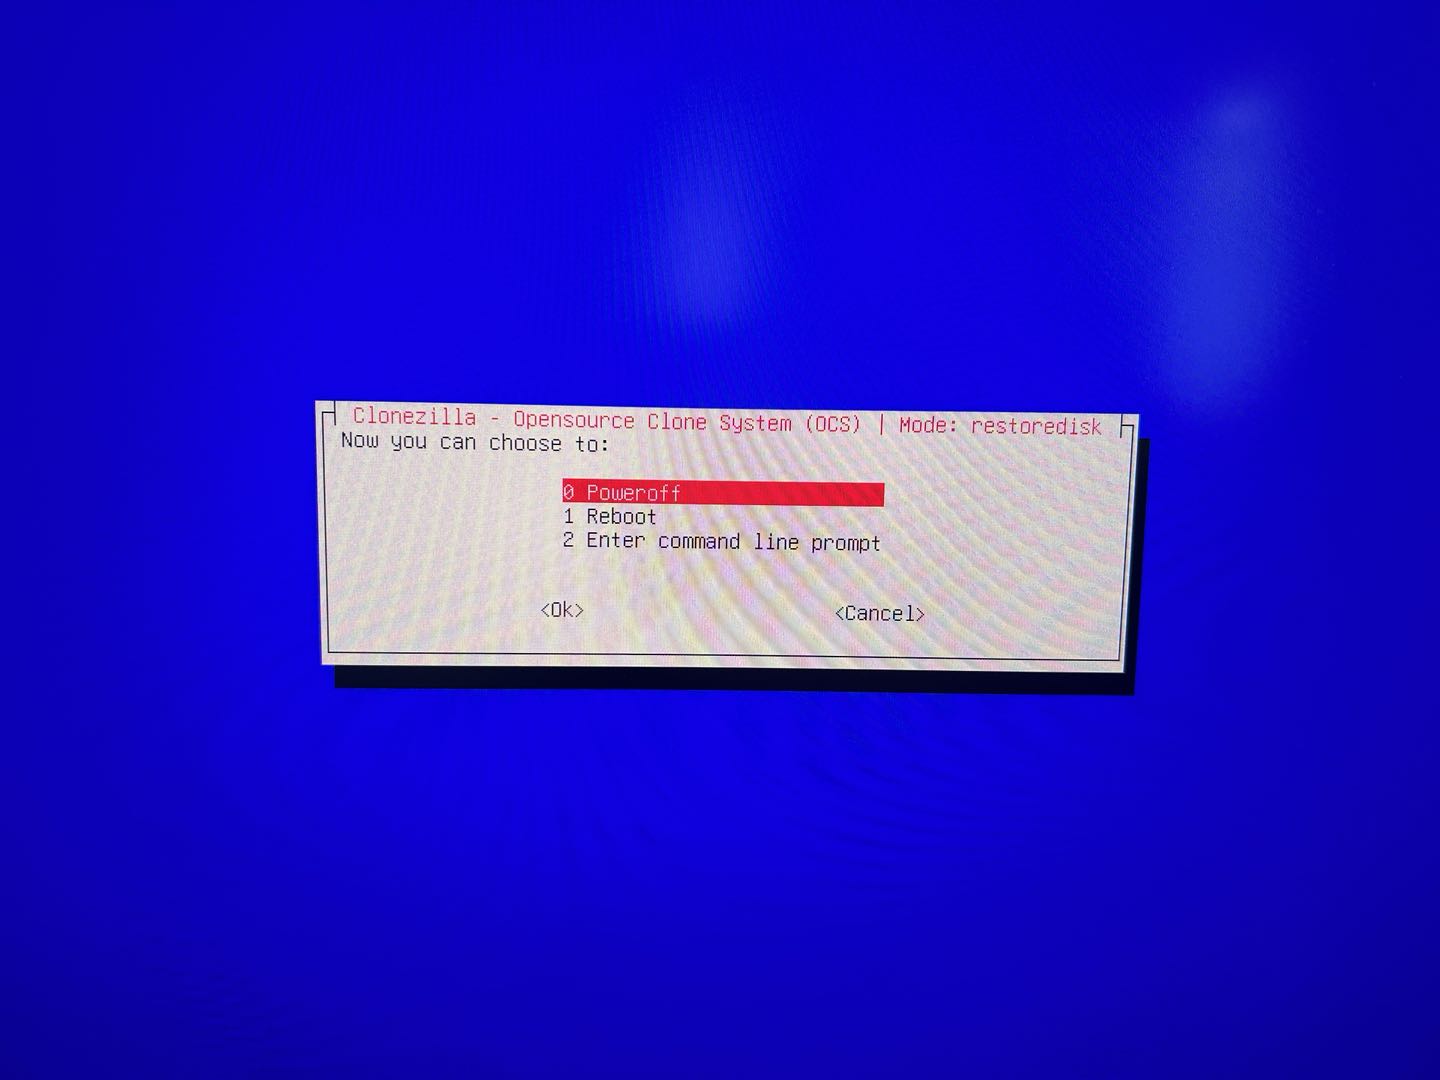
Finish the installation after the countdown!!!!
Note:when selecting storage, please take care to select the correct disk
Because operating systems and storage vendors calculate storage space sizes differently, the capacity you see when installing your system is not the same as the hardware capacity. You can tell the difference by the type of disk and the approximate size.
The built-in storage type of the ZimaBlade is eMMC, which may also be recognized as an MMC device in the operating system.
Attention ! You may need to modify the boot sequence in BIOS or select the boot device at boot time if you install the OS to an external hard disk.


