Introduction
Recently, we have found that some users encounter issues where the 7th Bay NVMe SSD in their ZimaCube is either not fully displayed or shown in the wrong location. Don’t worry; this is merely a UI display error, and your disk is still usable. Below is the detailed solution.
Step 1:Confirm System Version
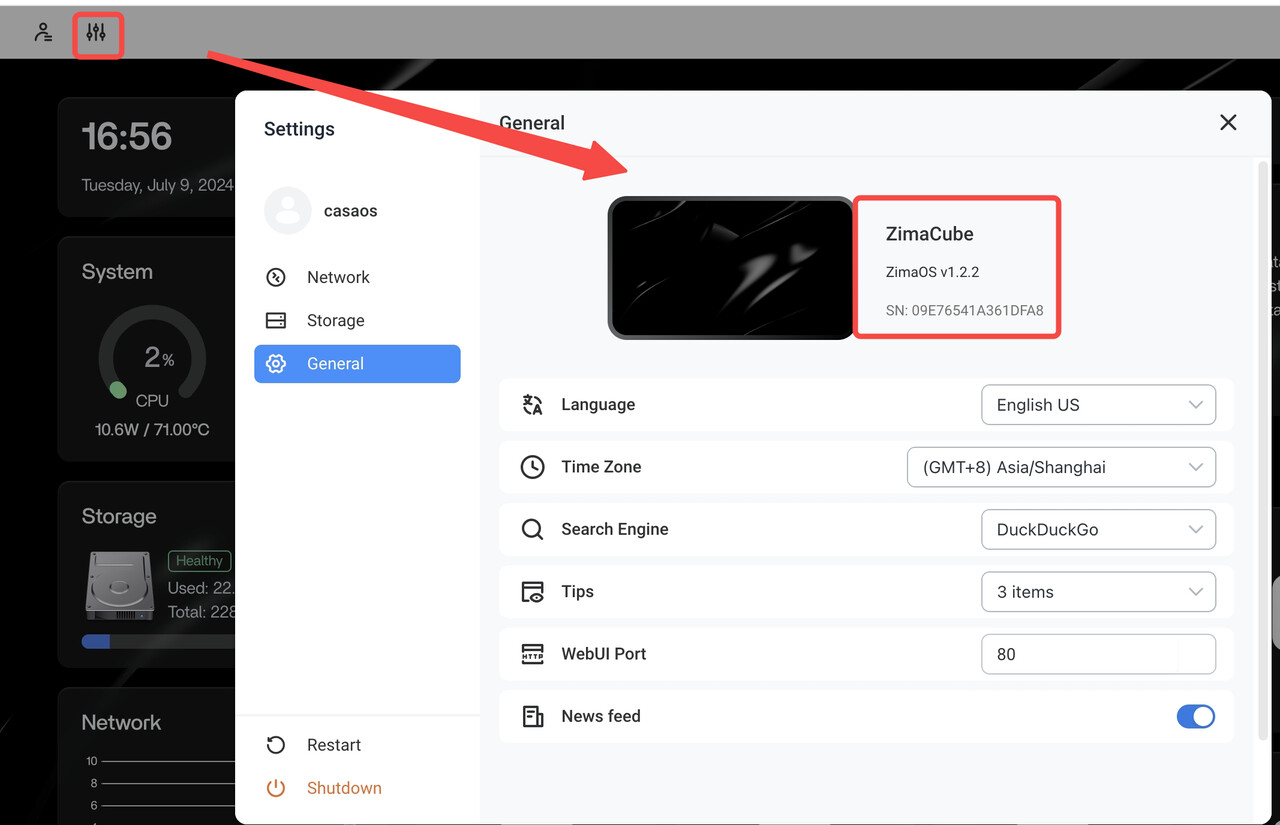
First, ensure your system version is ZimaOS V1.2.2. If your version is ZimaOS V1.2.1 or lower, please upgrade to ZimaOS V1.2.2.
Step 2:Check NVMe SSD Device Status
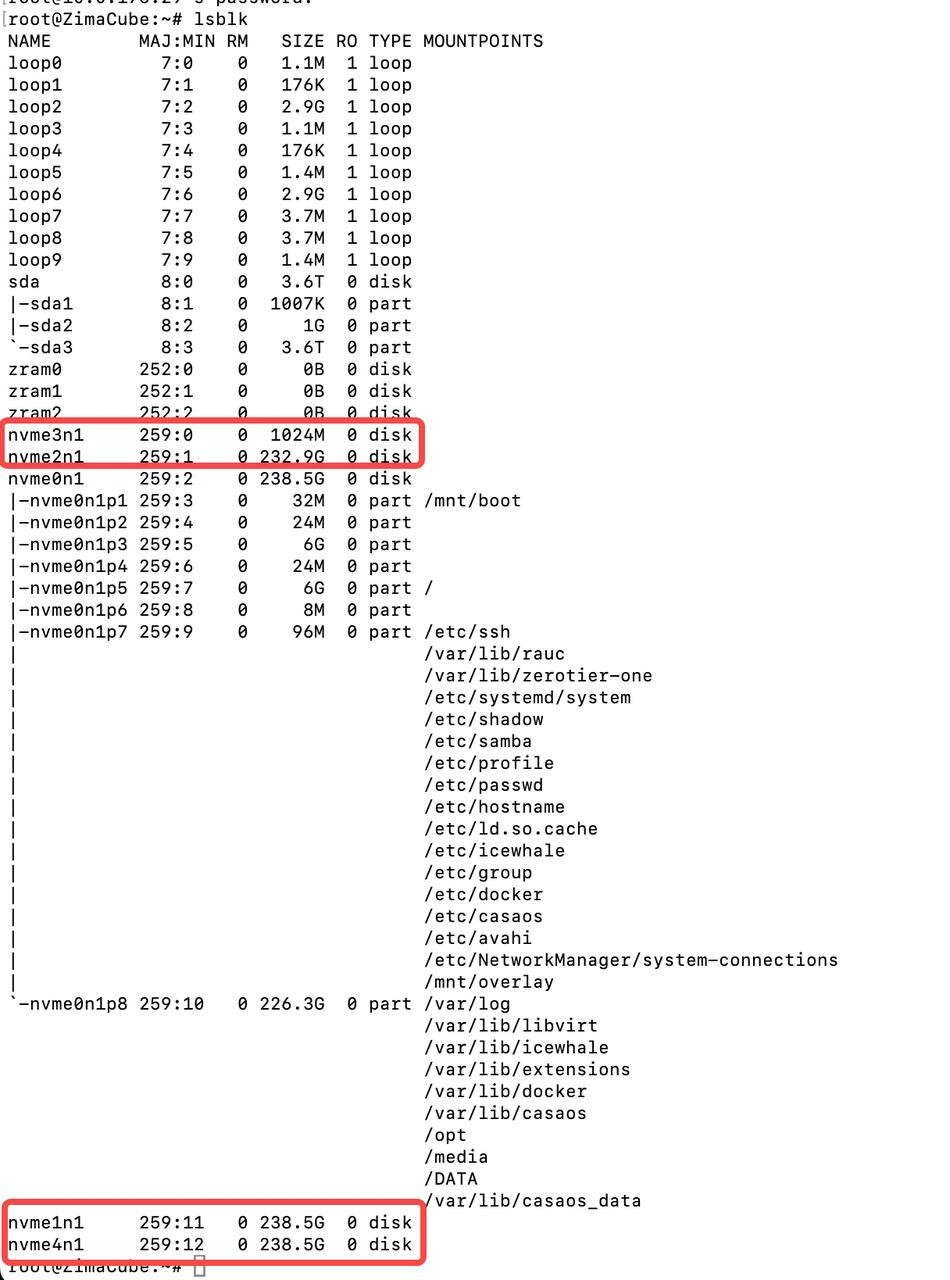
Make sure that your NVMe SSD devices in the 7th Bay are all available. You can check the device status with the following command:
lsblk
Step 3. Get PCI device information
Execute the following command:
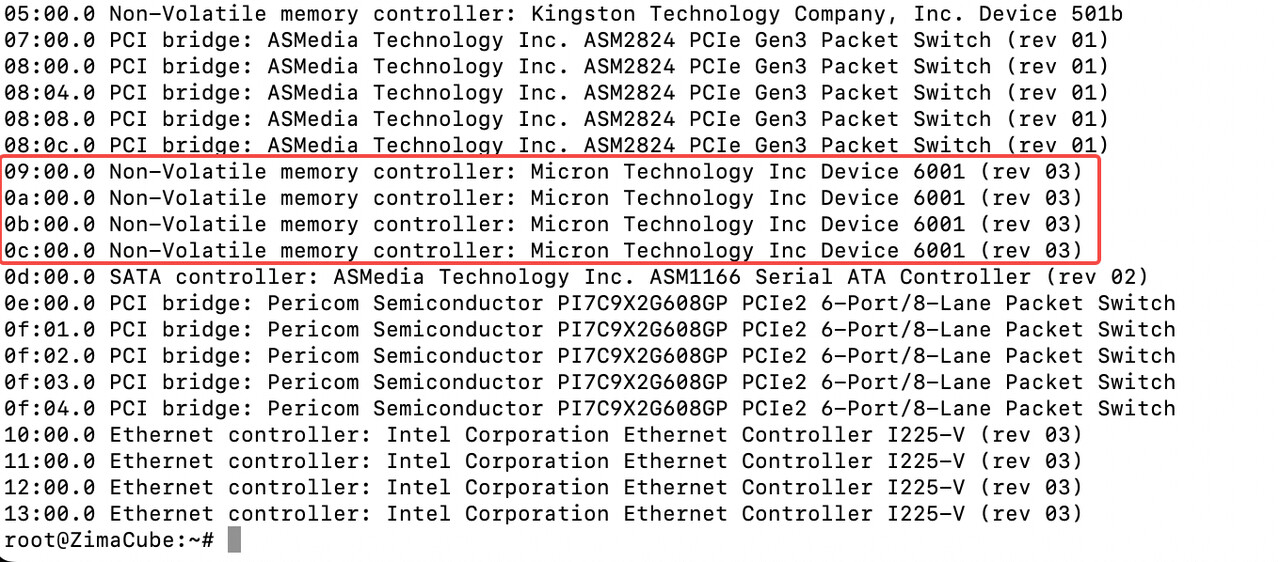
lspci
This command will list all PCI devices in the system. Find the entry related to “Non-Volatile Memory Controller”, which is the device we need to pay attention to.
Step 4. Modify NVMe device configuration
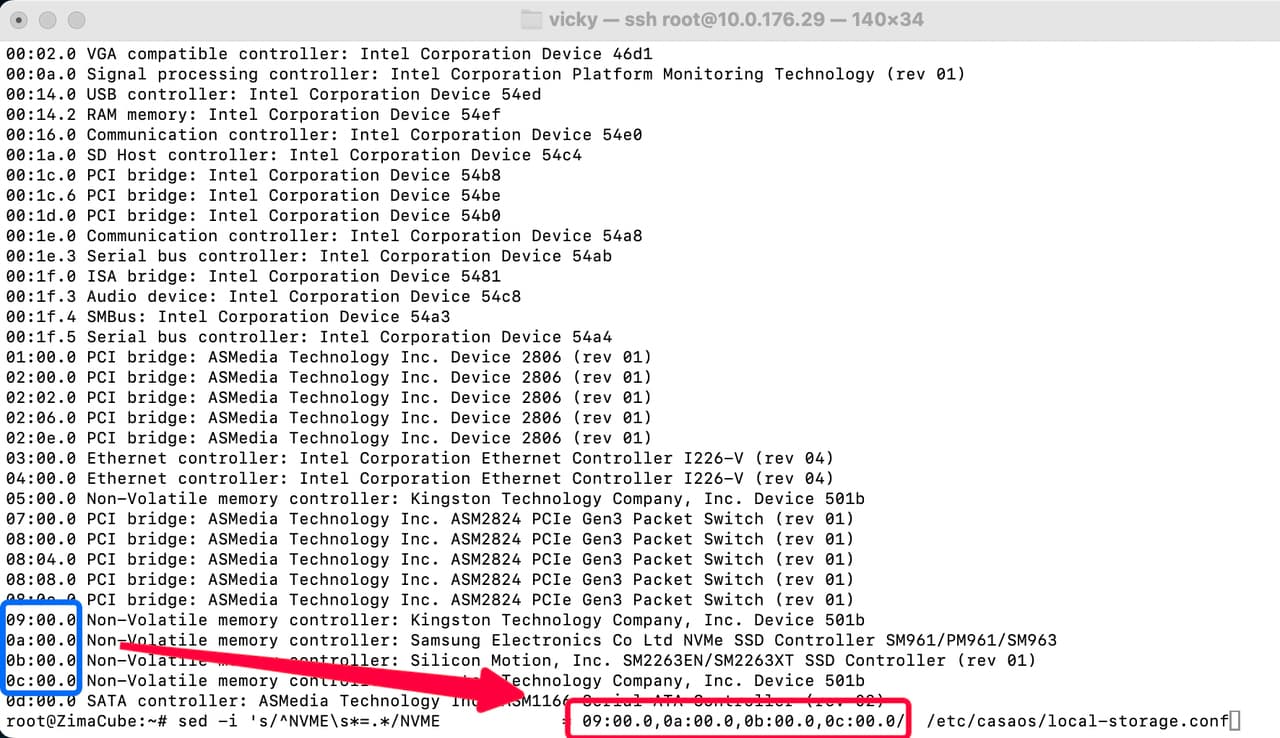
Next, open and edit the system configuration file /etc/casaos/localstorage.conf. In the configuration file, find the configuration items related to the NVMe device and make the following changes:
sed -i 's/^NVME\s*=.*/NVME = 01:00.0,02:00.0,03:00.0,04:00.0/' /etc/casaos/local-storage.conf
Please replace01:00.0,02:00.0,03:00.0,04:00.0with the actual PCI address list of your NVMe device 09:00.0,0a:00.0,0b:00.0,0c:00.0。
Step 5. Restart the device
sudo reboot
After the device reboots, the system will reload the configuration and the seventh disk should be displayed correctly.
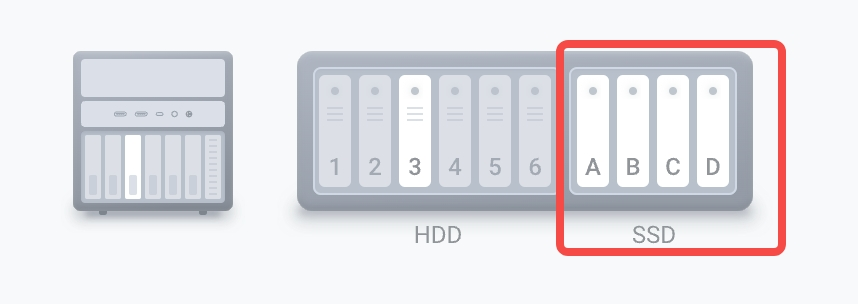
Through the above steps, you can effectively solve the 7th Bay display problem and ensure the stability and performance of the device. If you have other questions or need further guidance, please feel free to contact support@icewhale.org.
We will fix this UI display problem as soon as possible in subsequent versions. Thank you for your understanding and support!
