Based on feedback from our community, we’ve made it easier to enable SSH in ZimaOS. To simplify the process and make it more accessible, we’ve integrated this functionality directly into the UI. Now, it’s quicker and simpler to access SSH and use the terminal.
In the ZimaOS v1.2.5, enabling SSH is now easier than ever. Follow these steps to access SSH:
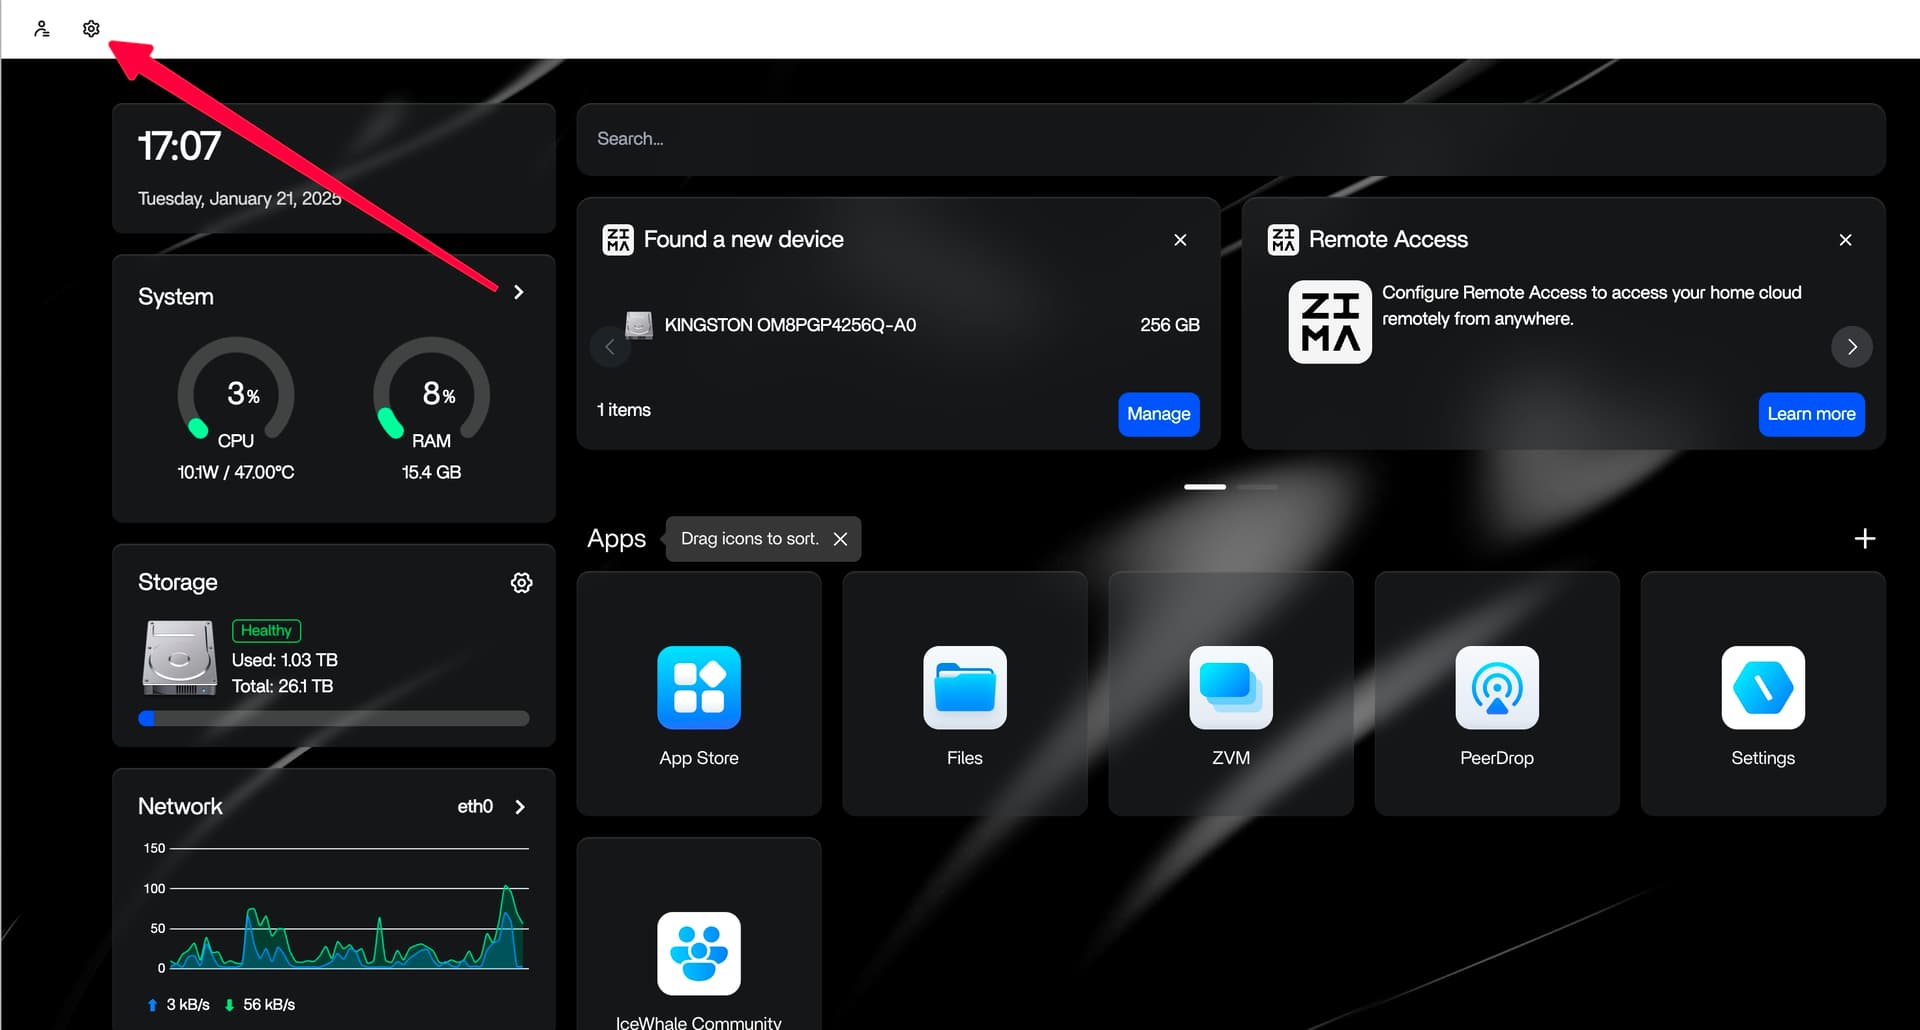
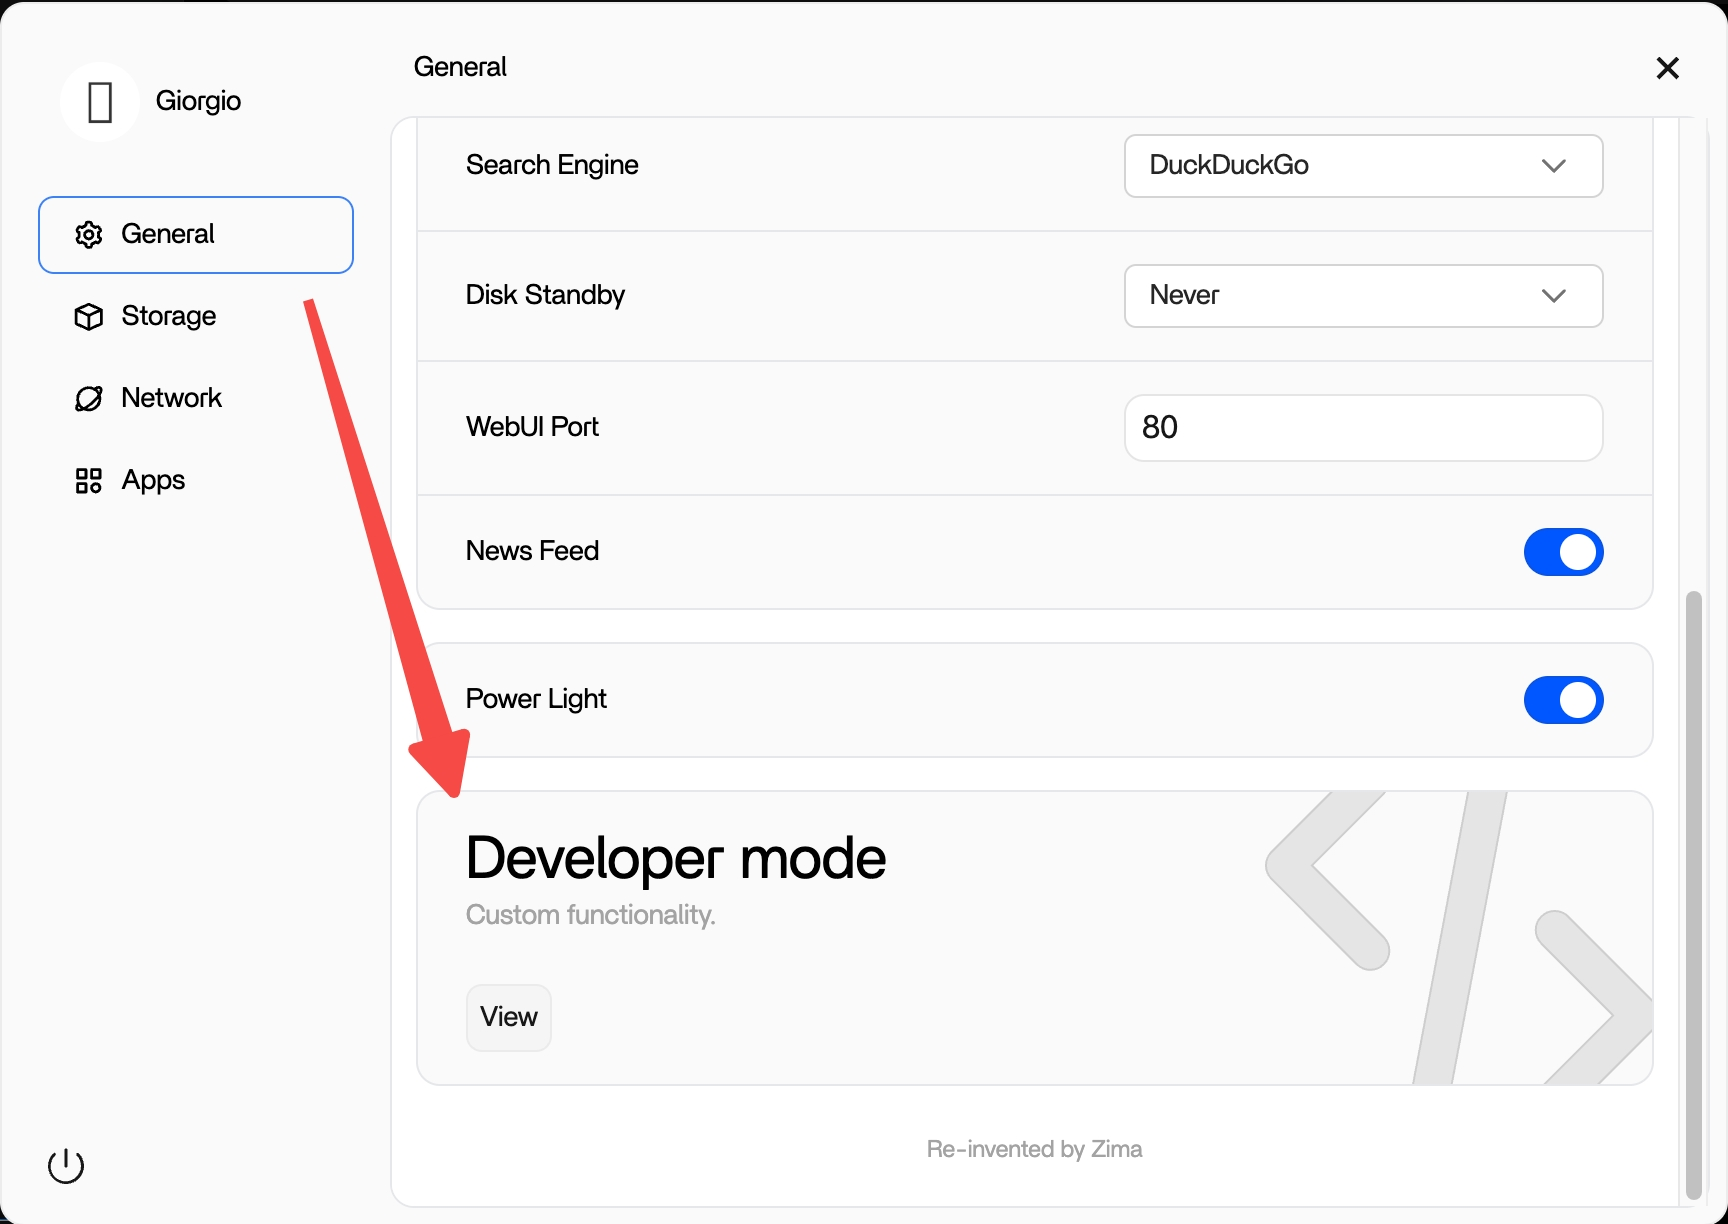
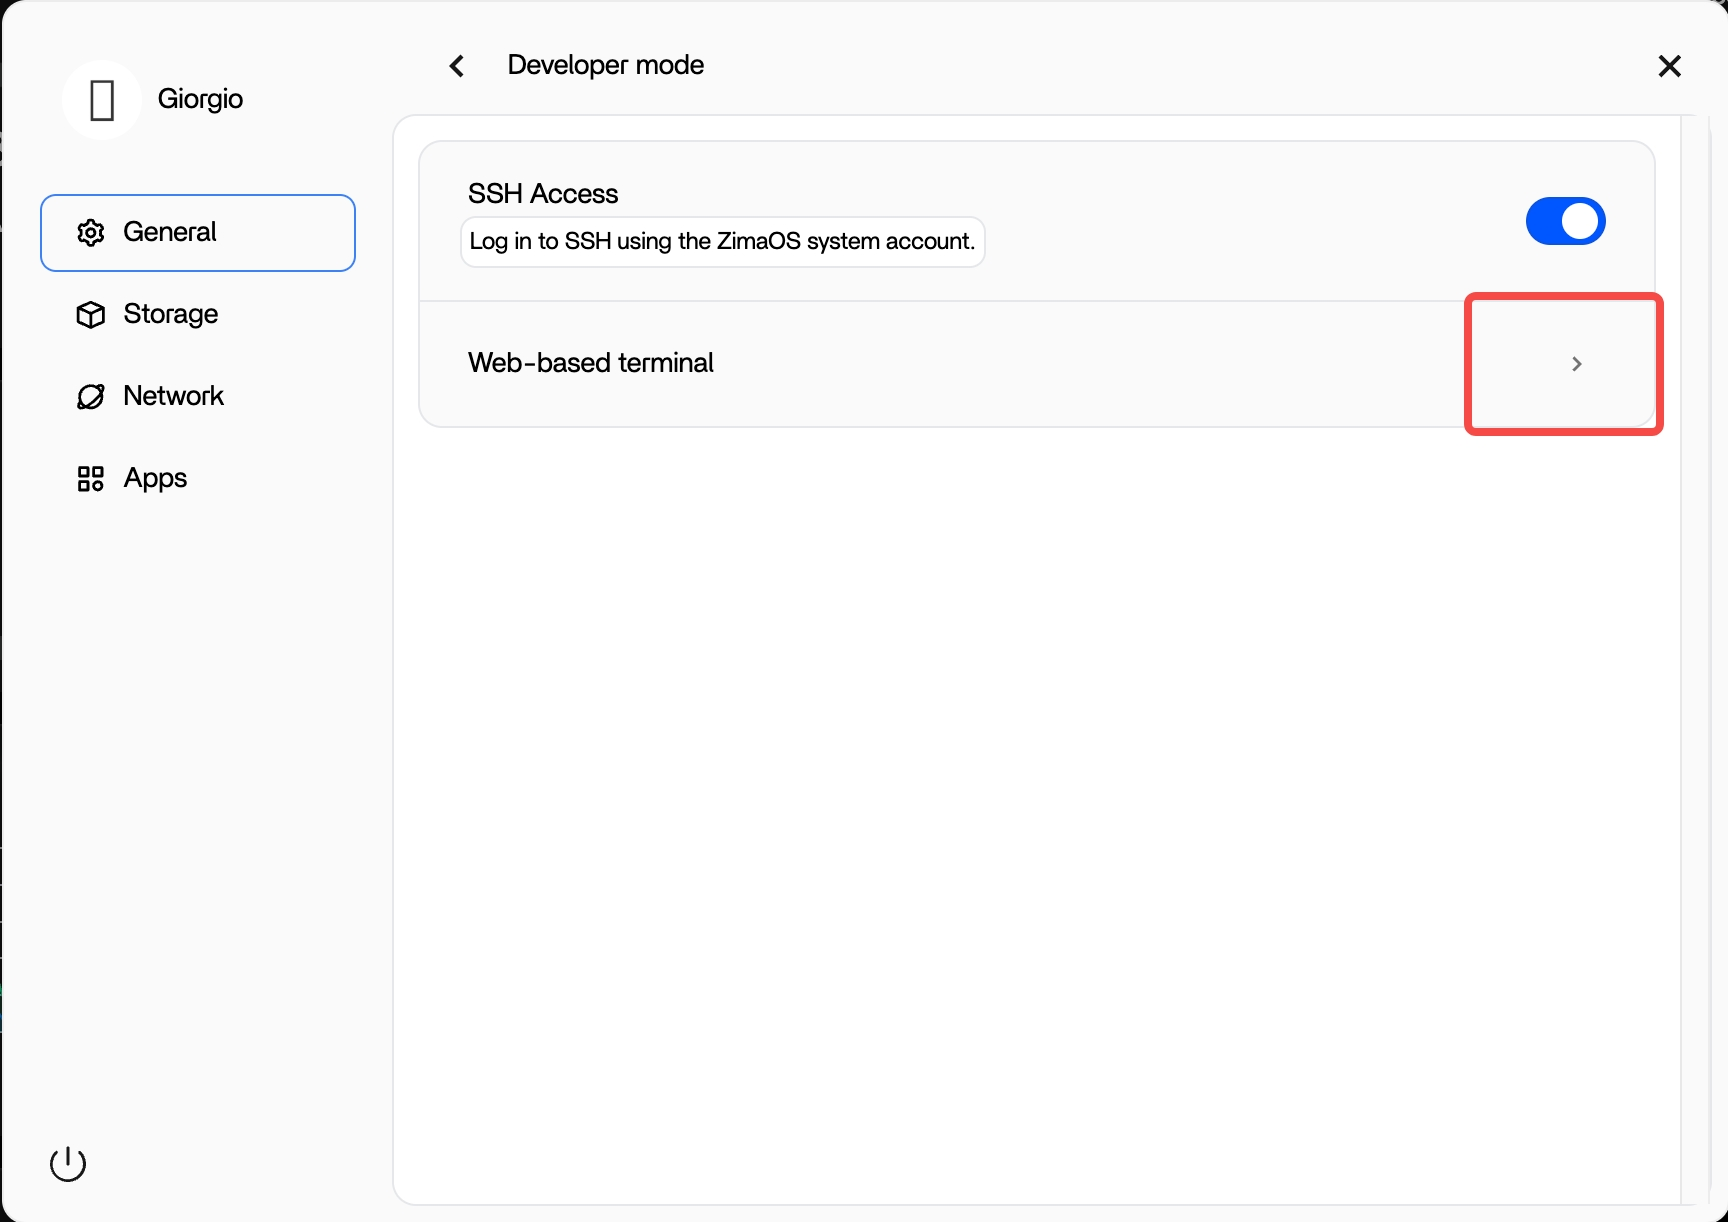
1. Open Settings.
2. Navigate to Developer Mode.
3. Toggle the SSH Access switch to “On”.
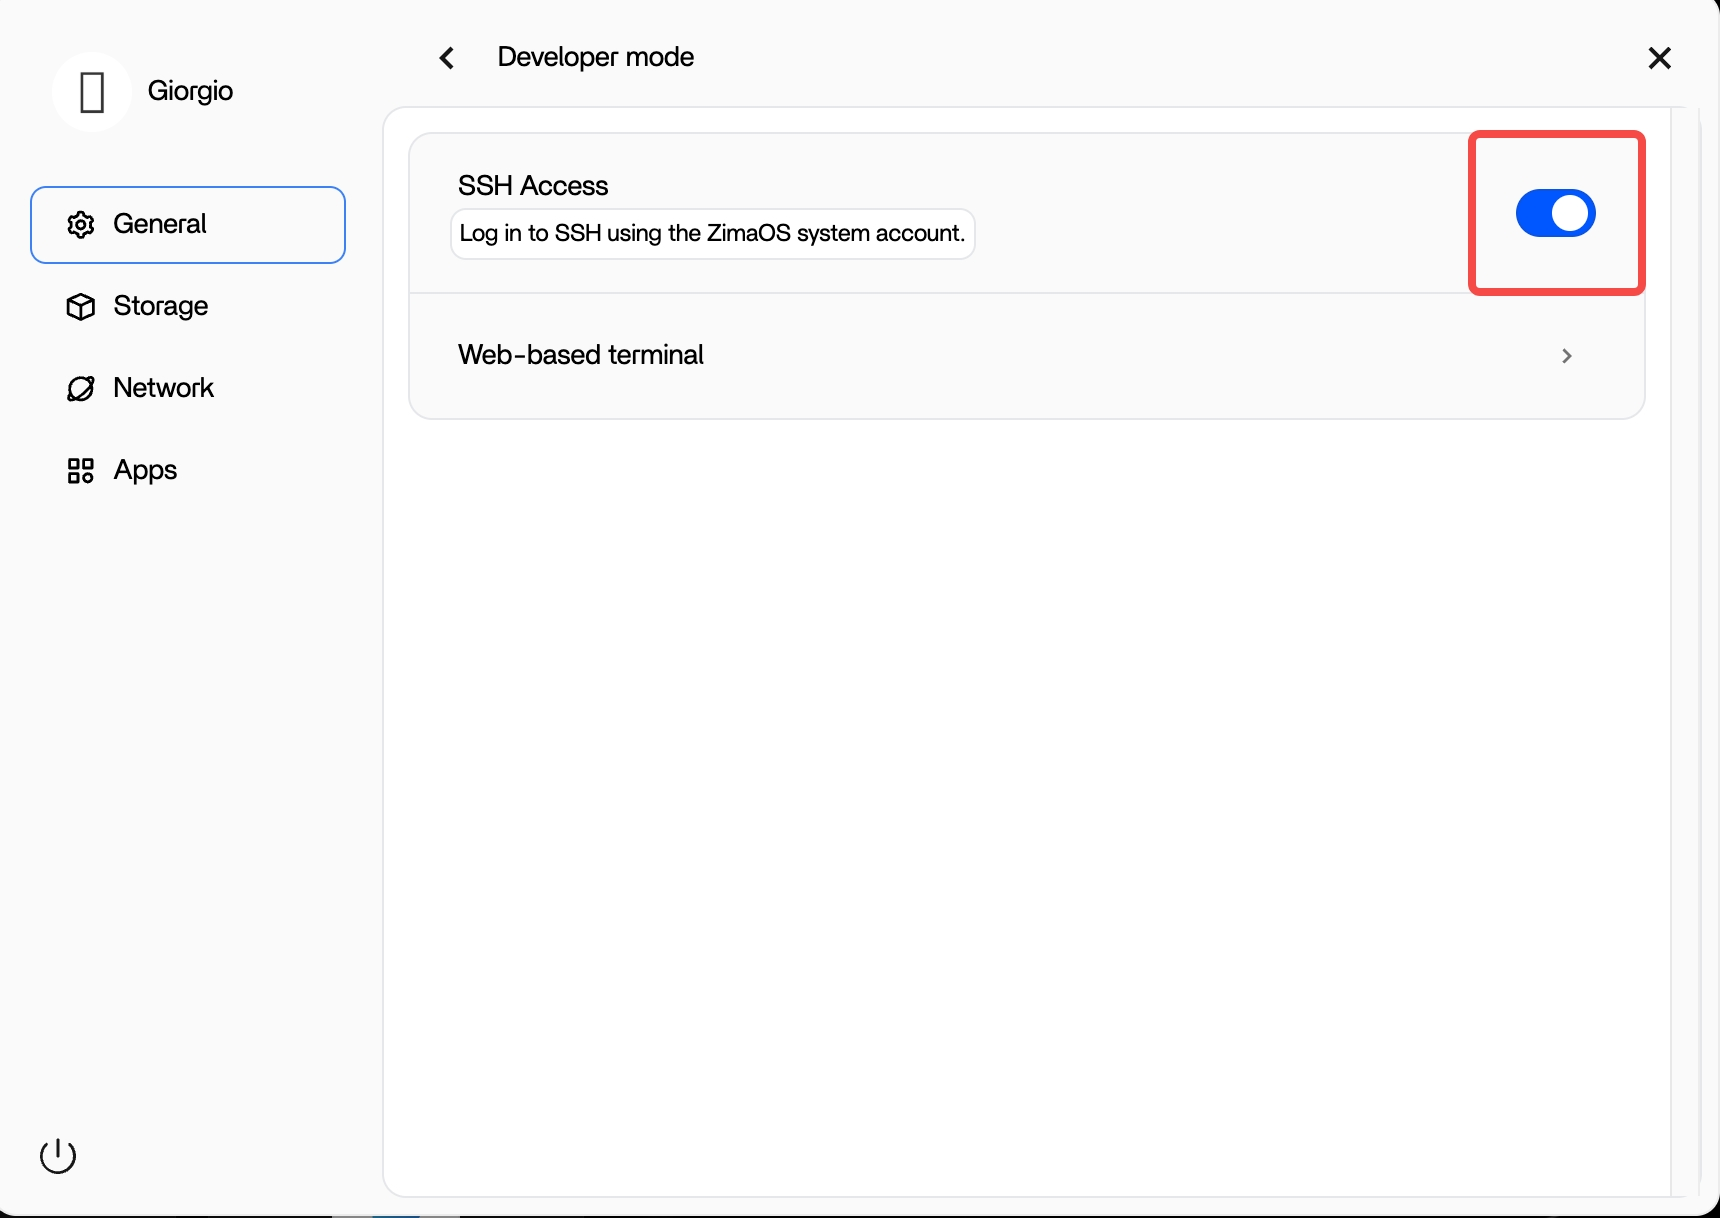
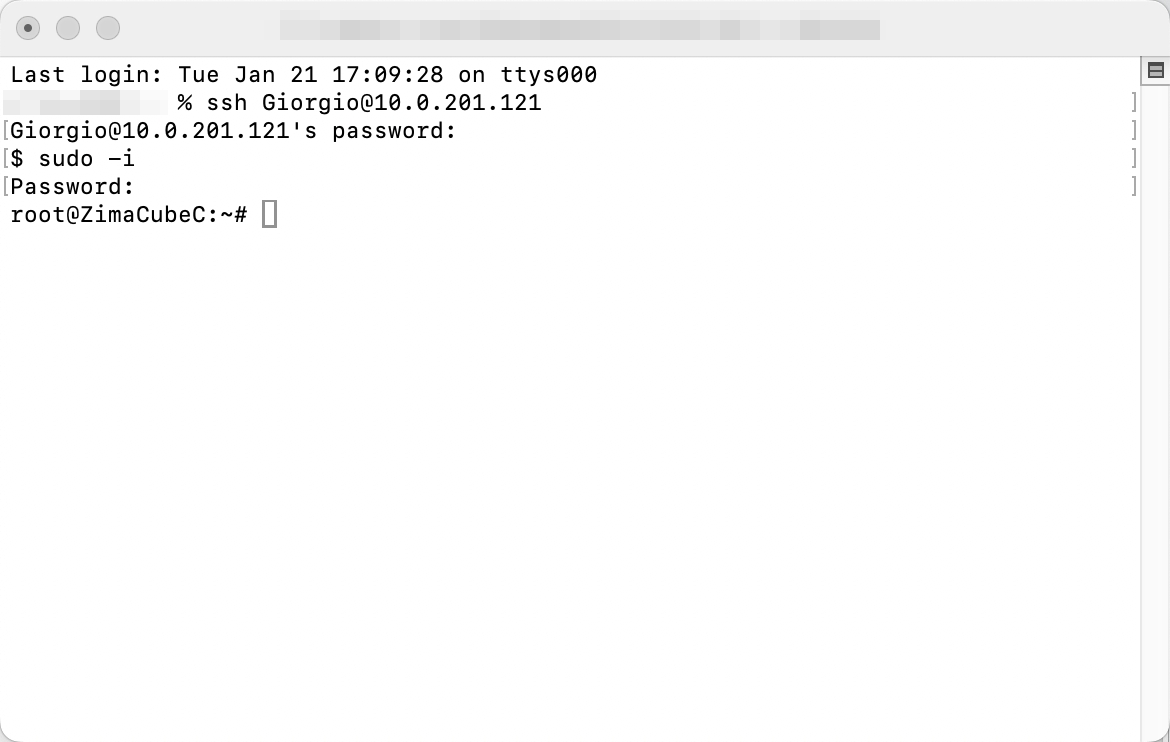
Once you’ve done this, you can use SSH to access your ZimaOS system directly without any additional configurations.
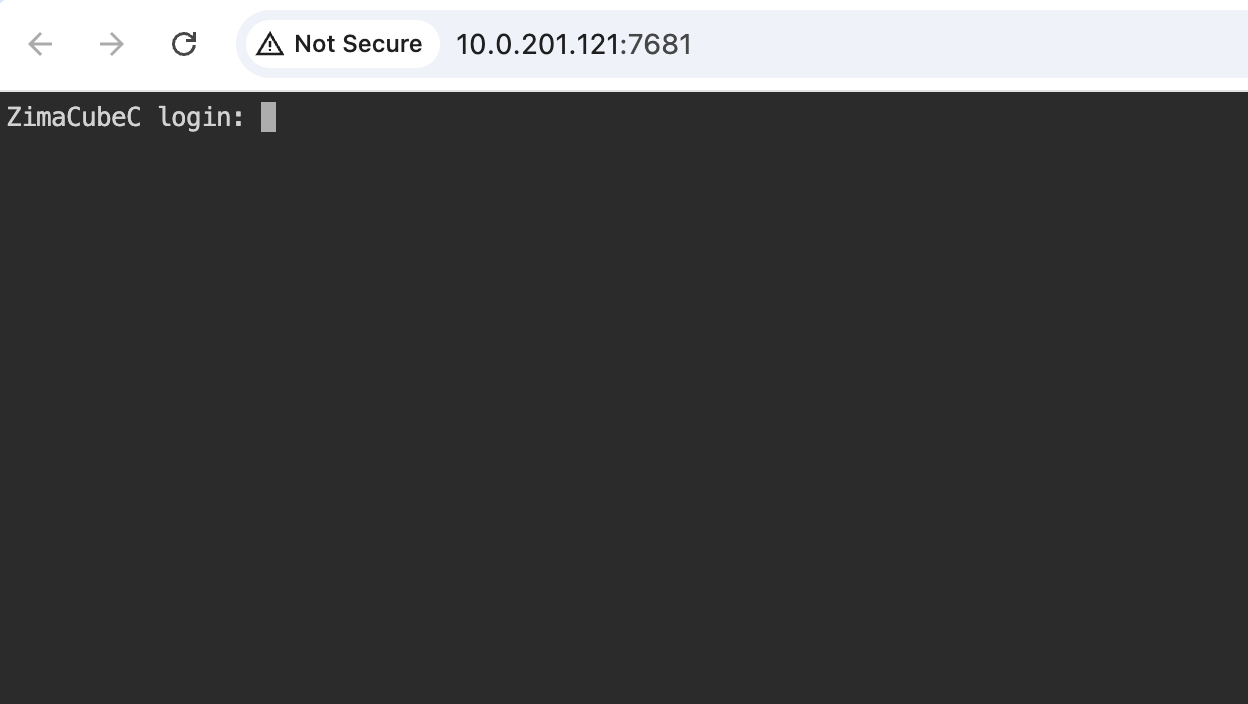
Additionally, you can enable the Web-based Terminal with a single toggle.
This simple update provides a more straightforward approach for developers and advanced users who require SSH access.
Please download the lastet version of ZimaOS: Releases · IceWhaleTech/ZimaOS · GitHub
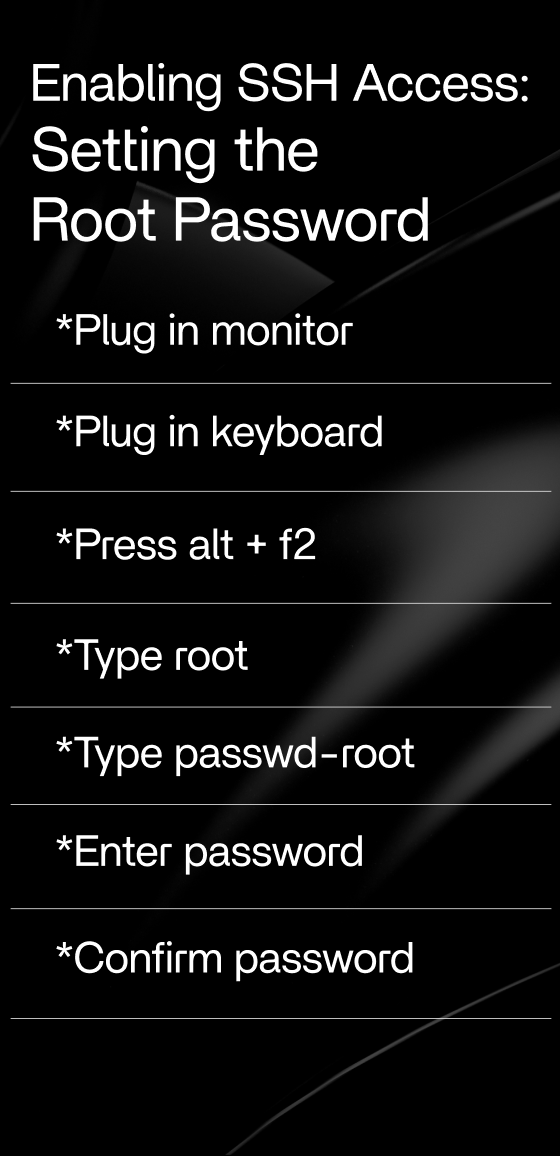
The following is obsolete:
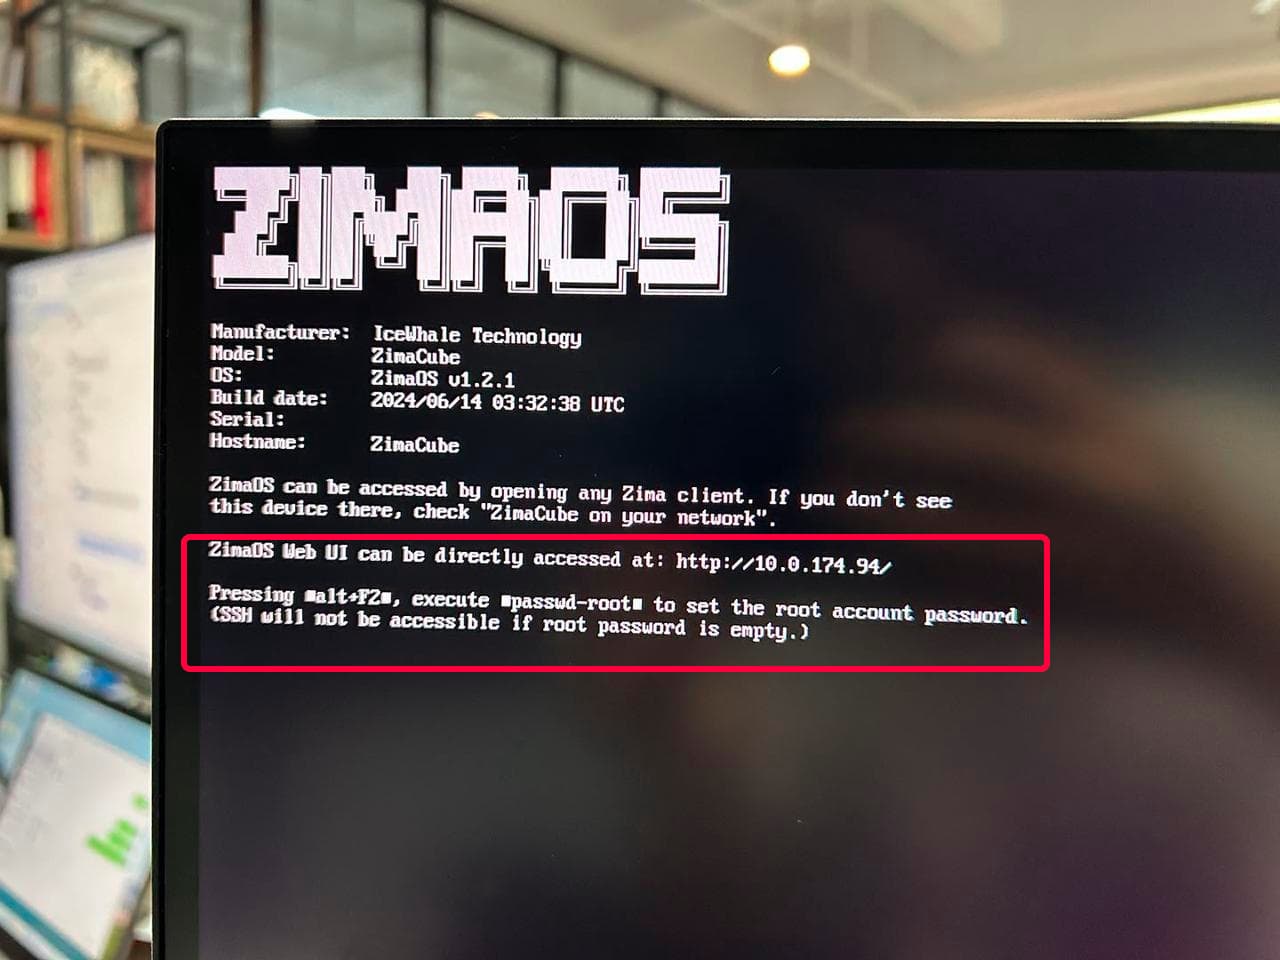
By default, SSH is disabled. Please connect a keyboard and mouse to the device. You will see a message asking you to create a root password. Then enable SSH.
-
Connect Monitor and Keyboard:
Start by connecting a monitor and a keyboard to your device.
-
Enter Setup Mode:
After powering on the device, press the Alt + F2 key combination, which typically brings you to a command line or setup interface.
3. Log in as Root User:
At the command prompt, type root to log in as the root user.
5. Change Root User Password:
Enter the command passwd-root to initiate the process of setting the root password.
Follow the prompts to enter a new password and confirm it. Make sure to choose a strong password that includes a combination of letters, numbers, and special characters.
6. Enable SSH Service:
With these detailed steps, you should be able to successfully enable SSH and set the root password, allowing you to securely access the device from other computers within the network. If you have any questions or need further assistance, feel free to ask!