Issue:
"Hi, I recently got a Zima board and flashed proxmox onto an external SATA drive and the original OS on there no longer boots and says the partition is no longer usable. "
Conclusion: Compatible and can be used
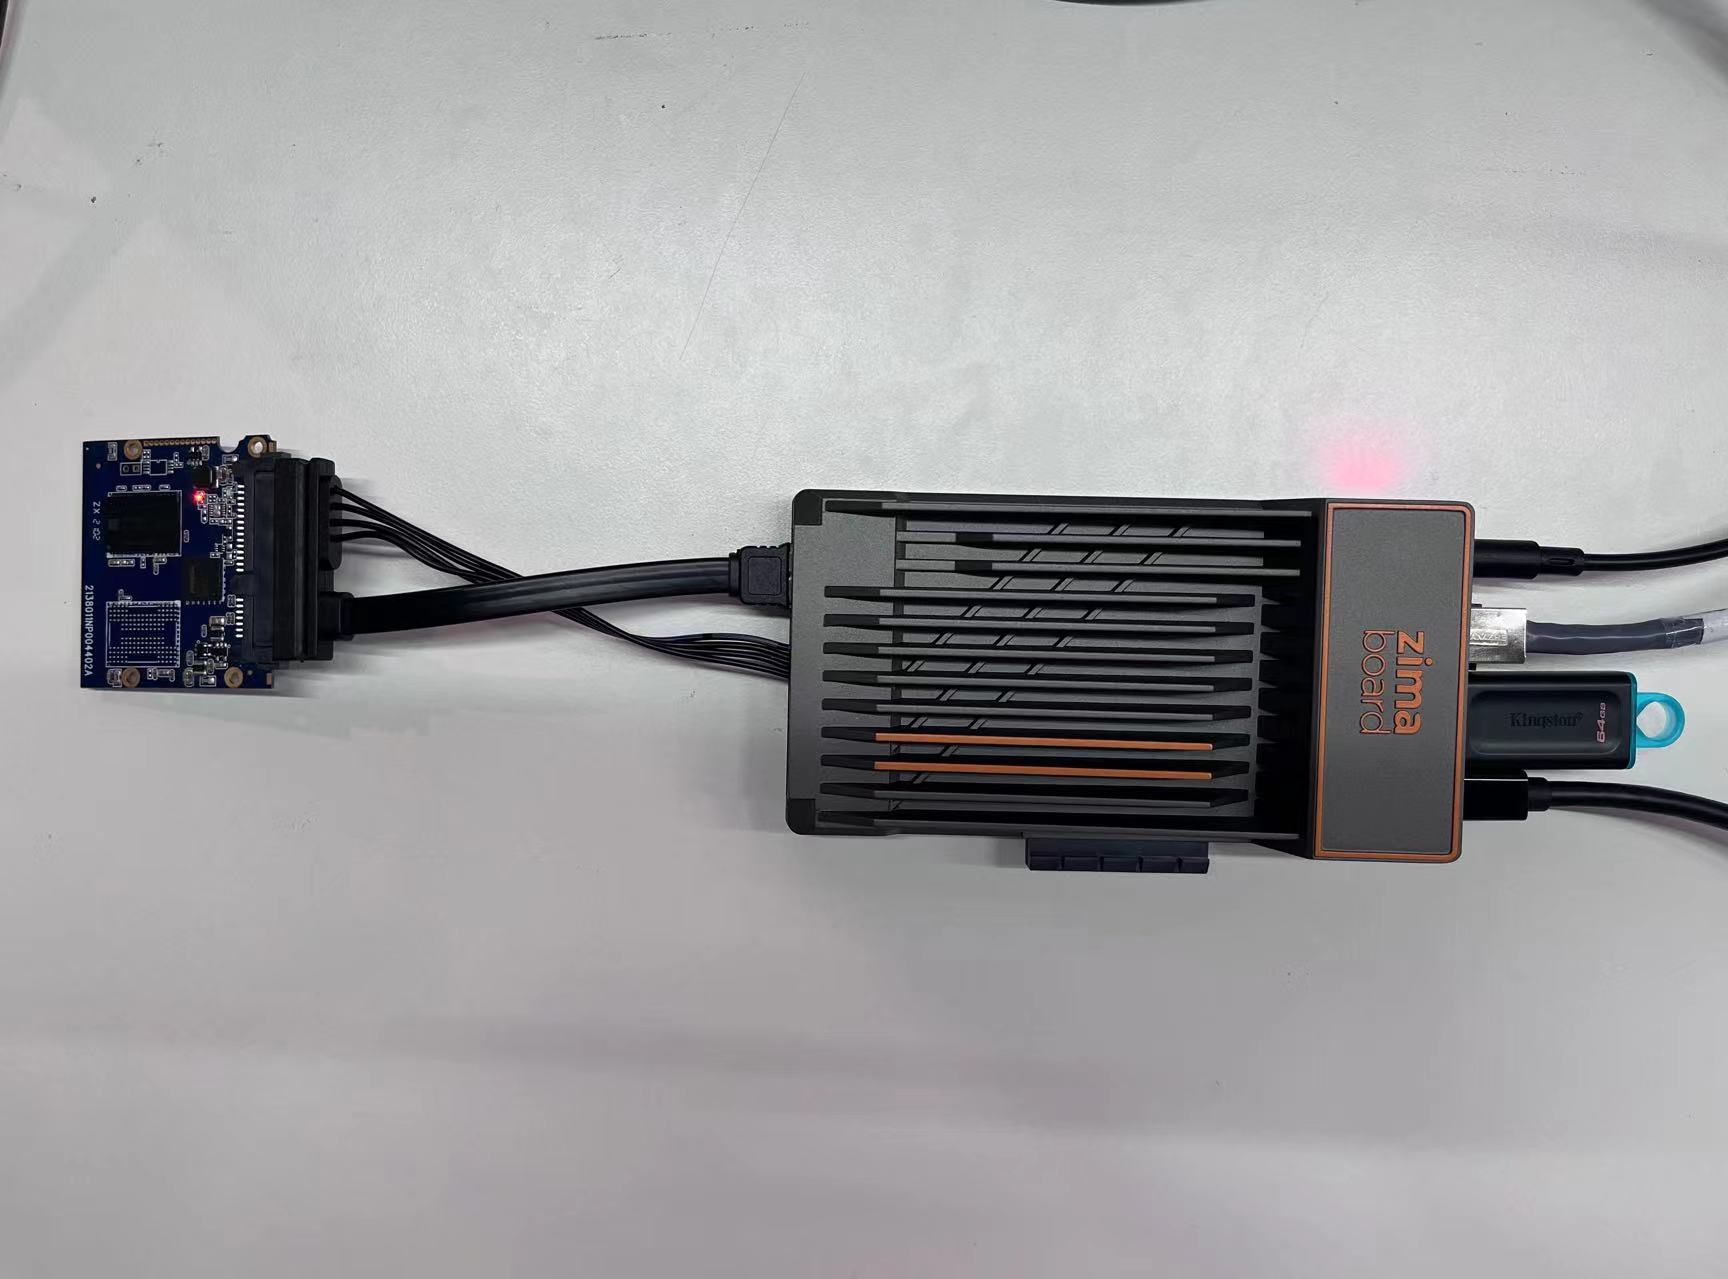
Device Preparation
1 X ZimaBoard 832
1 X Display
1 X Mini DP
1 X SSD (64G as system disk)
1 X SATA Cable
1 X Keyboard
1 X USB Drive (as installation disk)
Quick Installation Process:
-
Download PVE iso image, use Rufus to write it to USB drive as installation disk.
-
Insert installation disk to ZimaBoard, wait for installation to complete and then remove it.
-
Restart ZimaBoard to boot from SSD.
-
Note down PVE’s IP address, login and use PVE.
Detailed Installation Steps
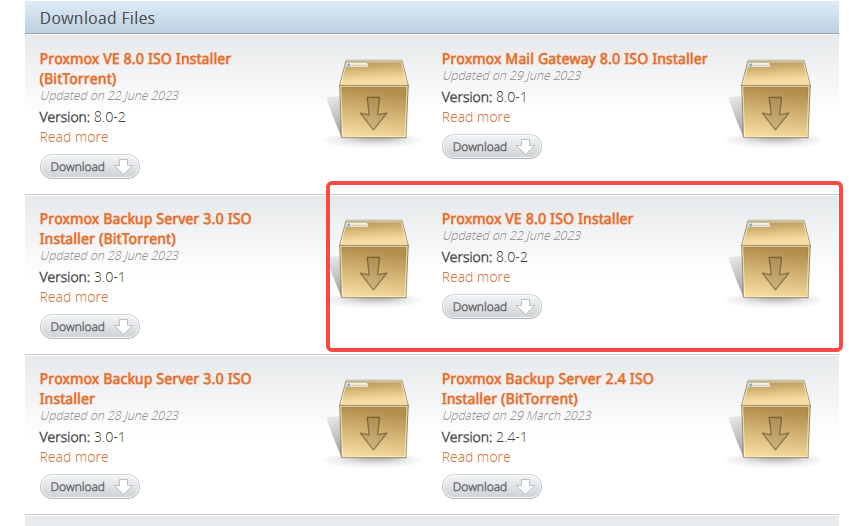
Step 1: Download image file
Click the following official link:
Download Proxmox software, documentation, agreements
Step 2: Make installation USB
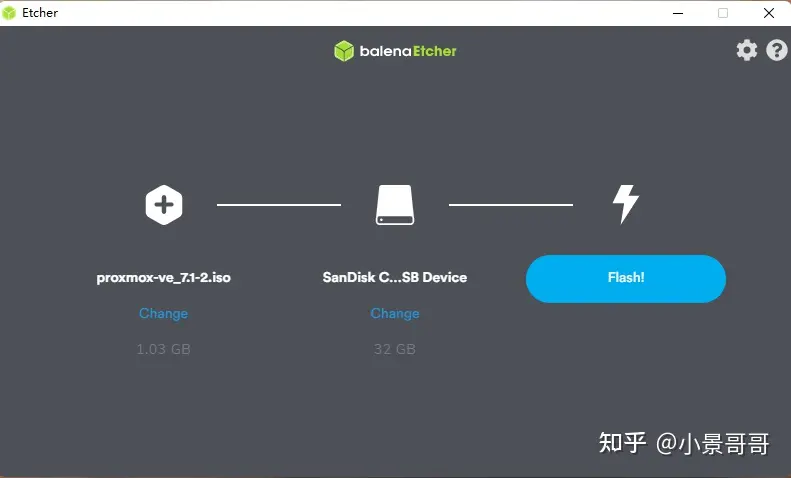
Use Etcher, select USB drive, add iso file.
Step 3: Install PVE on ZimaBoard
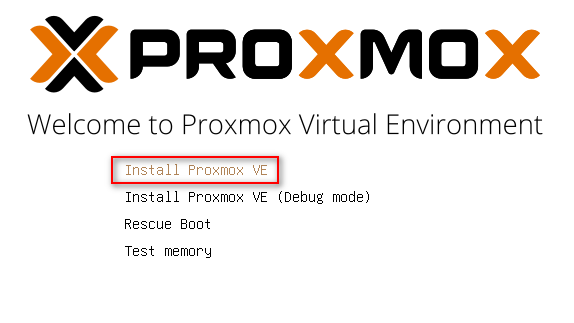
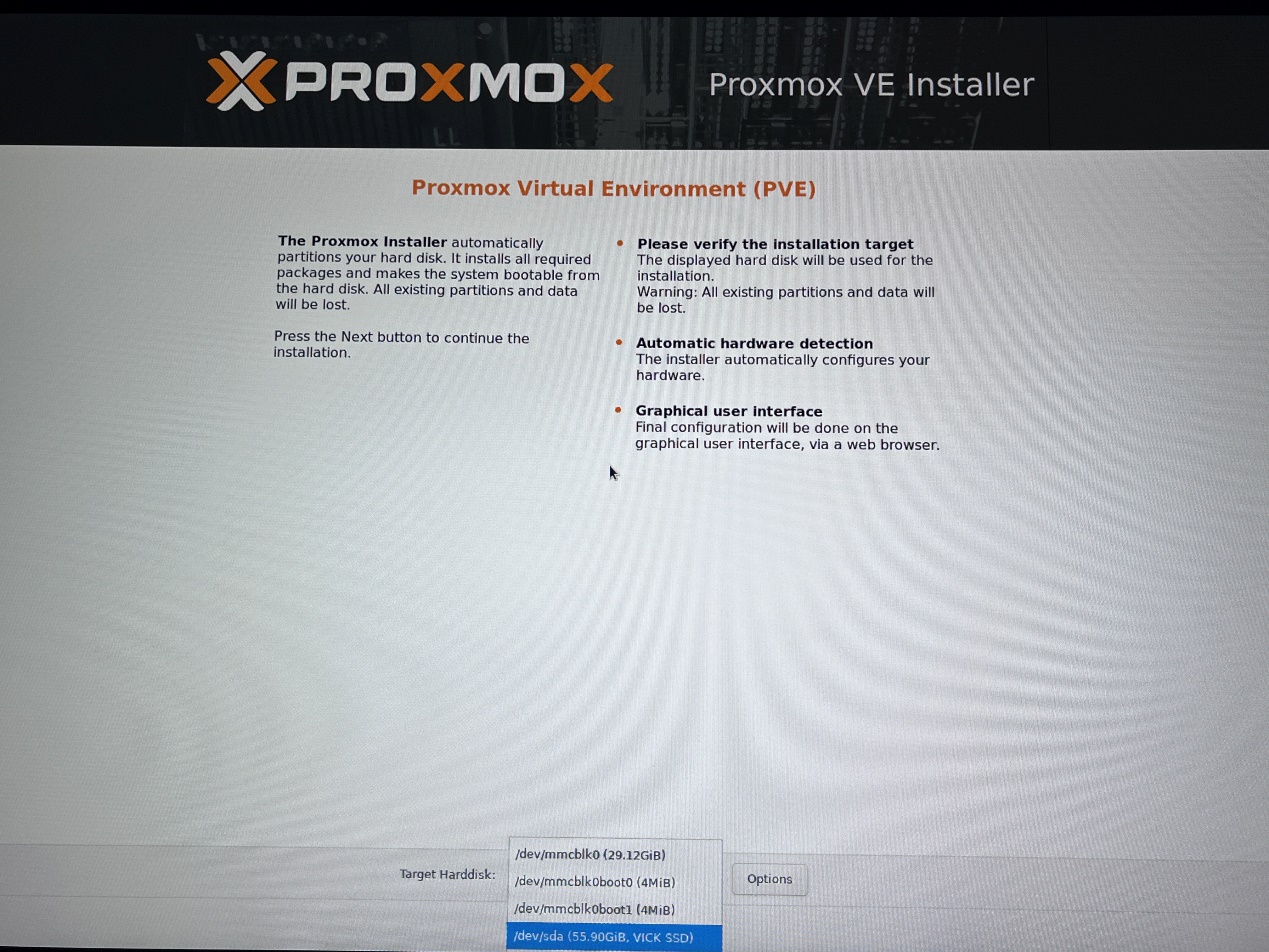
Step 4: Select system installation location
Select SSD as system disk.
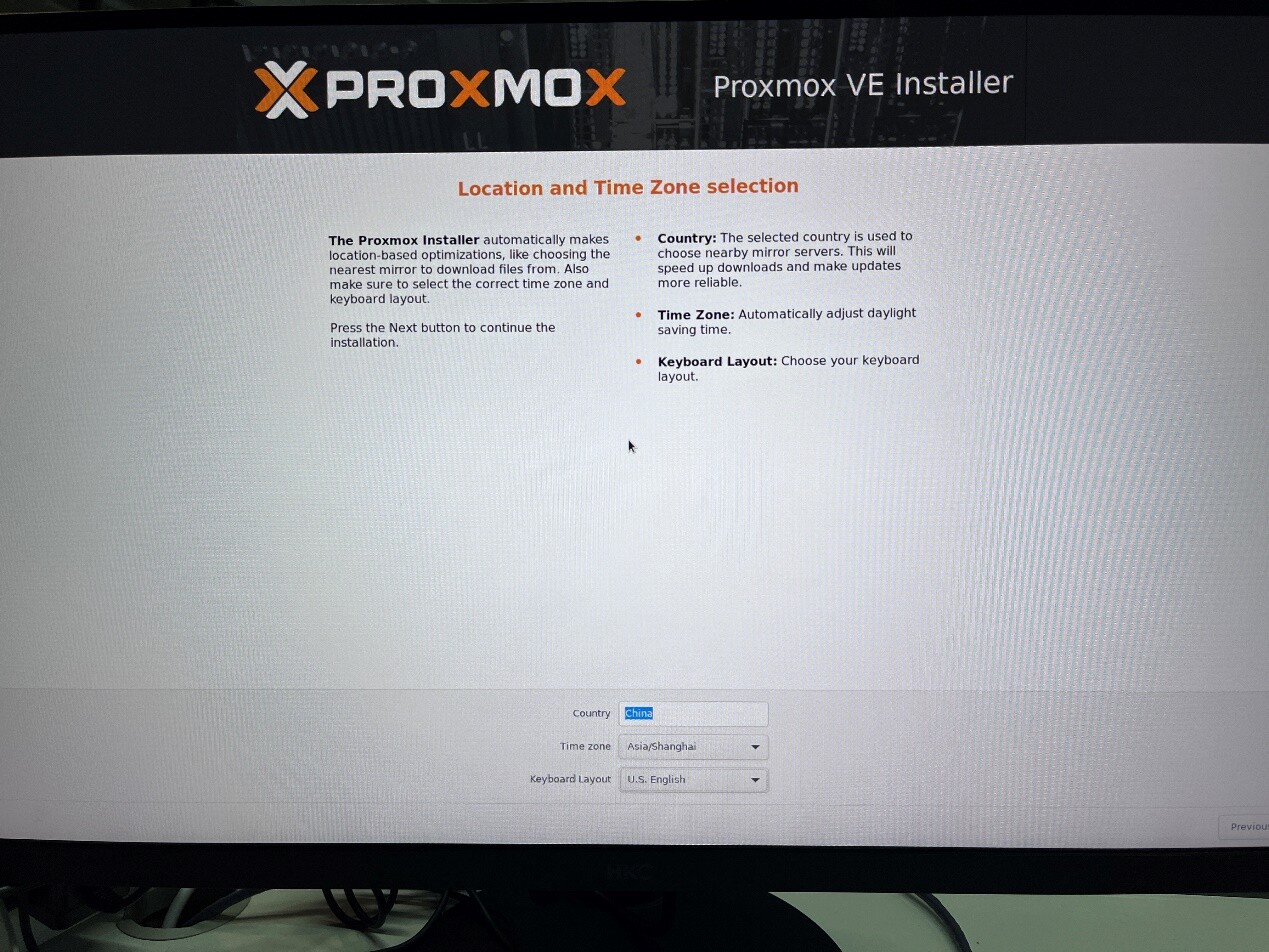
Step 5: Set country
Set country as needed, click “NEXT” after filling it.
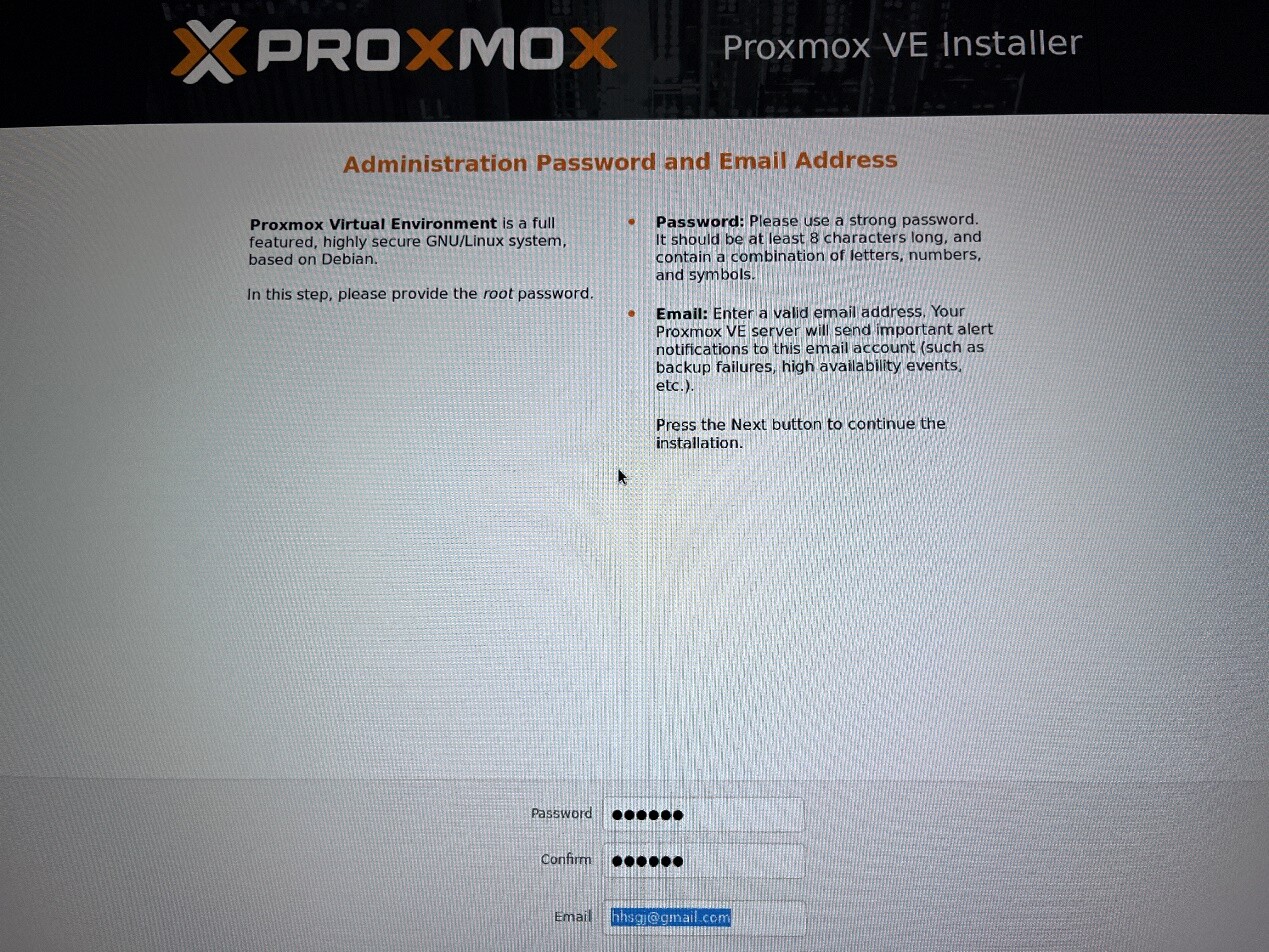
Step 6: Input login password
TIPS: This password is for subsequent logins, account is: root
Input root password and email address, click “NEXT” after filling:
Step 7: Configure network
PVE installation allocates IP, netmask, gateway
IP Address: Can use default, or specify yourself (this IP is for subsequent PVE use)
Gateway/DNS Server: Fill according to actual situation
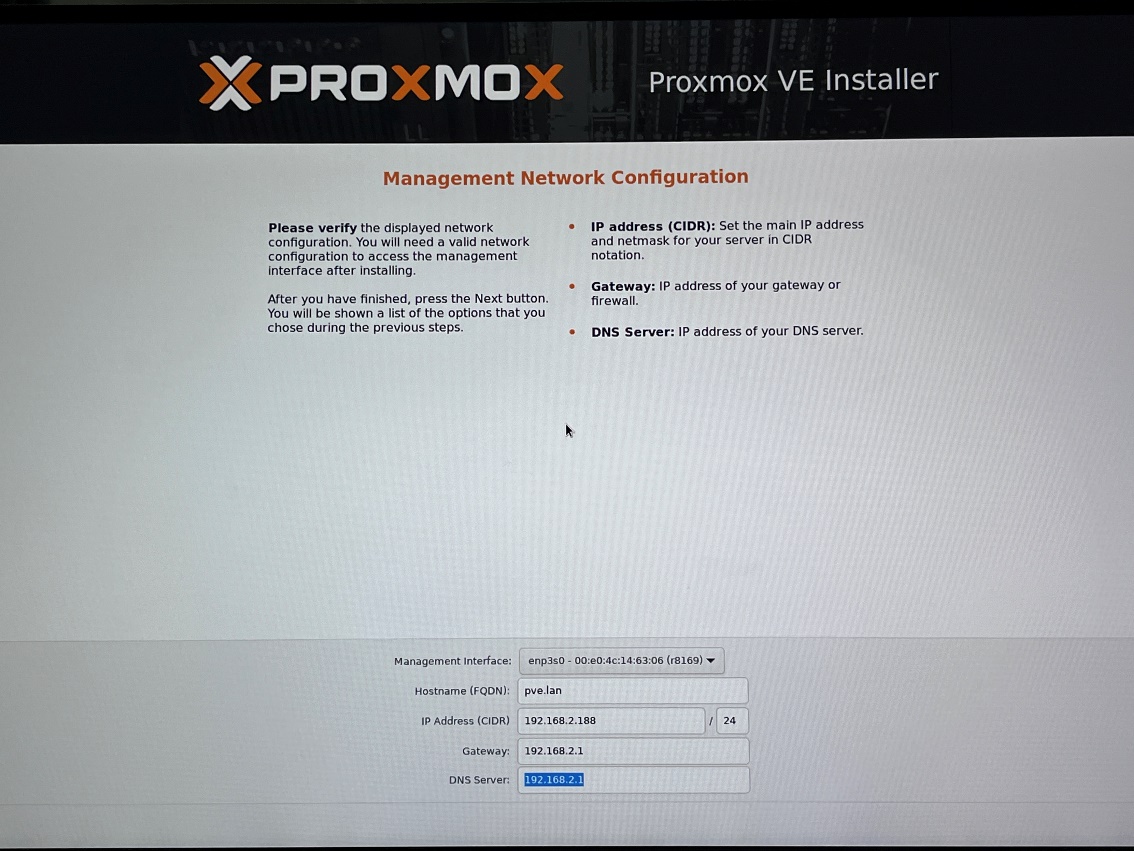
Step 8: Install PVE
Wait for installation.

Step 9: Check address
After installation is complete, remove USB drive in Reboot, select SSD to enter login screen.
Tips: Configure network
Can check PVE’s IP address:
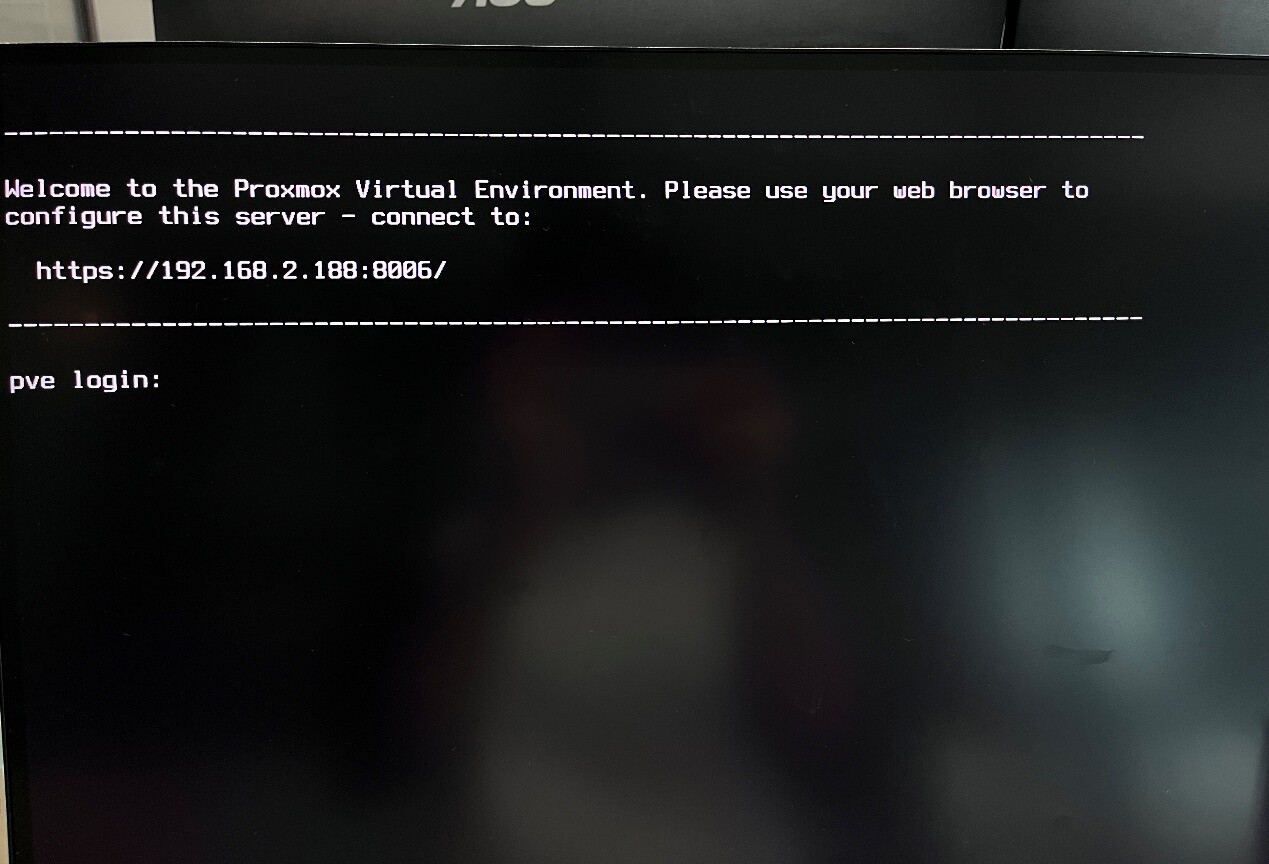
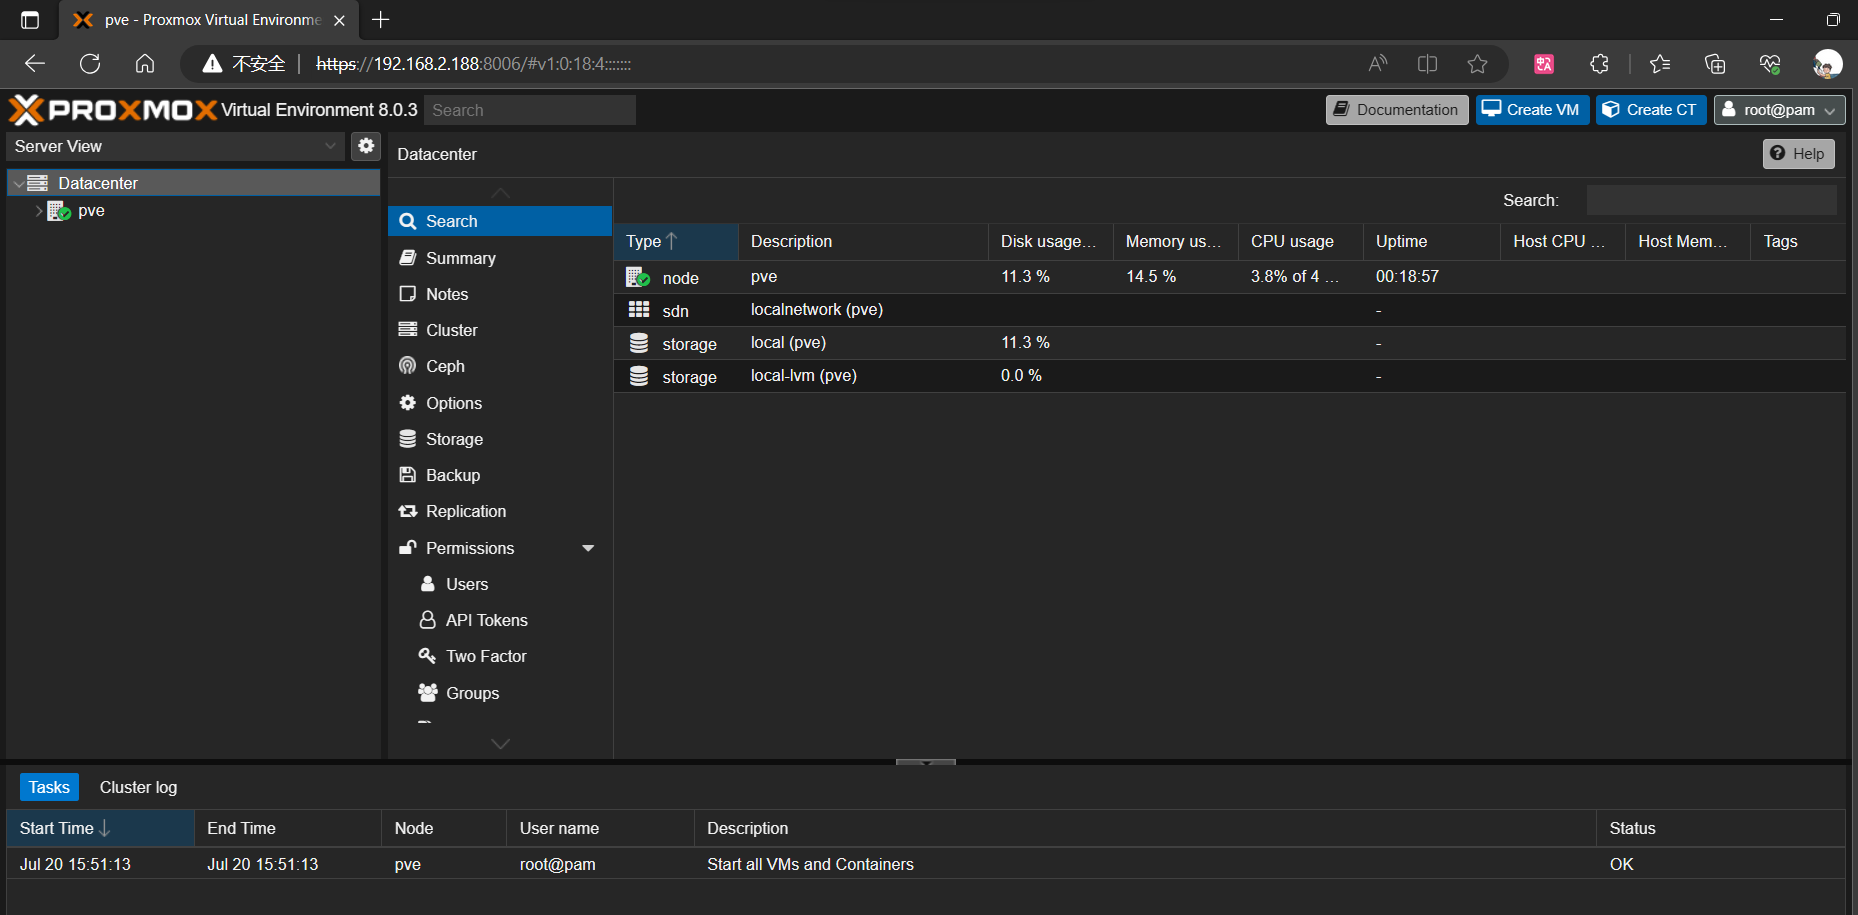
Step 10: Run PVE
We can see PVE has been successfully run on ZimaBoard, and does not affect the CasaOS on ZimaBoard’s eMMC storage.
