Zima Cron is a scheduling tool designed specifically for ZimaOS. It allows you to automate tasks such as script execution and data backups without installing extra dependencies. You can install it directly using the built-in package manager.
1. Install Zima Cron
ZimaOS includes the official package manager zpkg, so no additional configuration is required.
-
Open the ZimaOS terminal
(via the Web management interface or by logging into the device directly). -
Run the following command:
zpkg install zima_cron
After installation, no system reboot is required.
Zima Cron will automatically appear in the Apps list in ZimaOS.
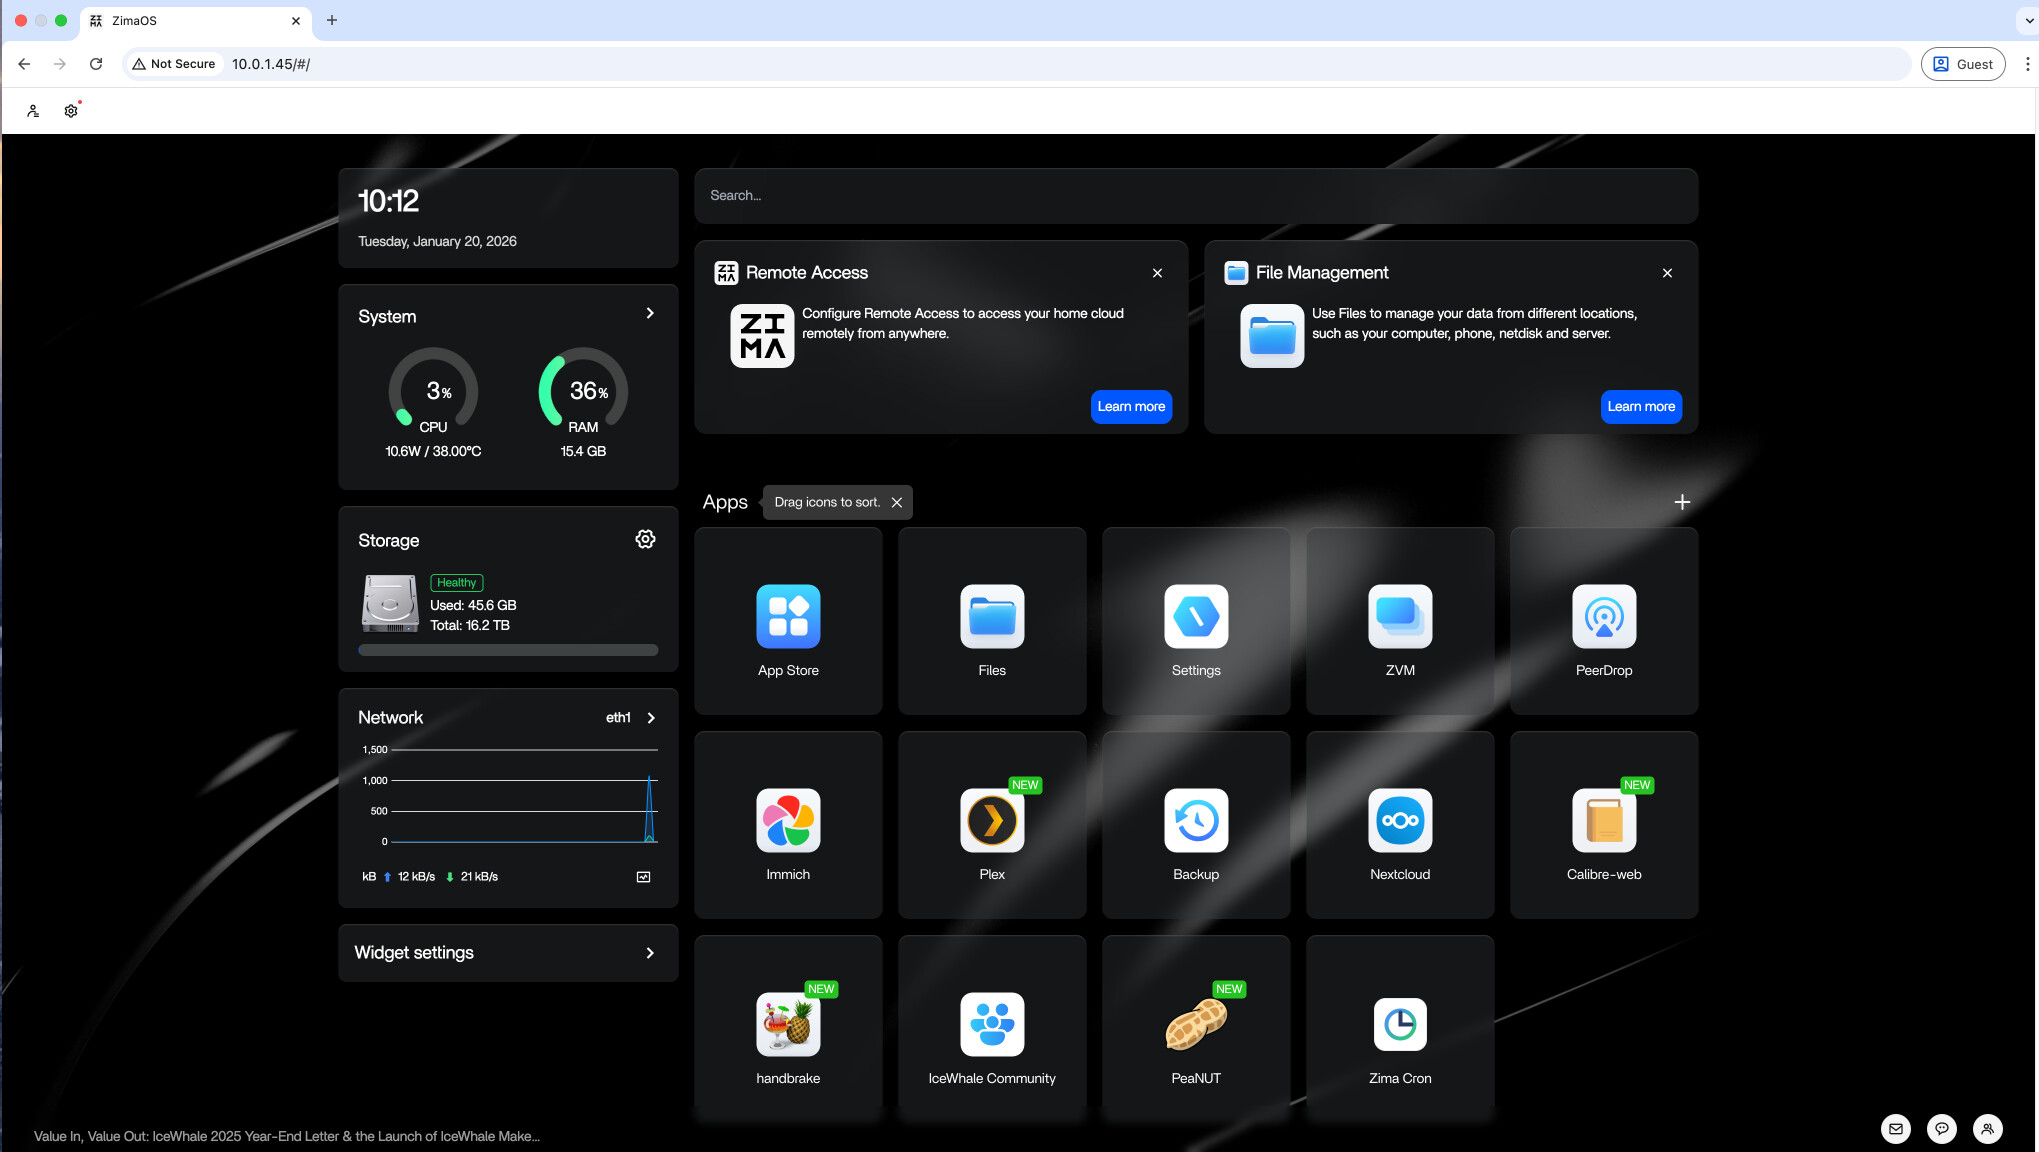
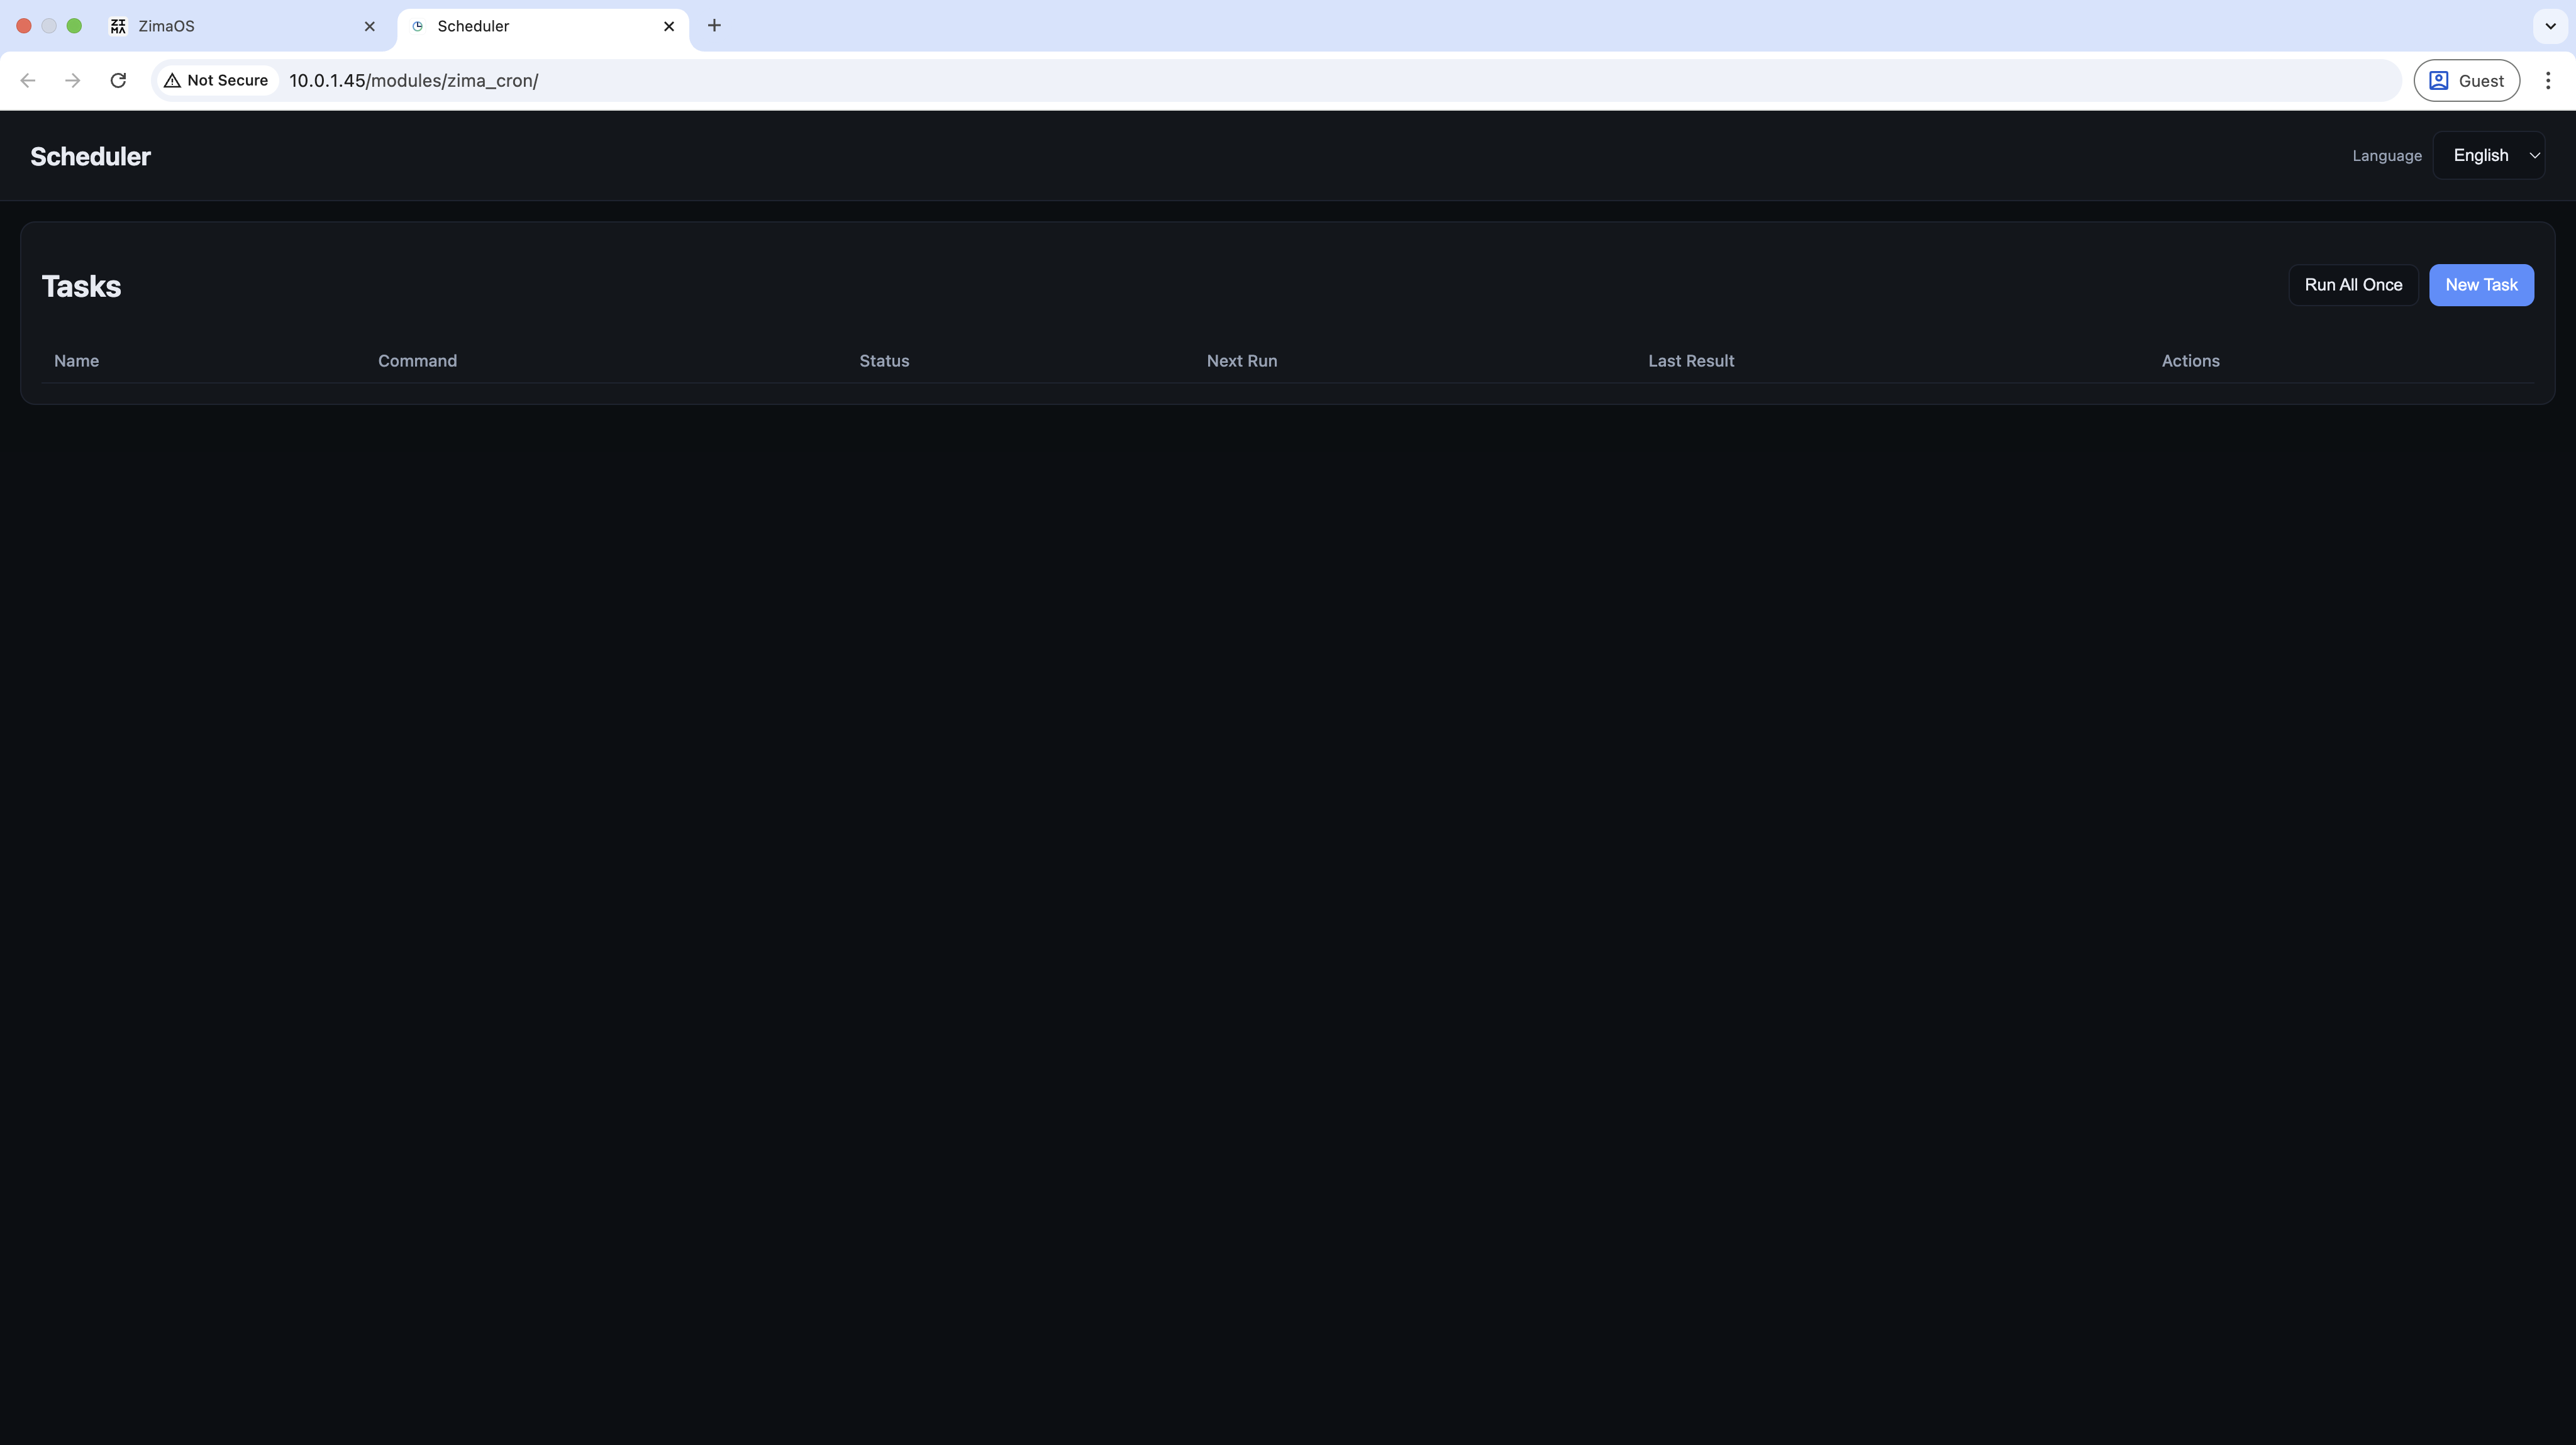
2. Open Zima Cron
In the ZimaOS Web management interface, click to open Zima Cron.
3.Create a Scheduled Task (Test Example)
Follow the on-screen instructions to create your task.
Below is a safe, risk-free test task to verify that Zima Cron is working correctly.
This task records the current system time to a log file every minute.
3.1 Steps:
-
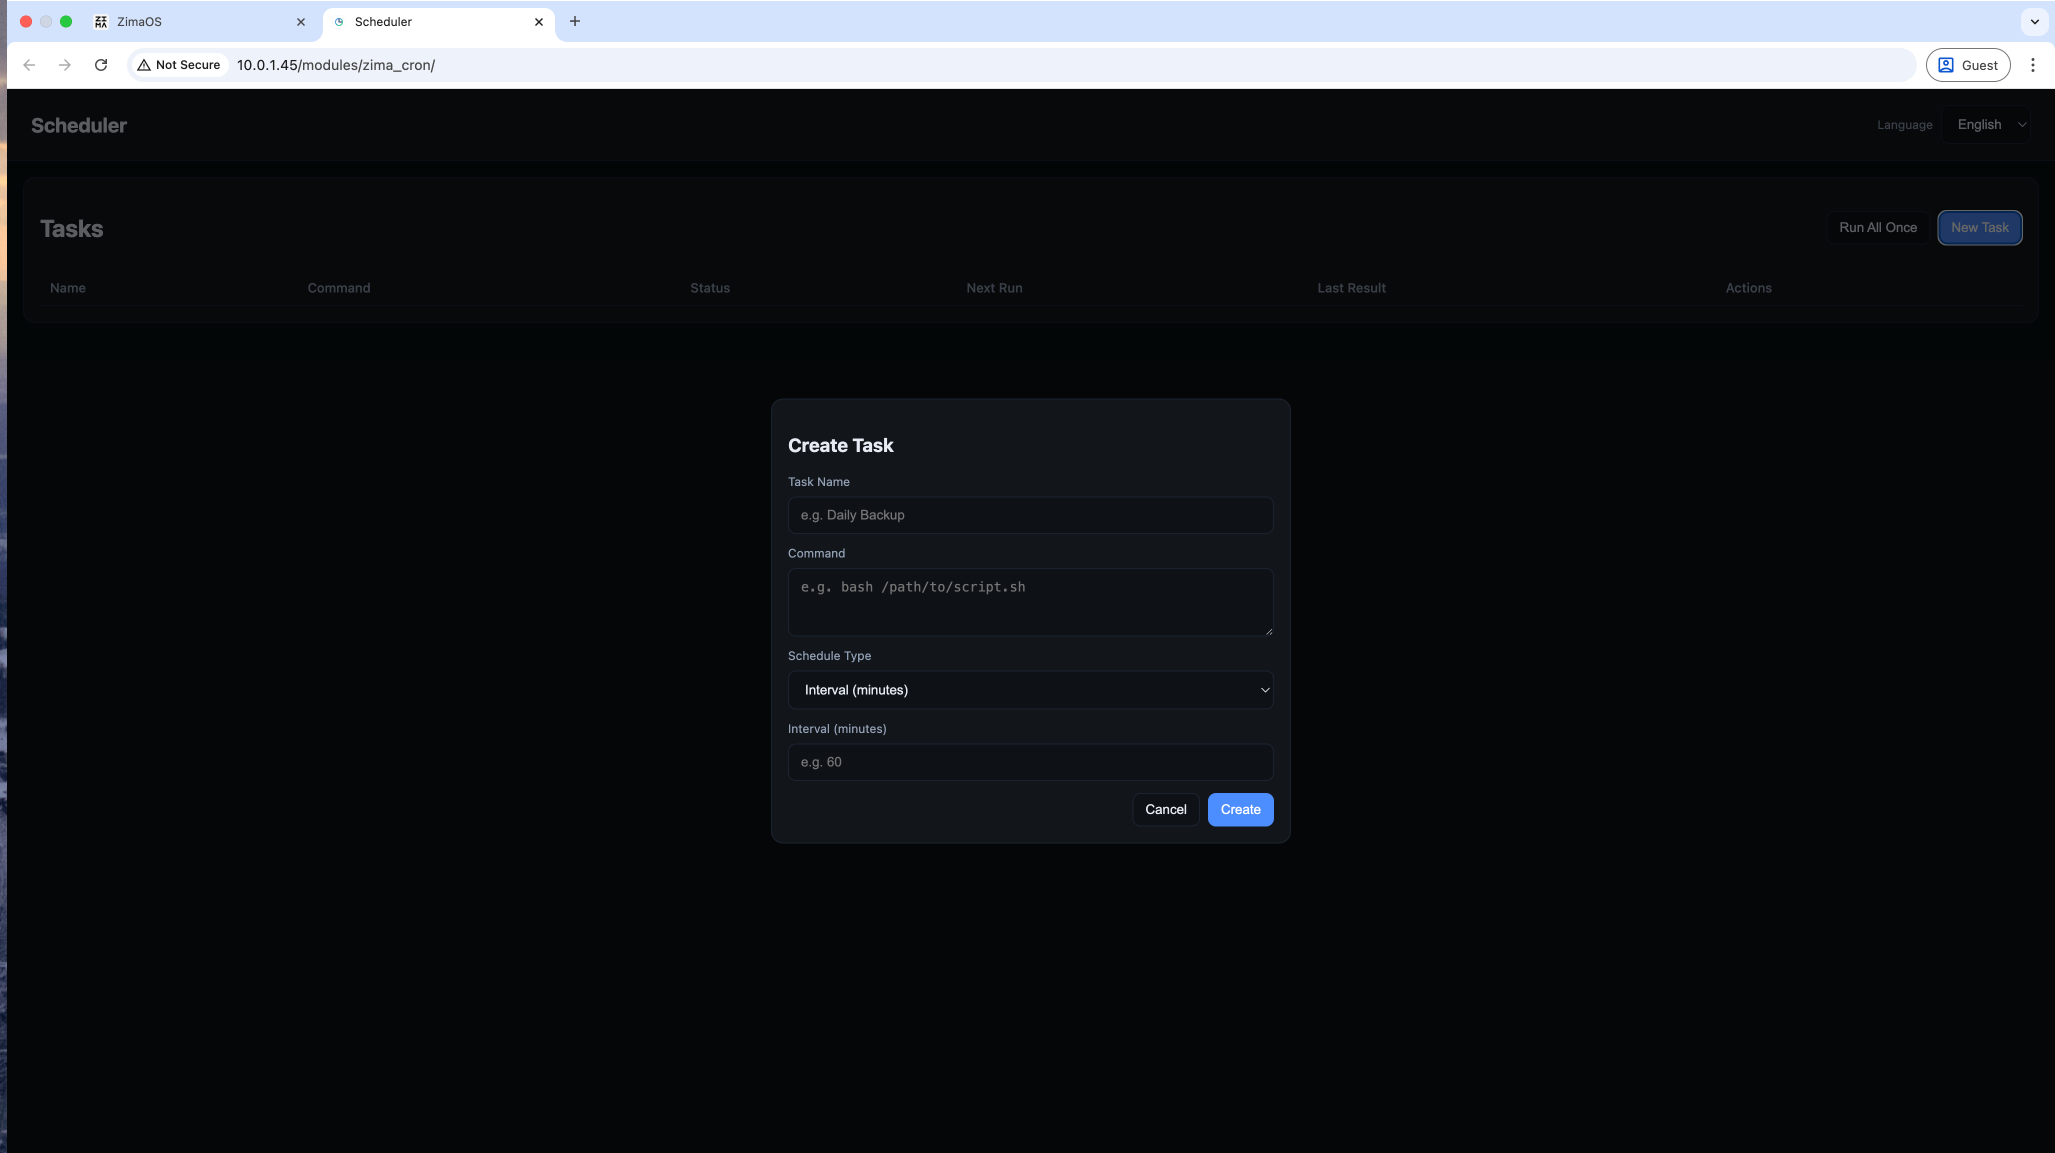
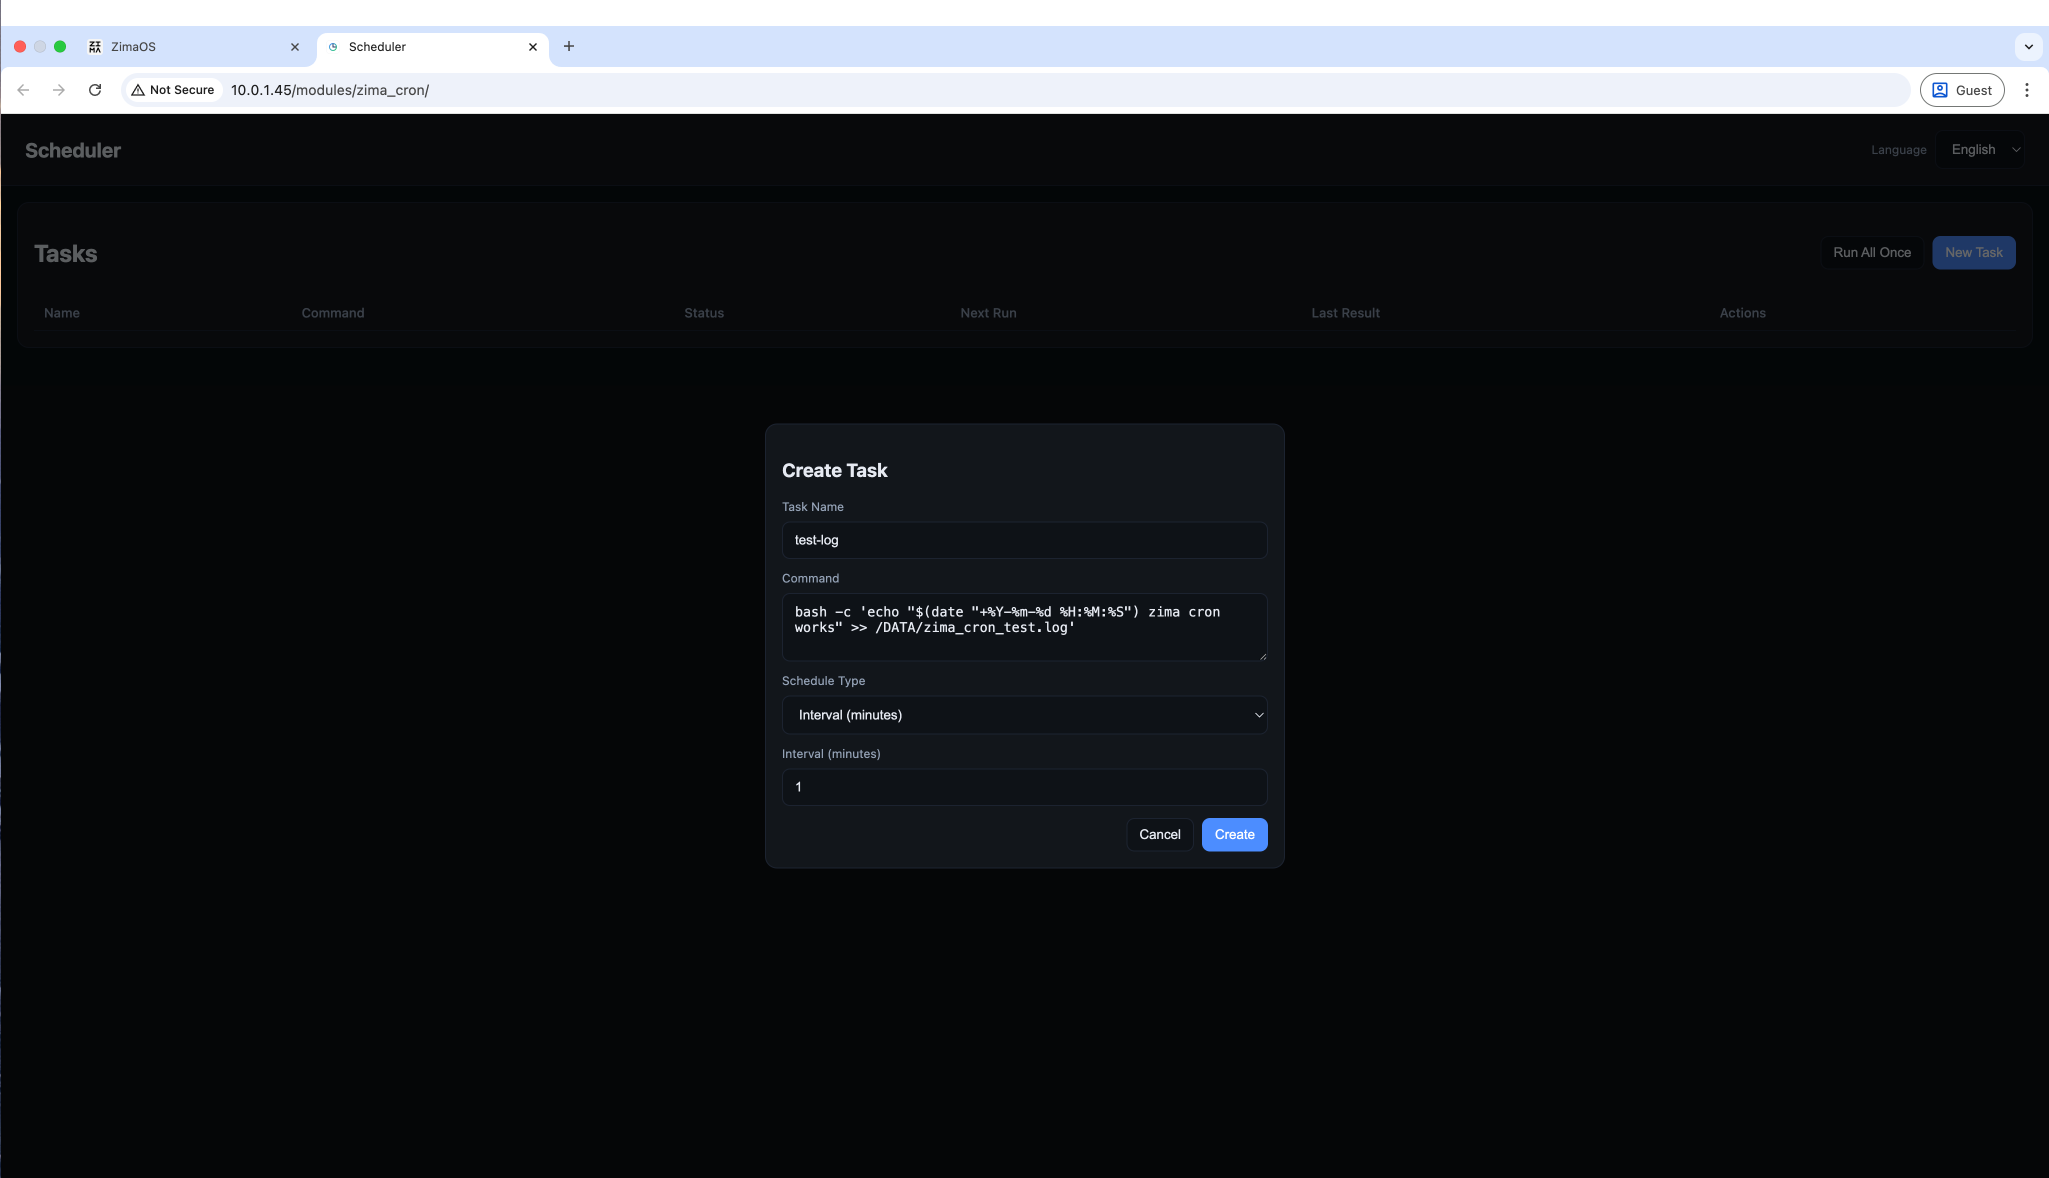
In the Zima Cron main interface, click New Task in the top-right corner.
-
Fill in the task information as follows:
test-log -
Command:
Copy and paste the following command: -
bash -c 'echo "$(date "+%Y-%m-%d %H:%M:%S") zima cron works" >> /DATA/zima_cron_test.log' -
Schedule Type: Select Interval (minutes)
-
Interval:
1(Runs once every minute) -
Click Create to activate the task.
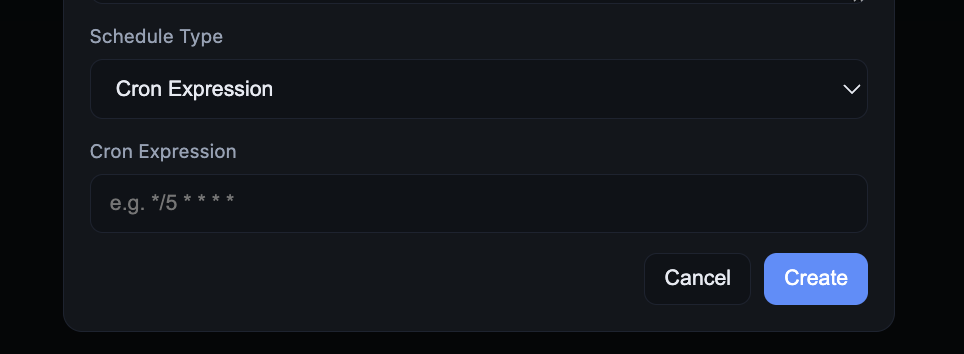
3.2 Cron Expression Scheduling (Advanced)
In addition to Interval (minutes) scheduling, Zima Cron also supports Cron Expression scheduling.
When creating a task, switch Schedule Type to Cron Expression and enter a valid cron expression.
For example:
*/5 * * * *
Runs the task every 5 minutes.
This allows precise scheduling, such as:
-
Running at a fixed time every day
-
Running on specific days of the week
-
Running monthly at a specified time
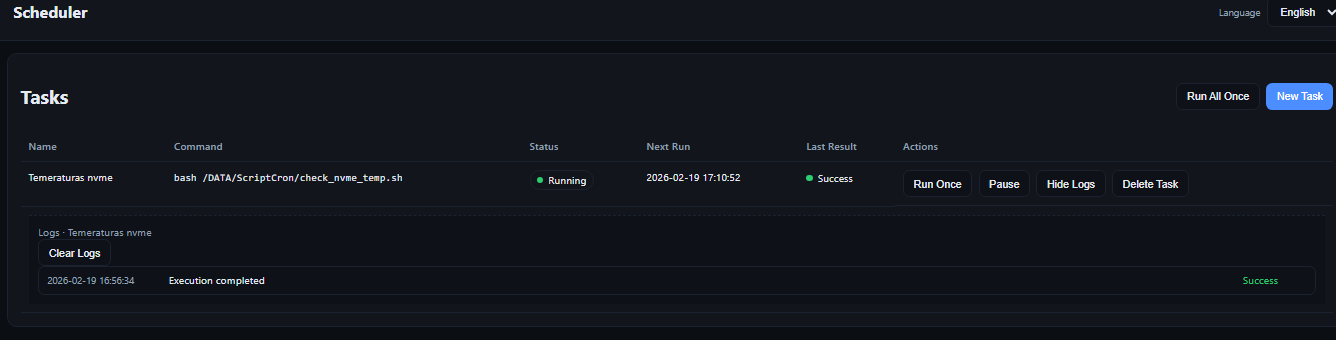
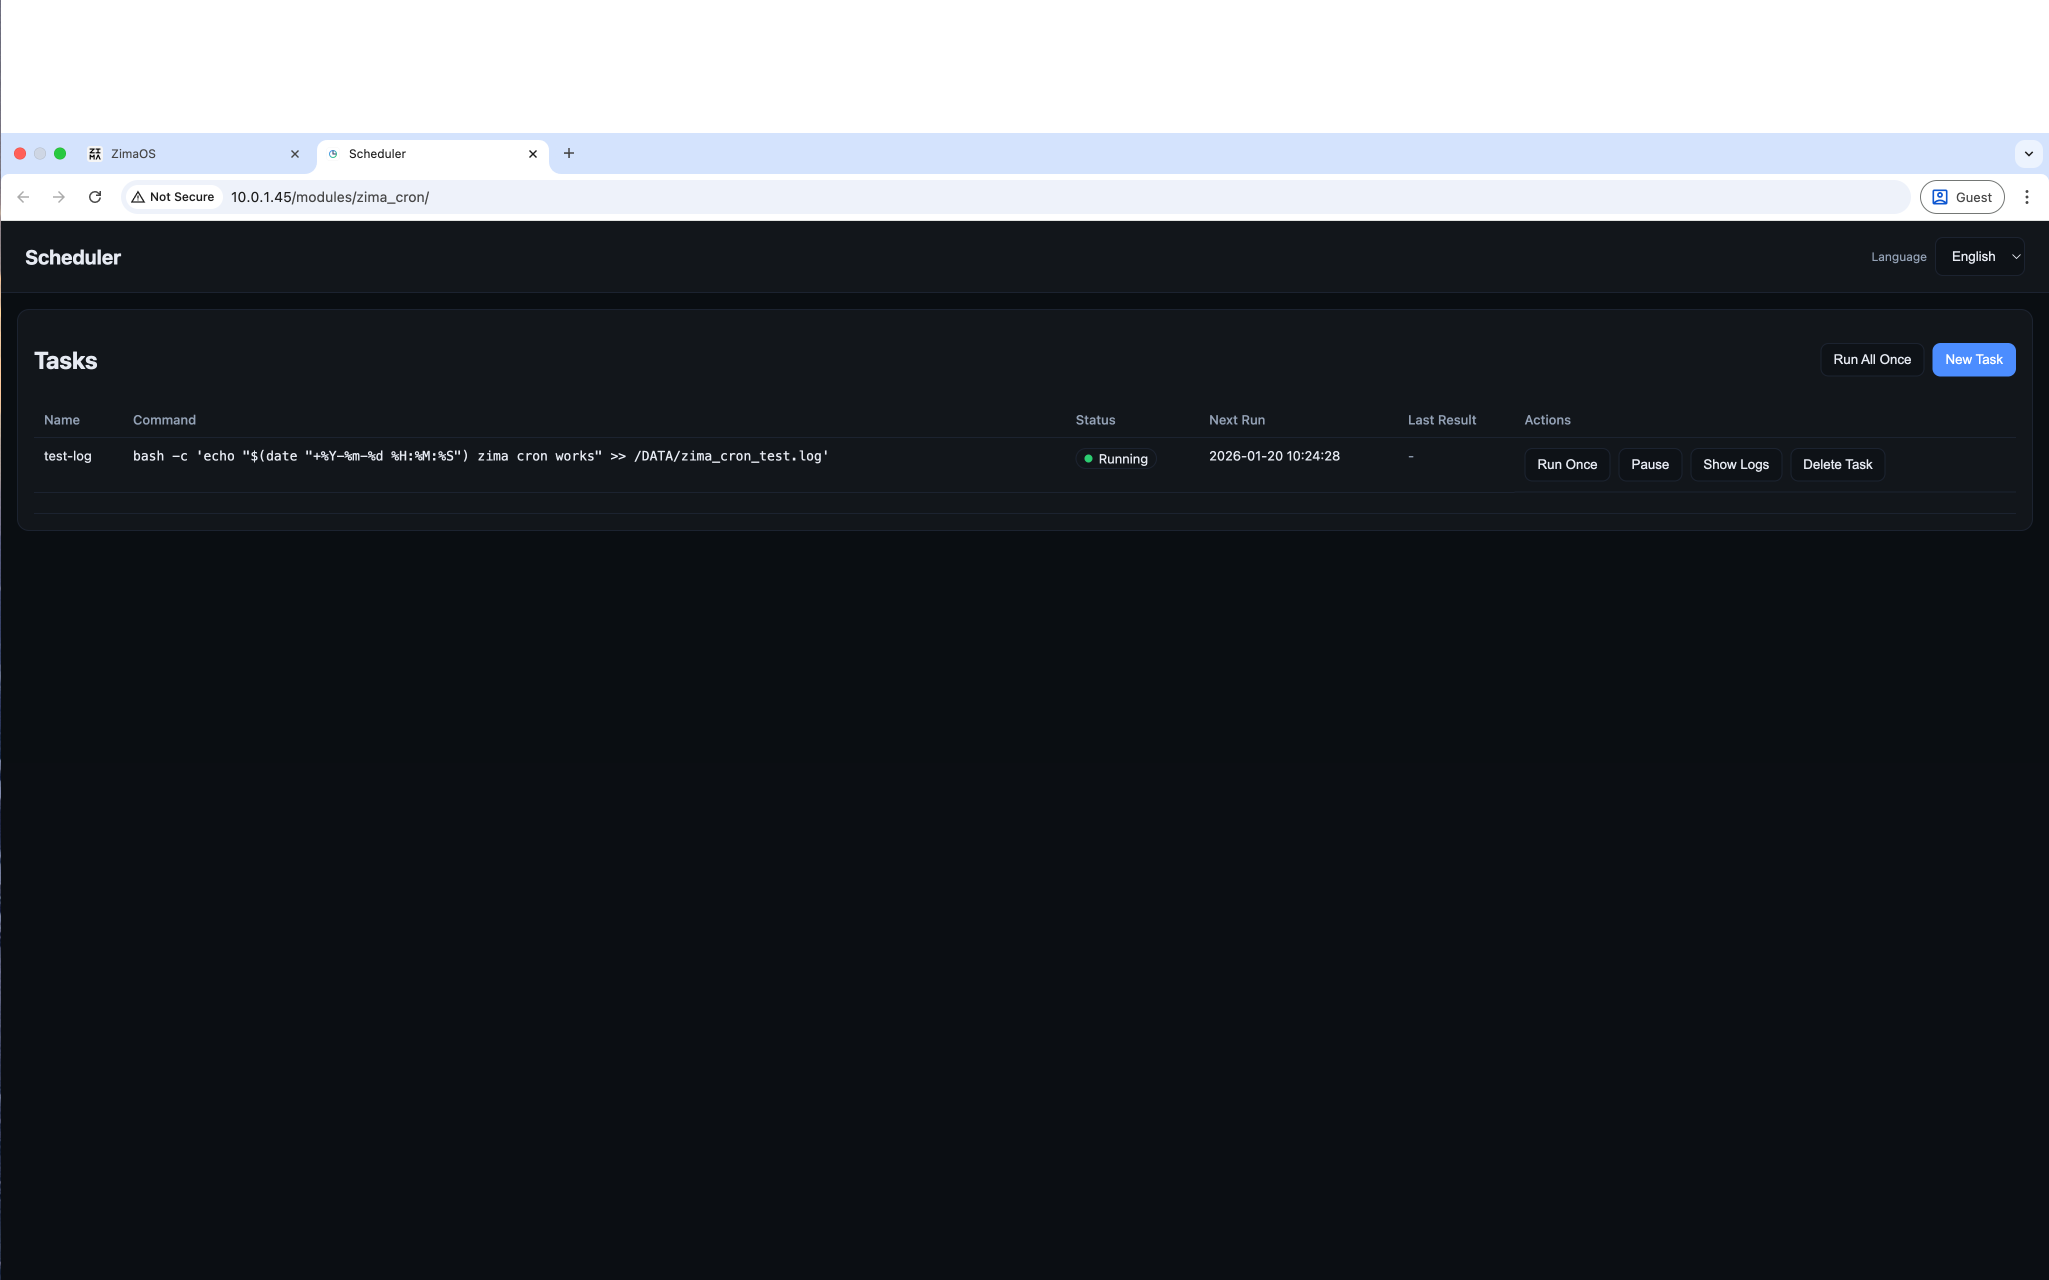
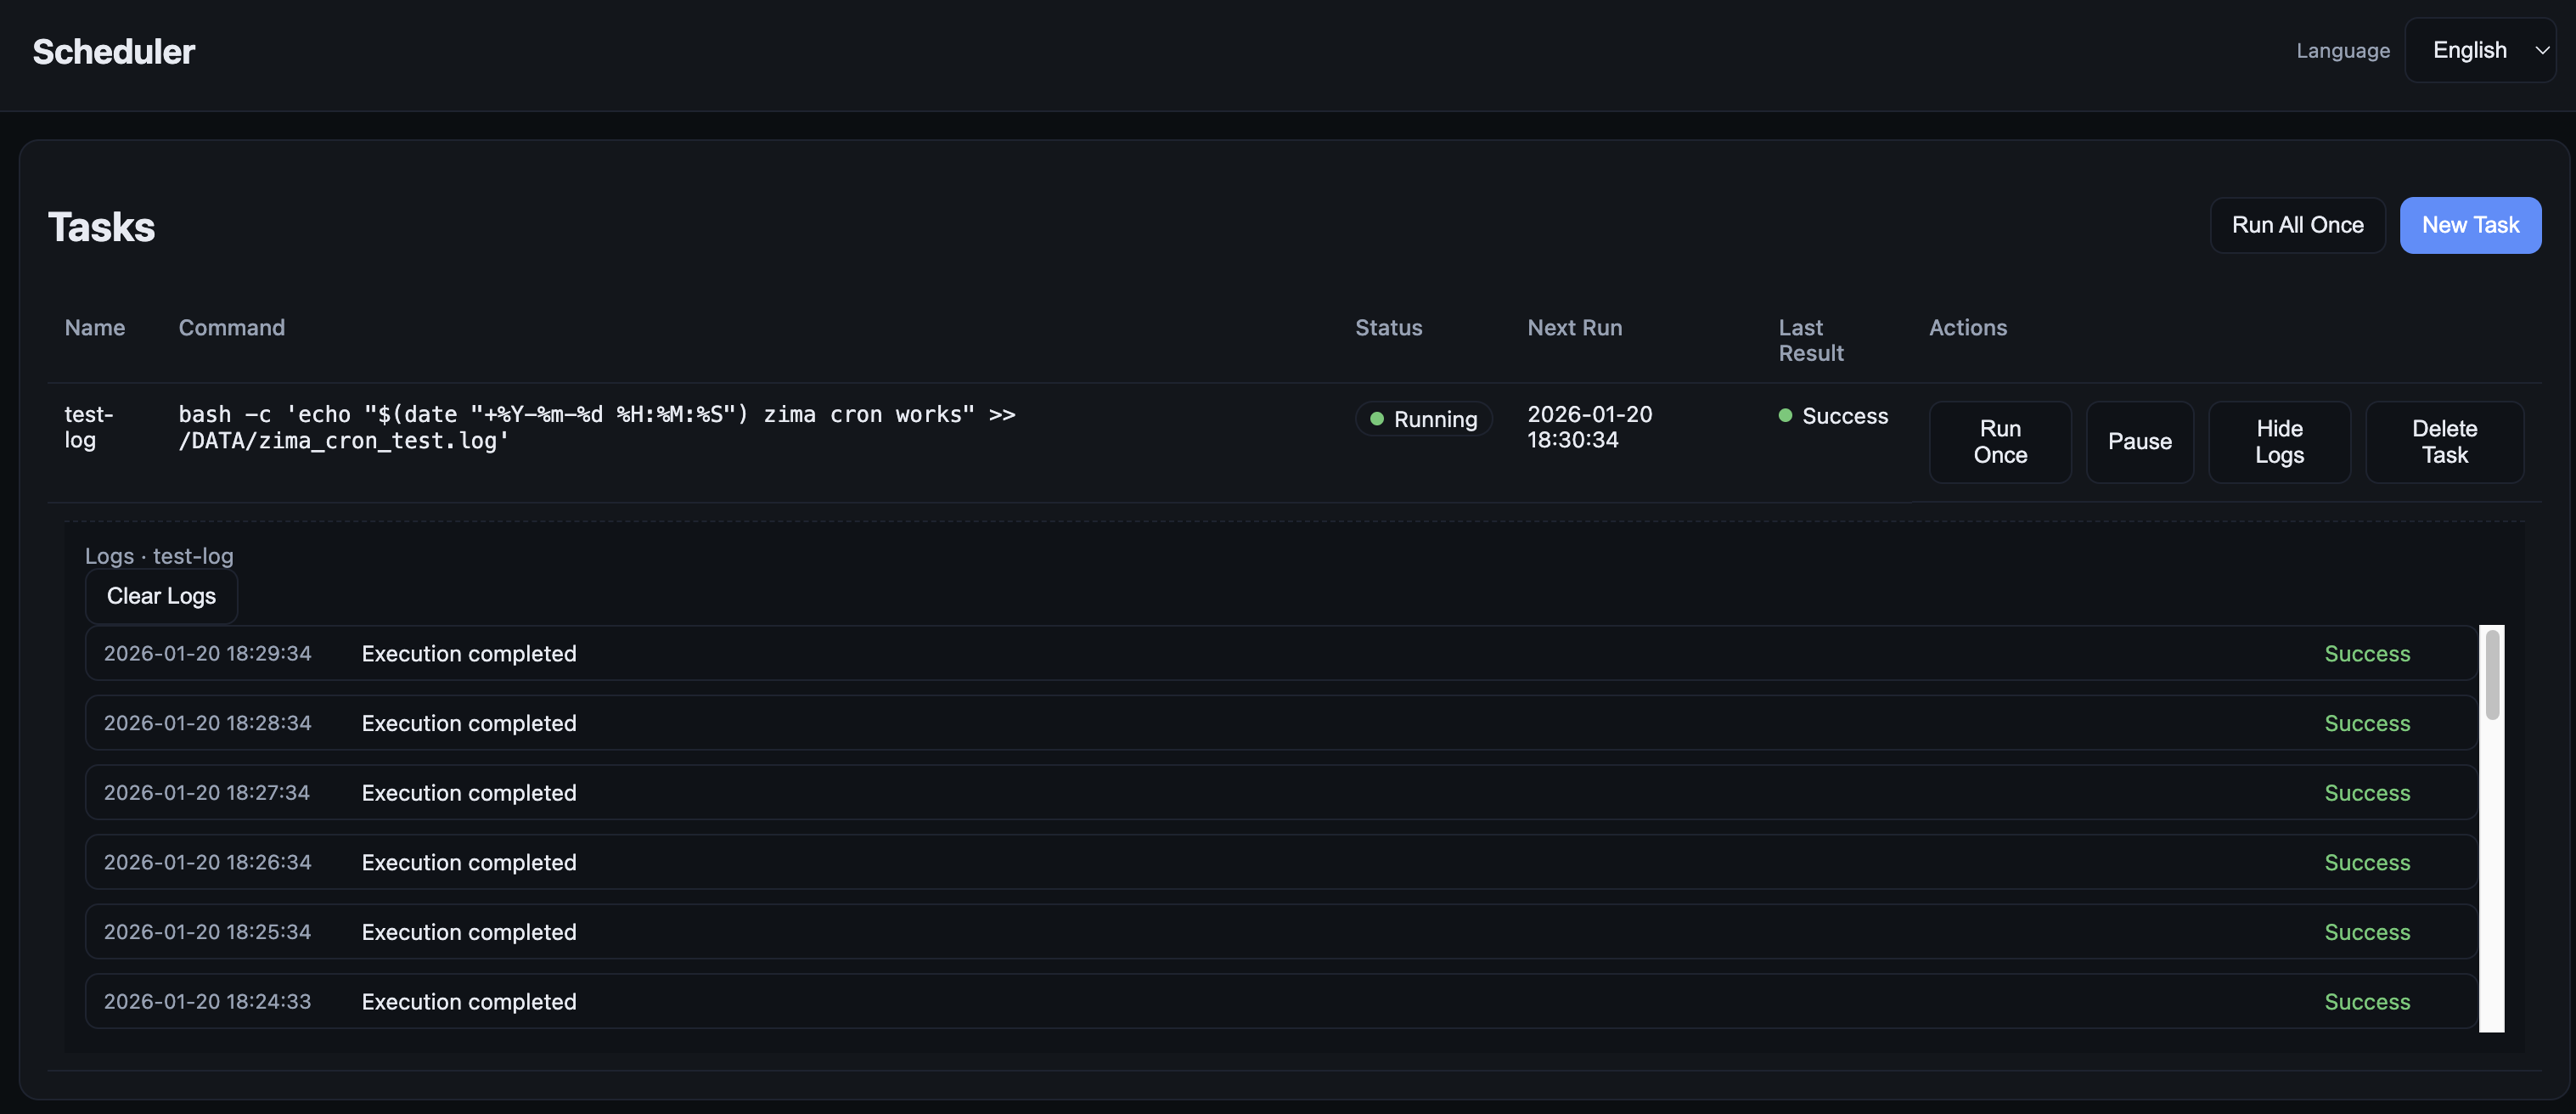
3.3 Verify Task Execution
To verify whether a scheduled task is running correctly:
-
Open Zima Cron
-
Click Show Logs next to the task
If the logs continuously show success, the task is running as expected.
You can also confirm task status directly in the task list.
4. Summary
Once you understand how to use Zima Cron, you can easily create scheduled tasks for:
-
Data backups
-
Automatic script execution
-
Routine maintenance jobs
This helps reduce repetitive manual work and improves efficiency when using ZimaOS.
Now you’re ready to create and manage your own scheduled tasks!
Appendix
GitHub Repository:
https://github.com/LinkLeong/zima_cron/releases