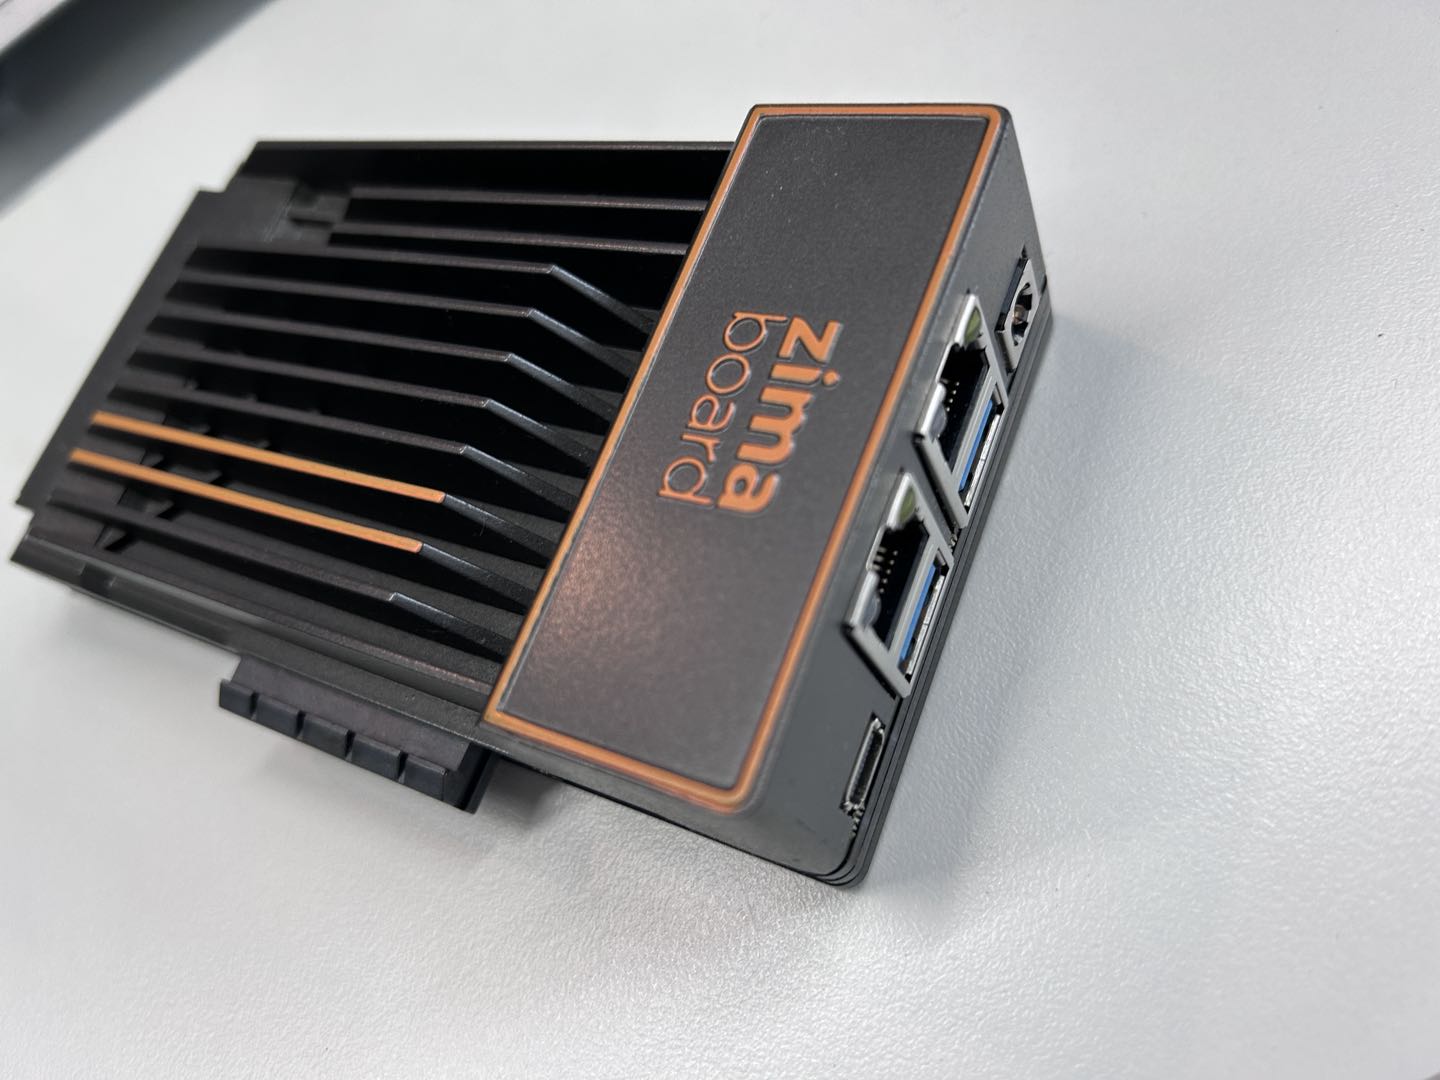
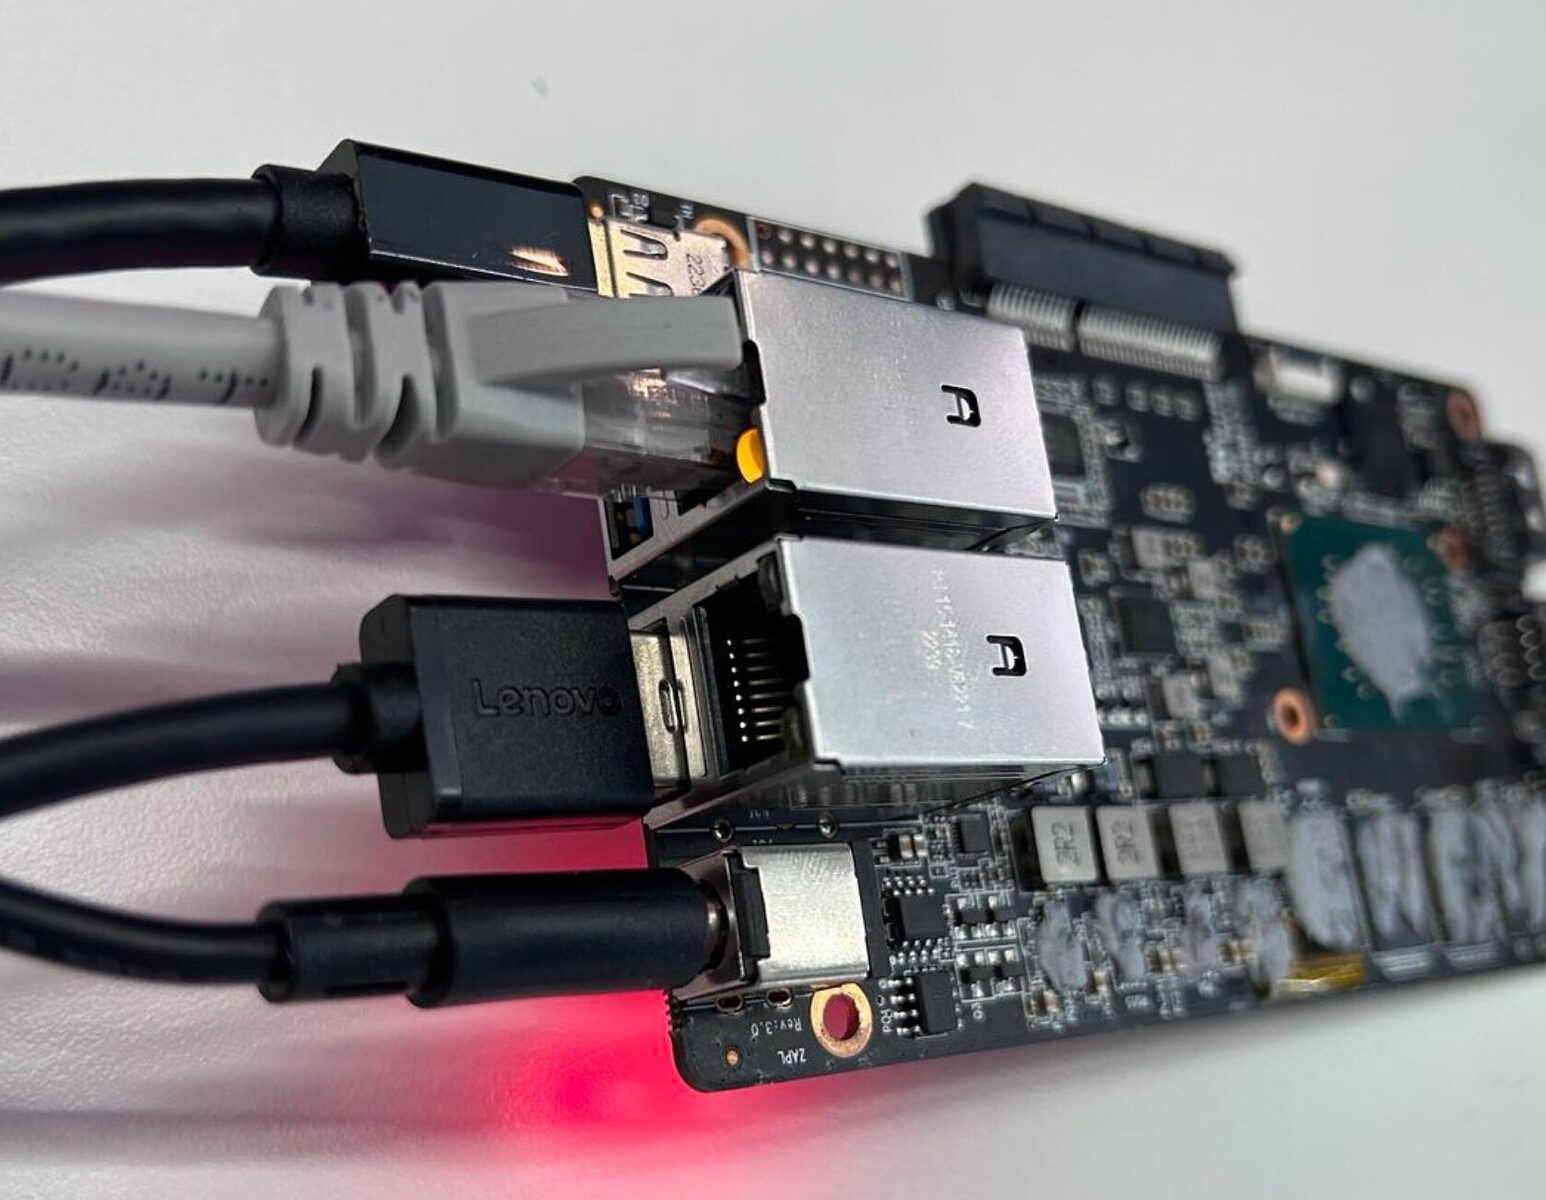
Zimaboard disassembly suggestions:
-
Be extra careful when disassembling to avoid damaging internal components. It is best to disassemble in an anti-static environment.
-
Remember the position and connection of each component and mark them after removing to facilitate reassembly.
-
Be gentle when cleaning the interior to avoid damaging circuits.
-
When reassembling, carefully check that each connection is firmly in place to avoid poor contact.
-
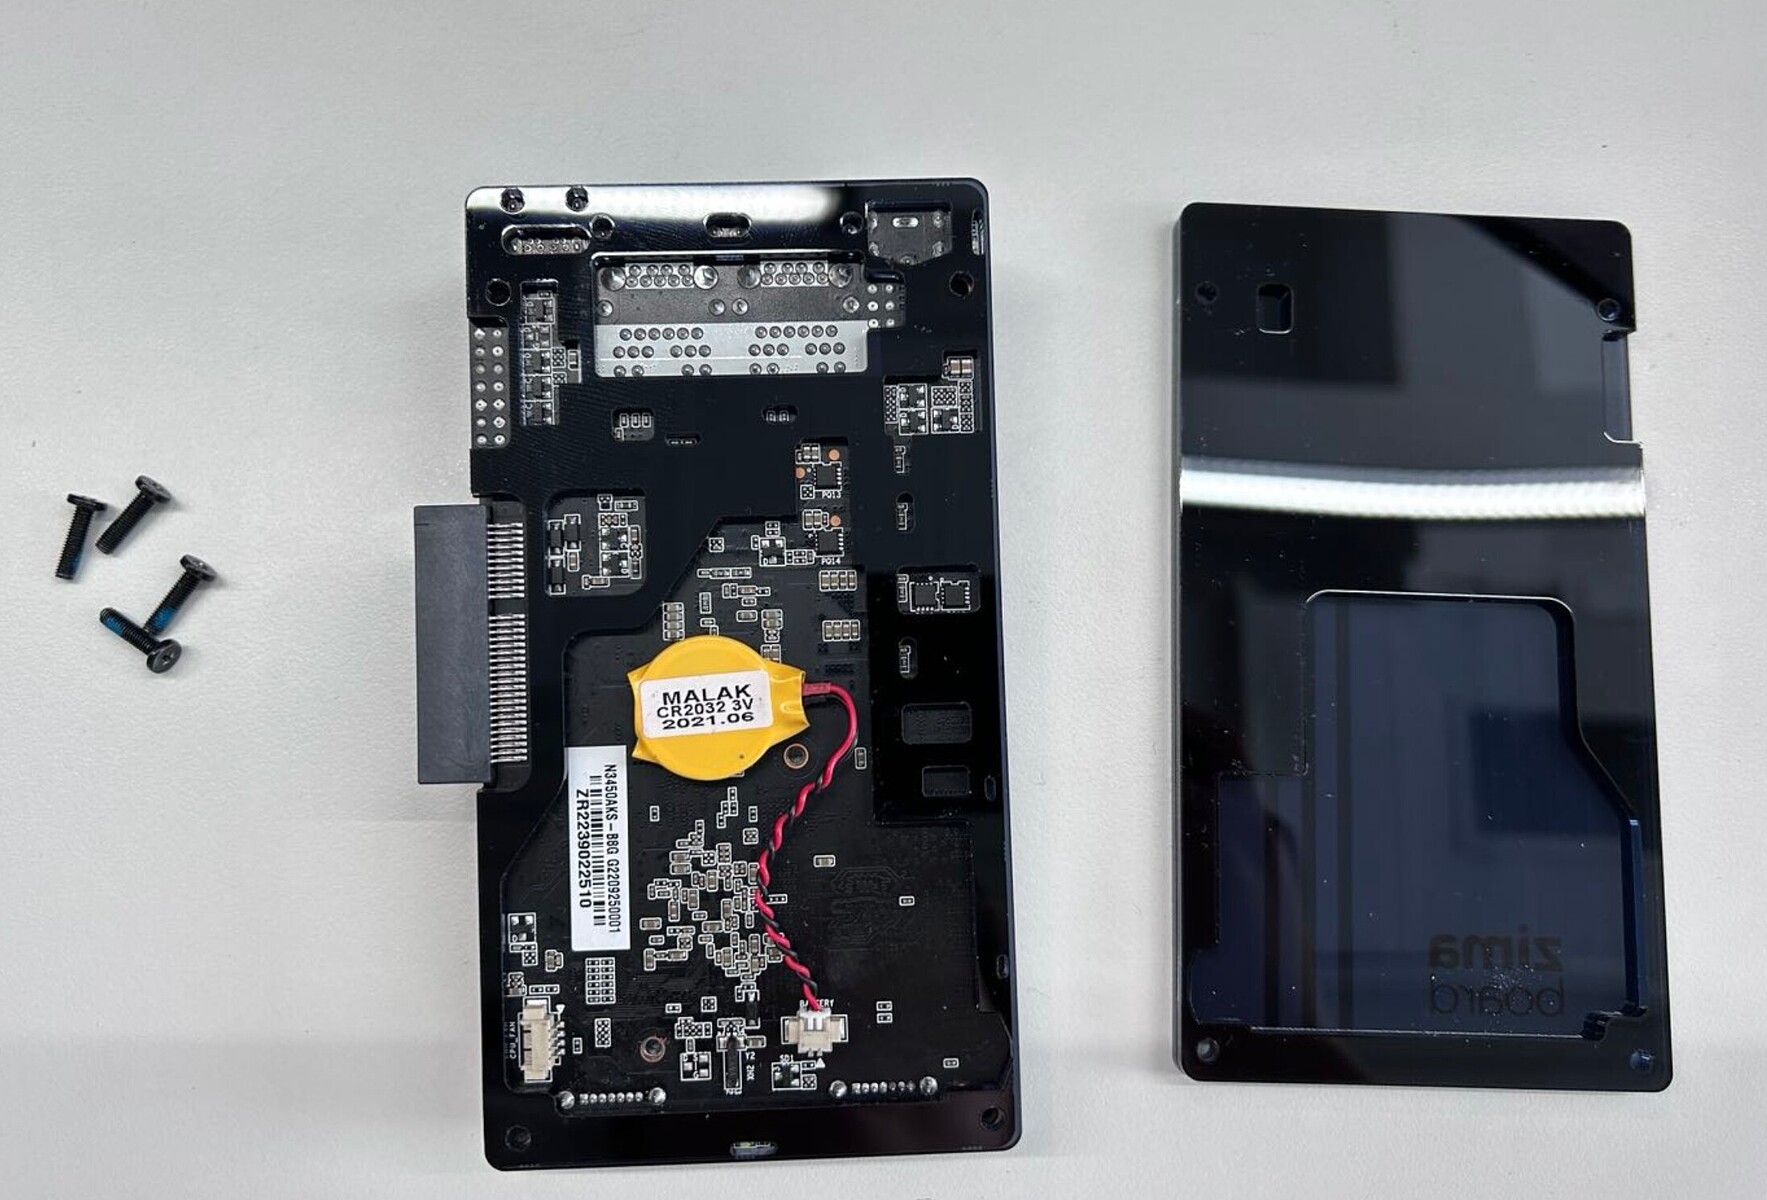
When replacing a new battery, be sure to select a compatible model. Do not use a battery with specifications that differ too much from the original.
-
After assembly is complete, fully test all functions and use normally after ensuring no issues.
Tool preparation:
-
Screwdriver tool x 1
-
Zimaboard x 1
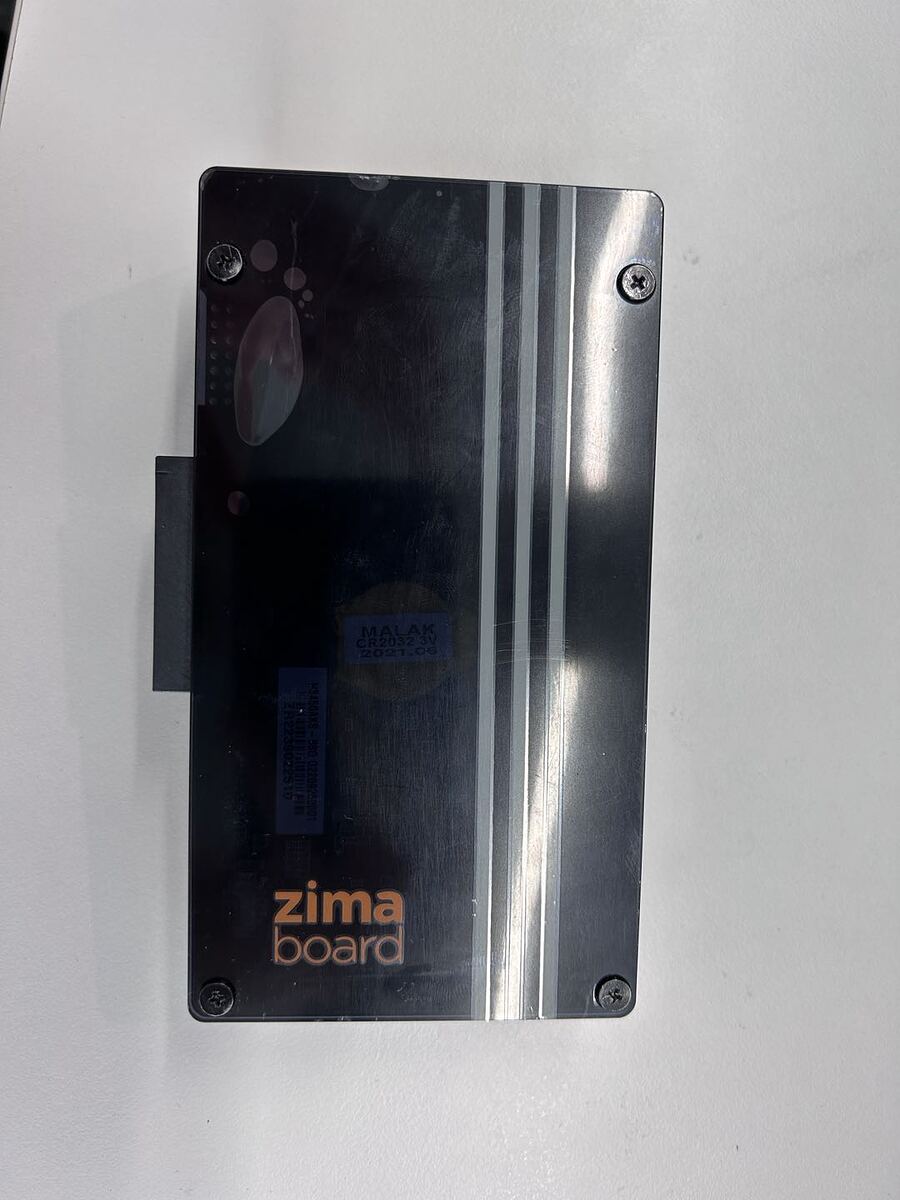
Remove the four screws from the back panel:
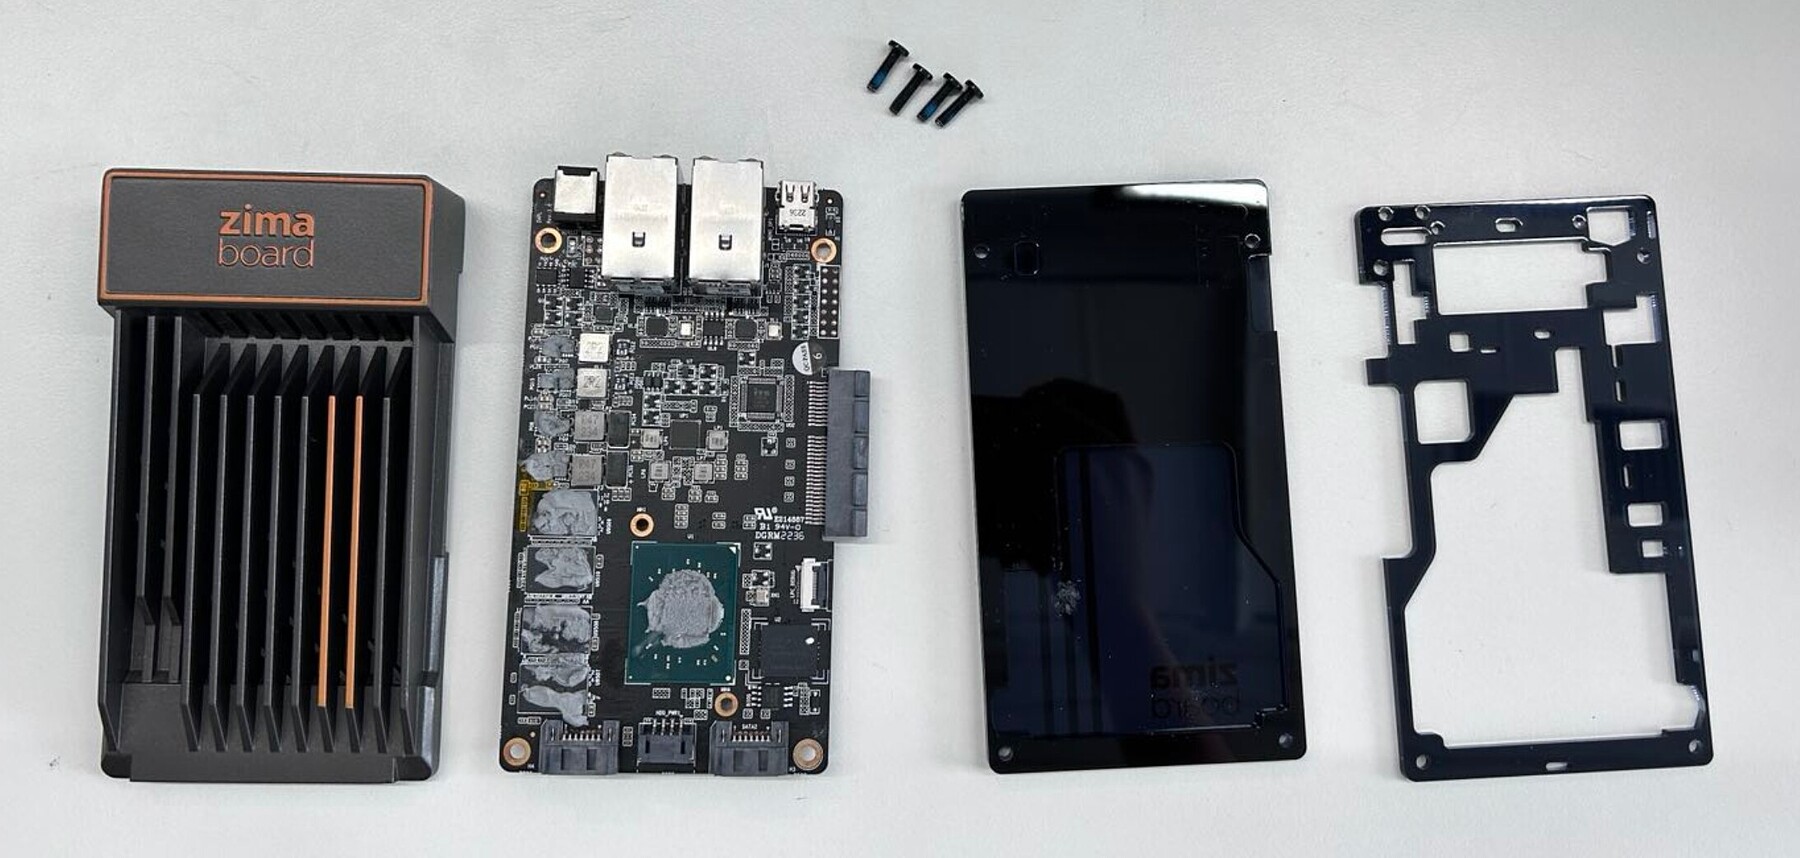
Disassembly demo:
Using the bareboard alone:
Removing the Zimaboard case and using the bare board, pay attention to the following points:
-
Anti-static. The bare board is directly exposed and care should be taken to avoid static damage to circuits. Anti-static wrist straps can be used.
-
Short circuit risk. With the case removed, the board is exposed and care should be taken to avoid short circuits when inserting connector wires.
-
Poor heat dissipation. The case provides some heat dissipation which may be reduced when removed. Monitor for potential overheating of chips. External mini fans can help if needed.
-
Unreliable wire connections. With the case removed, wires and connectors can more easily become loose. Check that wire connections remain tight.
-
Dust accumulation. Exposed boards can more easily accumulate dust. Regularly blow away dust to avoid impaired heat dissipation and short circuits.
-
Protection issues. Bare boards are susceptible to physical damage from impacts, drops, etc. Protective enclosures should be added.
-
Water damage. Bare boards are more easily shorted by water. Avoid contact with any liquids.
