Archway Lego Cradle for ZimaBlade
Maker: Ryonen Moon, one of the early adopters of ZimaBlade and an active member of the community. Driven by passion for innovation and a desire to personalize their ZimaBlade experience, she embarked on an exciting endeavor: crafting a bespoke Lego stand for their prized device. After a month of design and improvement, Ryonen has completed the final version of the ZimaBlade support. Let’s jump into the journey of assembly together.
Build The Base
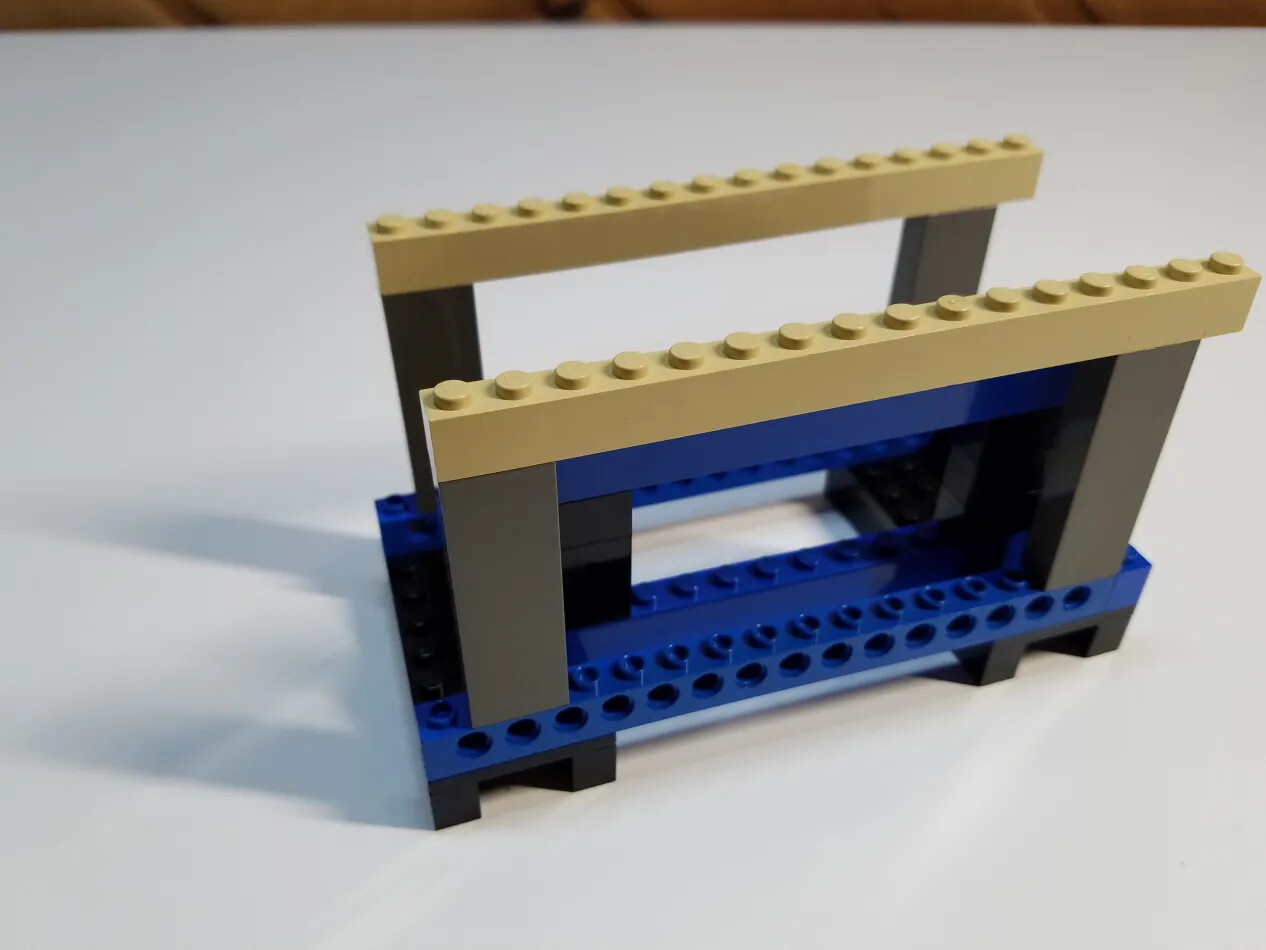
The base of the cradle is divided into two sections, cleverly utilizing 2 pieces 8x4 flat and 4 pieces 8x1 bar.
Each side of the cradle is constructed using 4 pieces 16x1 bar, accompanied by 2 2x1 cross-section components or 6 stacked 2x1 bricks. These components, reaching a height of 6 units, contribute to the cradle’s robust framework and provide excellent support for the ZimaBlade.

This approach not only ensures structural integrity but also optimizes space utilization, resulting in a streamlined and compact base that complements the overall aesthetics of the cradle.
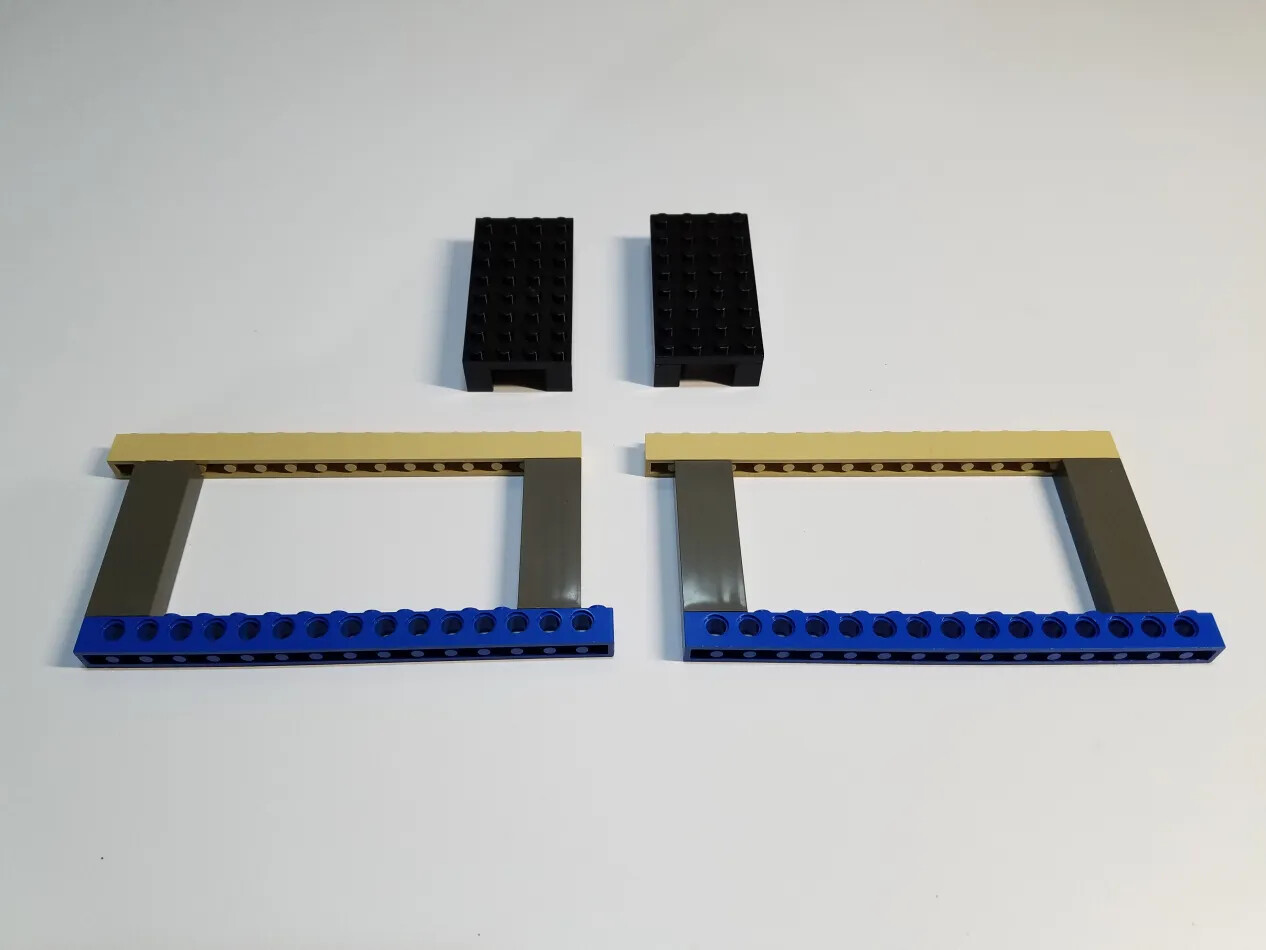
The top and bottom bars of the cradle exhibit an appealing color combination, with ivory and blue tones. The blue bars, featuring cross holes, were incorporated into the design based on the availability of parts, ensuring the cradle’s functionality without compromising on its visual appeal.
An 8x1 bar piece is utilized at this end. Below is an illustration of the bar piece securely holding the ZimaBlade in place on the table.
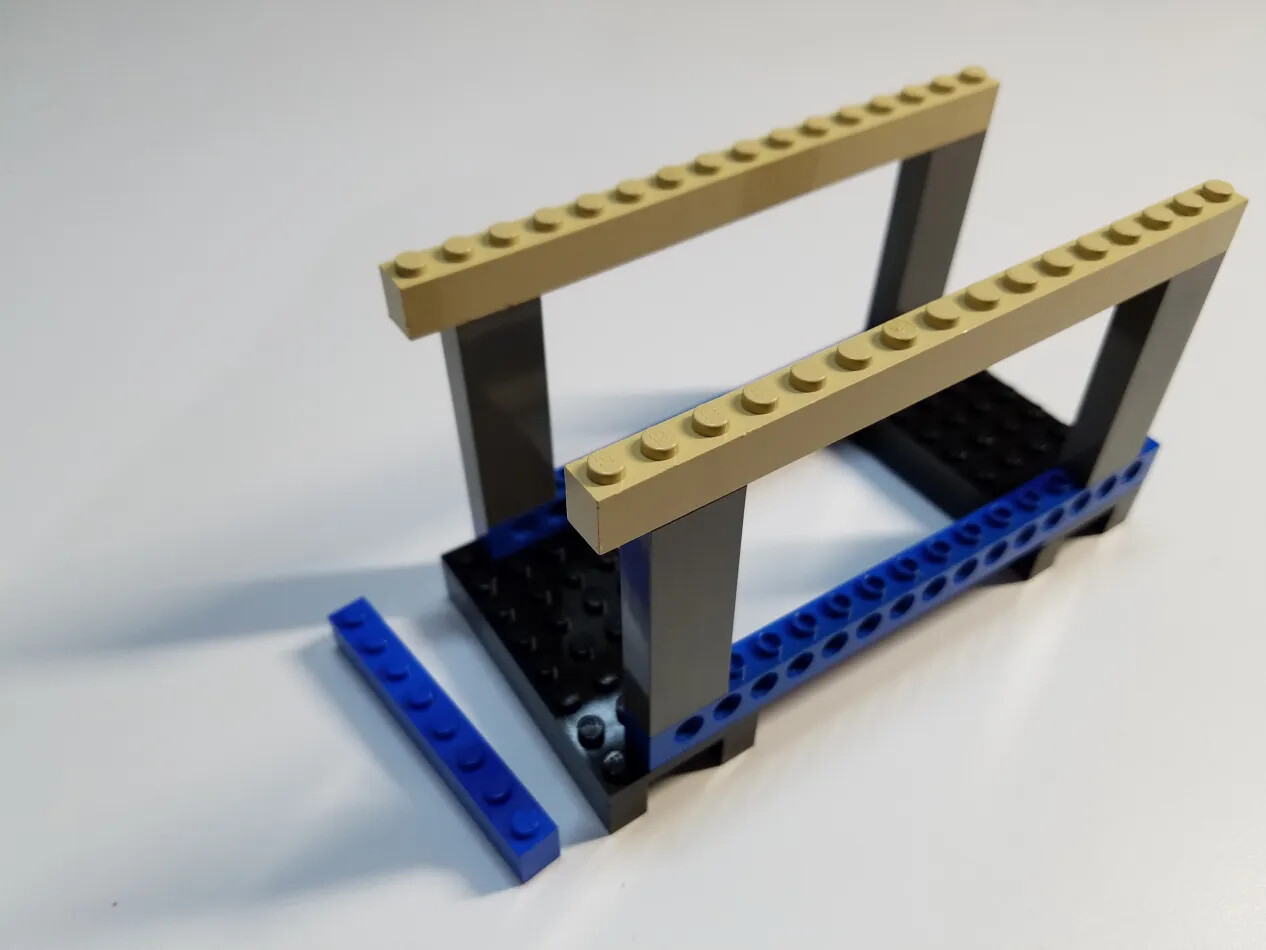
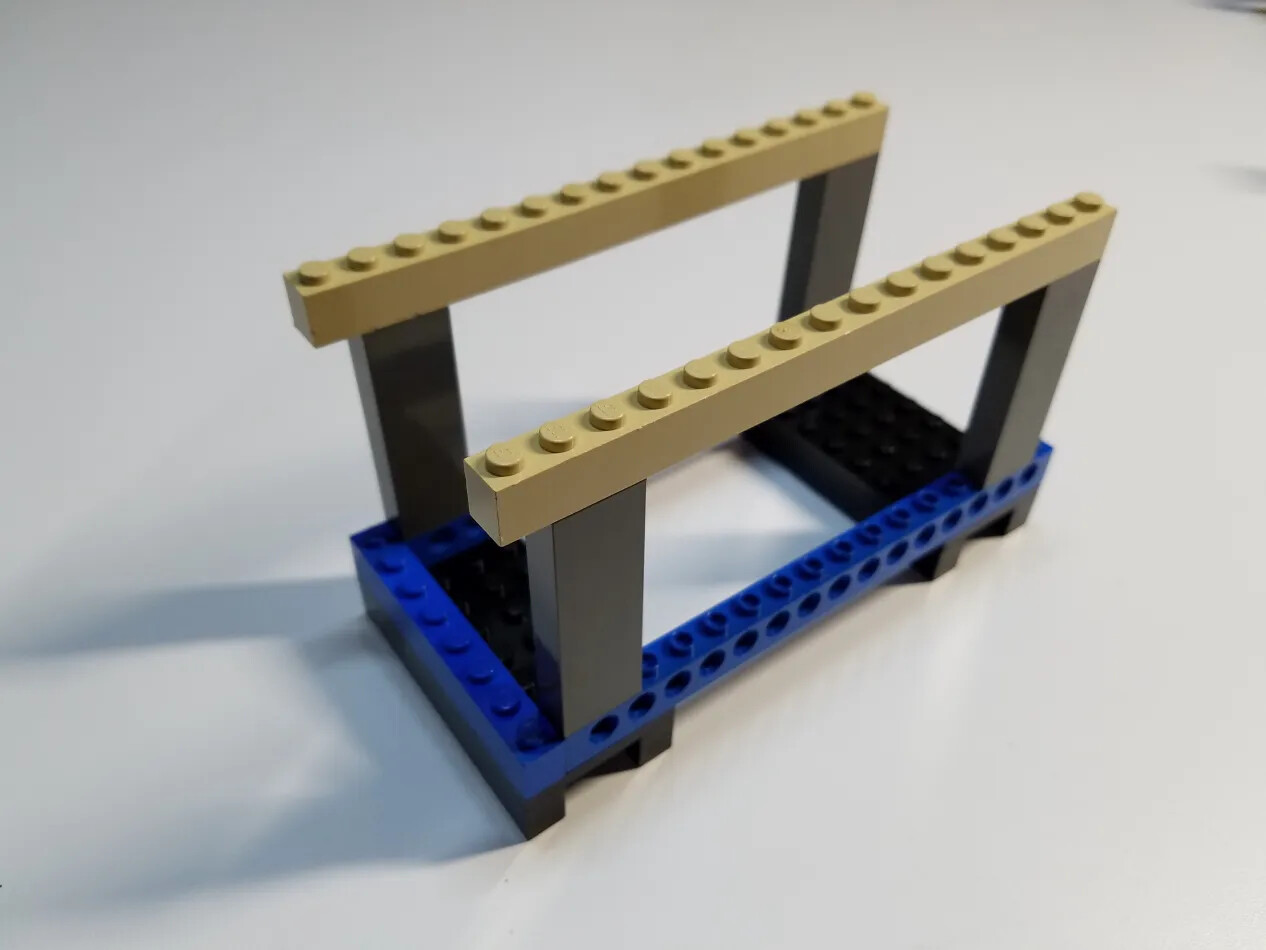
Partition Plate for ZimaBlade & SSD Compartment
To further enhance the cradle’s utility, a vertical center wall is integrated between the ZimaBlade and the attached SSD. This wall, composed of 2 pieces 12x1 bar and 6 bricks 2x1 arranged as columns, ensures a secure separation between the components.
The inclusion of cross-braces significantly enhances the sturdiness of the cradle, addressing the fragility of the previous design. With these braces in place, you can confidently handle the unit, even with the electronics installed, knowing it will remain intact—within reasonable limits, considering it is made of Lego.
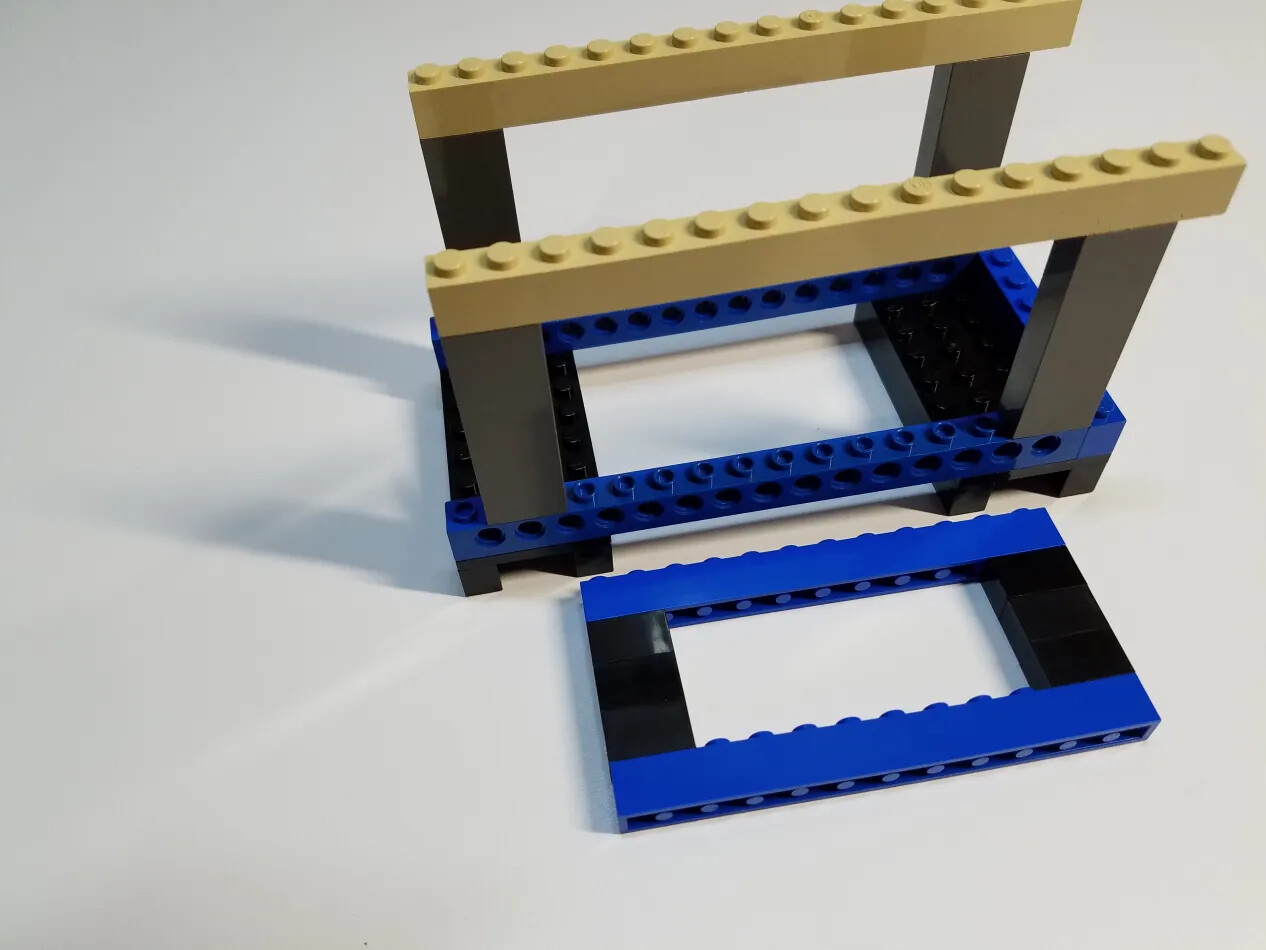
You can see the center wall in position, effectively separating the ZimaBlade from the SSD. This wall ensures a secure and organized arrangement between the two components.
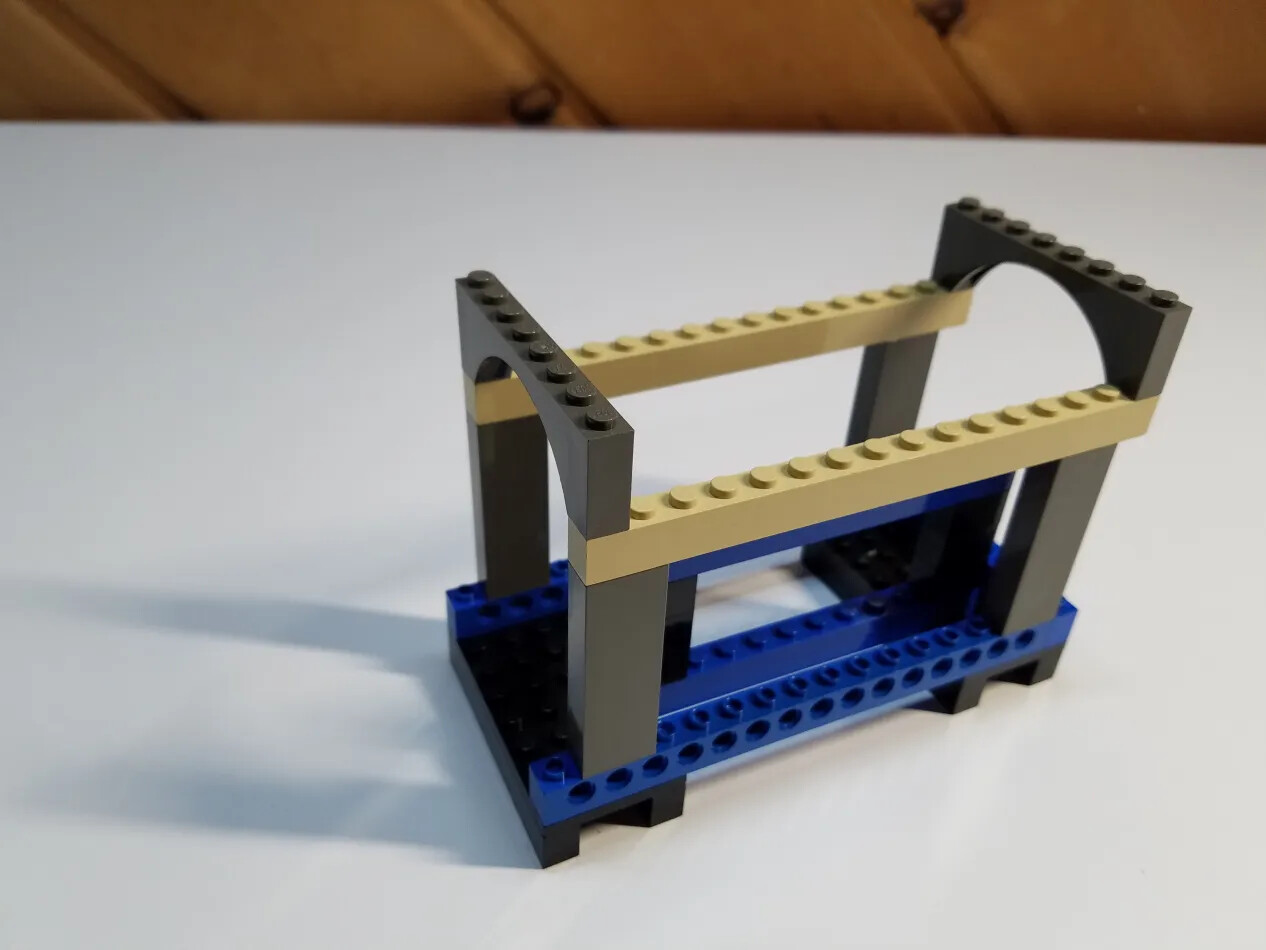
Creative Archway
The arched pieces incorporated into the design enable full cable access on both sides when the ZimaBlade and the drive are installed. If you don’t have these arches available, you can use an 8x1 bar piece on each end, although it may slightly restrict cable access.
The completed unit showcases the cradle with the ZimaBlade and the drive installed, providing a comprehensive view from different angles. The exposed cables are visible, offering a clear representation of cable access for all the ports.
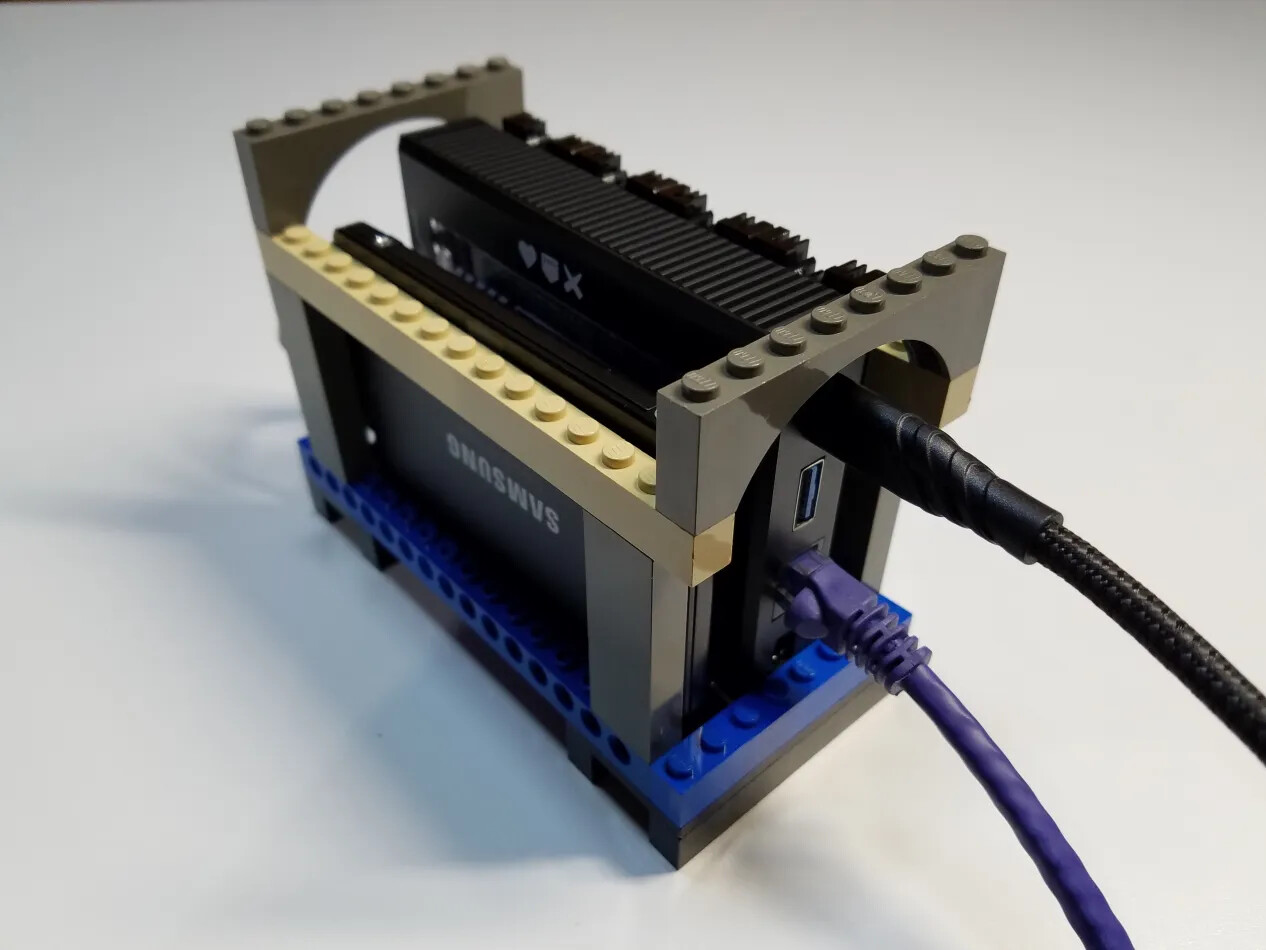
Here’s the setup from the back (bottom) of the ZimaBlade.
As a separate project, Ry has incorporated NVMe heatsinks onto the back of the blade, as visible in the image. These heatsinks play a crucial role in temperature control and significantly contribute to optimizing performance.
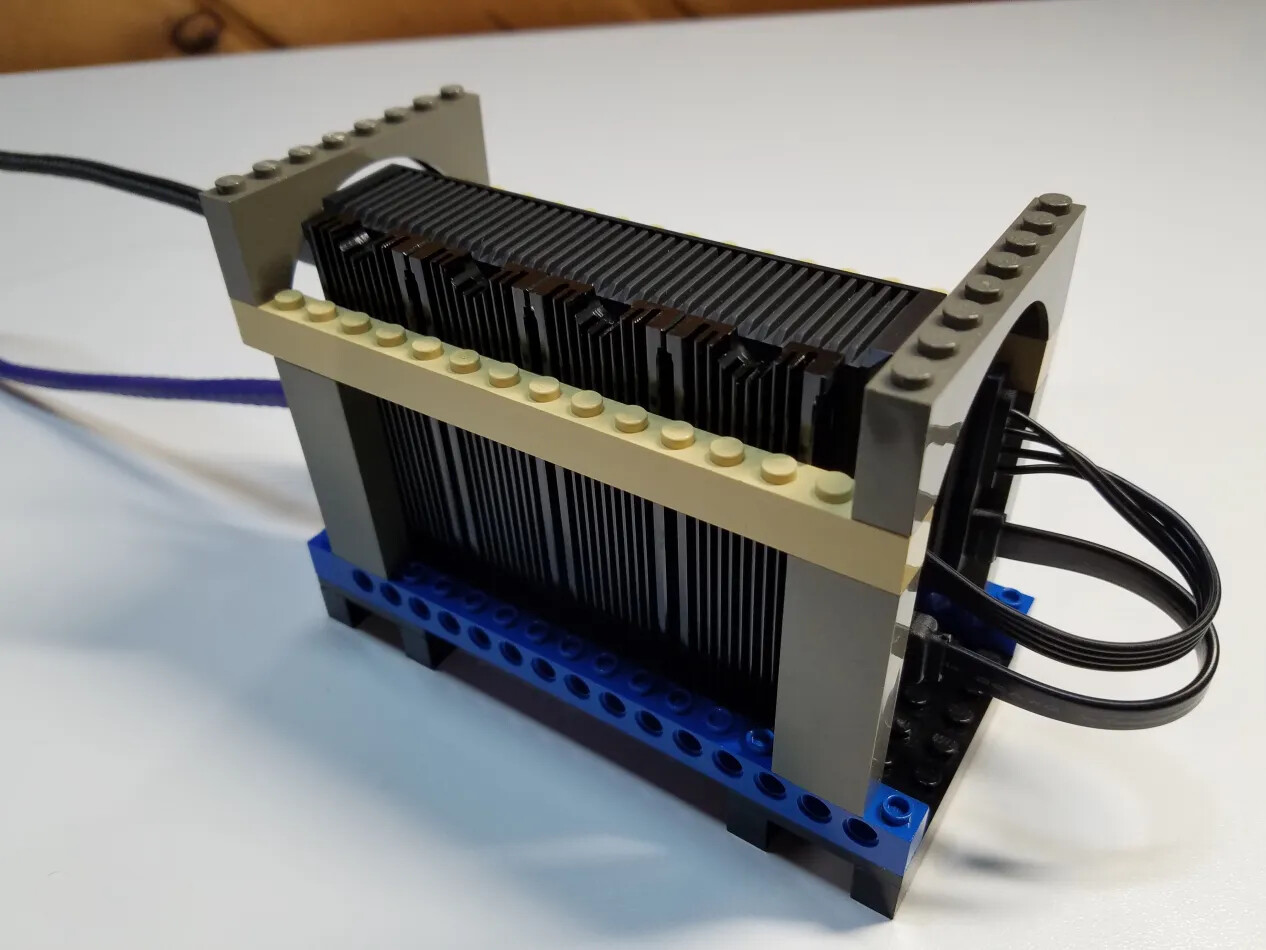
And here is a view from the SATA end, where all the connections fit perfectly!
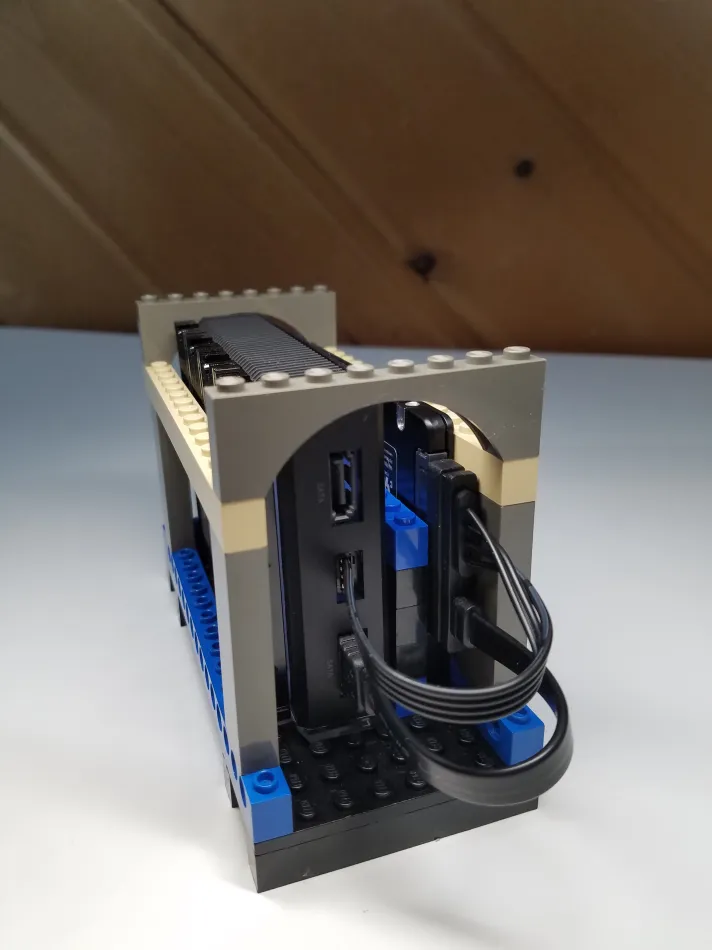
The incorporation of cross-bracing elevates the stability of the stand, ensuring a secure platform for the device. The inclusion of arched cross-braces further enhances the design by providing convenient access to all the ports on both sides of the ZimaBlade.